You have or are looking to book a photoshoot and have the perfect outfit ready. But what about your makeup?
To look natural in the photographs, you may be tempted to wear everyday makeup. Unfortunately, that’s not the best way to go about it, nor is putting on heavy makeup.
Sure, you may hire a professional makeup artist to cut out the task. But what if we told you that you could achieve professional-looking results at home? Too good to be true, right?
Well, not anymore! In the following sections, we will walk you through the most effective tips for doing your makeup without a makeup artist (thank us later for saving on the added cost!).
Let’s get to it!
9 Tips For Doing Your Makeup For A Photoshoot

Tip 1: Choosing The Right Products
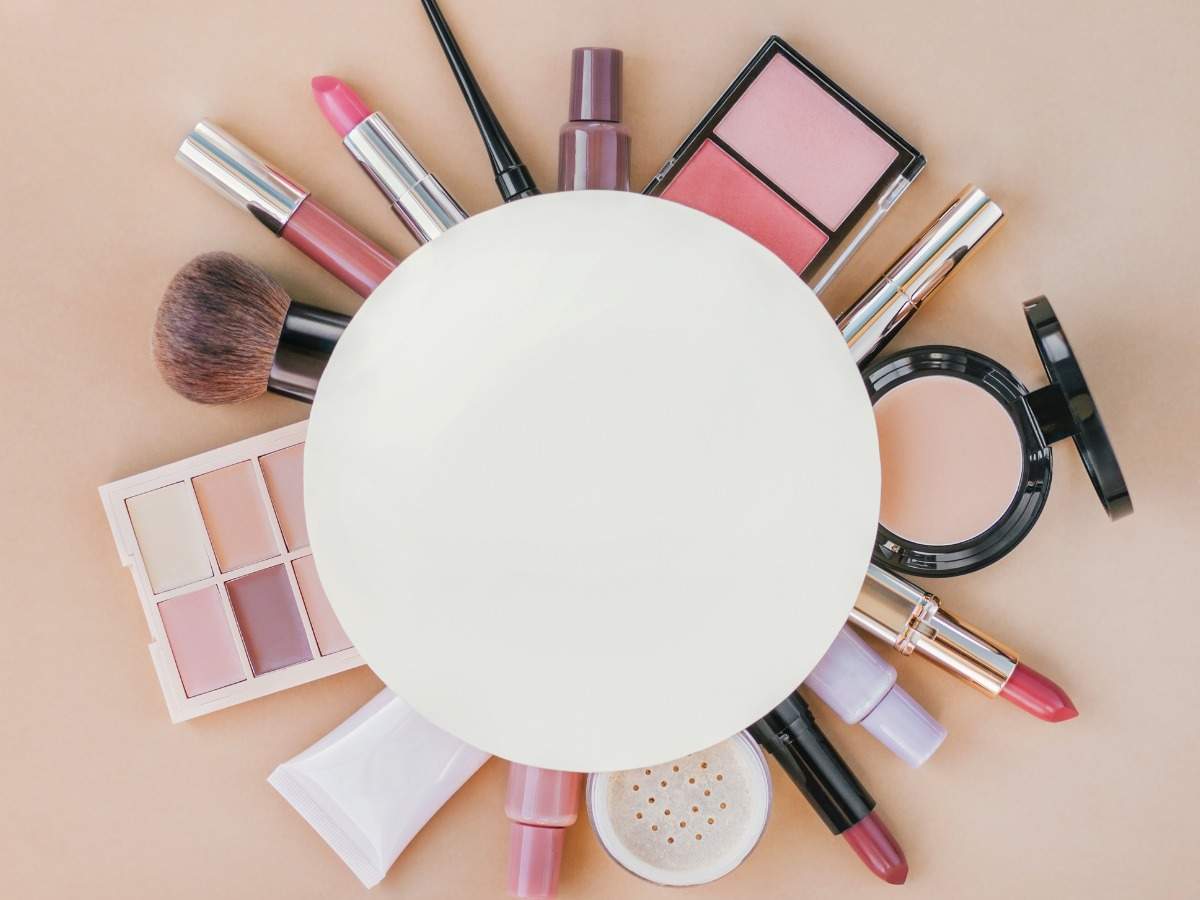
Even before you can start applying makeup, the first thing to consider is getting the right products for the purpose.
If you’re a beginner or don’t wear makeup too often, we’d suggest opting for powder-based products rather than their liquid counterparts, as the former blends easily and seamlessly. The last thing you’d want is for the camera to pick up harsh makeup lines on your face.
Another thing to keep in mind is to purchase only good quality products, even if they are slightly more expensive. This is because products from cheaper brands are likely to make your skin look “cracked” or wrinkly under the lights, fixing which will require quite some editing.
Similarly, products with “built-in sunscreen” can render a mask-like appearance, which is not something you’d want in flash photography. This is also the reason why you’d want to stay away from glittery or shimmery makeup and go for matte instead.
Tip 2: Proper Skin Preparation
Proper skin prep plays a crucial role in good makeup application. As such, you should always wash and moisturise your face before putting makeup on, no matter the occasion.
Not only does this practice improve the texture of your skin in the long run, but it also lets you start applying makeup on a “fresh, blank canvas.”
After applying the moisturiser, allow some time for your skin to absorb the necessary hydration and follow it up with a thin but even layer of primer. Target the areas under the eyes, near the nose, as well as the forehead and cheekbones.
A primer evens out the skin tone and covers pores and irregularities to ensure a smooth finish. Moreover, it makes the makeup stay in place for long hours while concealing fine lines, resulting in a natural-looking face.
Tip 3: Using The Right Foundation And Powder
Perhaps, the single most important thing to factor in while choosing a foundation is to make sure that it’s as close to your natural skin tone as possible. Anything darker or lighter will look awkward and unnatural on camera.
Furthermore, don’t try to substitute a foundation with a tinted moisturiser or other such alternatives, as they will look less vibrant and lack the desired smooth finishing. In terms of coverage, it’s not necessary to have a full-coverage application since the camera will wash out most of the blemishes anyway.
If you still want to go for a full-coverage foundation, make sure that it blends very well with your skin. Wearing a ton of makeup without proper blending will show up in pictures taken under natural light.
Likewise, if you’re pairing the foundation with a powder, try avoiding HD powders. While they may look good in person, your skin may appear to have white patches in photographs. Long story short, focus on making your skin look natural rather than flawless.
Tip 4: Adequate Contouring And Highlighting
As we have already mentioned above, flash photography washes out blemishes from your skin. But what it also does is wash out the subject’s face, which is why you need to contour and highlight your features to make them prominent.

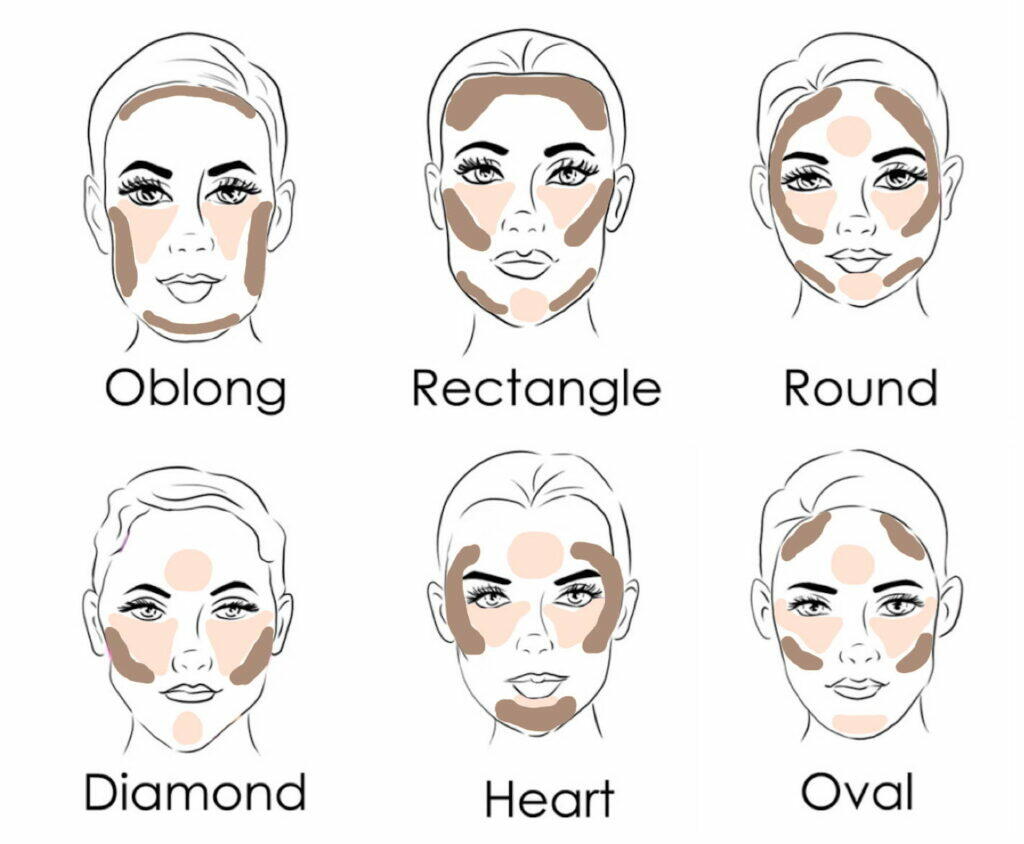
Again, select a contour with a matte finish and place it under your cheekbones, along the temples, and under the jawline to add some depth and definition to your facial structure. Blend well to emanate any harsh margins or lines. Once done, use a highlighter for the cheekbones, cupid’s bow (above the lips), and on the areas where the light would hit naturally.
Tip 5: Good Eye Makeup
Eyes often become the central feature of the subject’s face in a photo shoot, so you’d want to make them pop. In this regard, the eyeshadow should complement the colour of your eyes. For instance, blue and green eyes are best highlighted using warmer shades like golden brown, reddish-brown or peach.
On the other hand, purple, pink, and grey shades are suitable for hazel eyes. Since brown eyes are more neutral, they pair well with almost any colour.
Start with a dark shade to highlight the crease and blend it well to diffuse any prominent outline. Fill the rest of the eyelid with a medium shade and add a light shader to the inner corners for bringing depth and definition to the shape. Everything should blend for a smooth transition from one shade or colour to another.
Finish off the eye look with pitch-black eyeliner and mascara. If you want extra drama, don’t shy away from using fake lashes. A protip: after putting on the fake lashes, apply mascara in a wiggly motion from the root to the tips for seamless blending of the real and fake lashes.
Tip 6: Doing The Eyebrows
Make it a point to wax or pluck your eyebrows a few days before the shoot. This way, they will look clean and defined but not irritated.
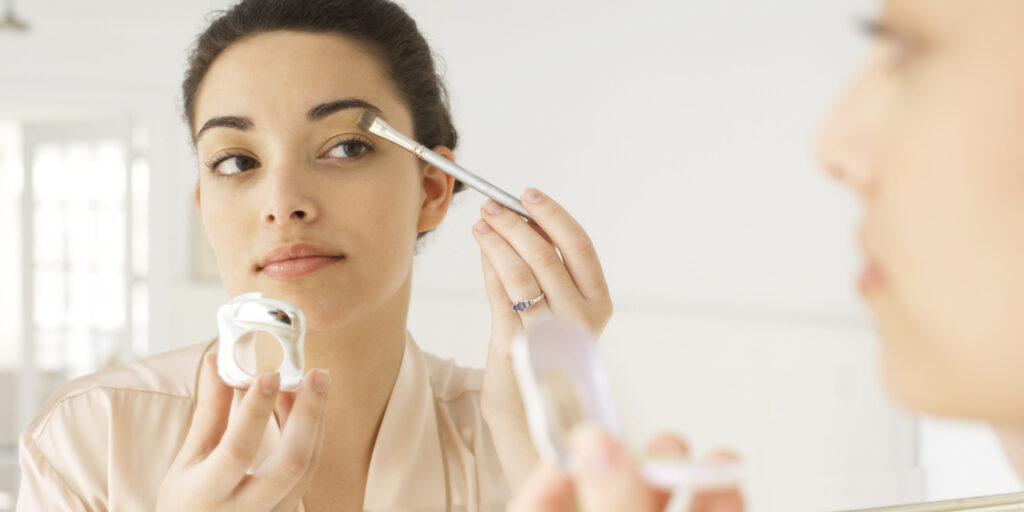
If you’re someone who likes drawing their eyebrows every time you do makeup, stick to the natural shape rather than focussing too much on the arch and edges. Later, use a thin line of concealer or foundation to define the boundaries and blend it out.
Otherwise, simply fill in the eyebrows with black or brown to darken them, as they may appear flushed out in the photographs.

Tip 7: Blush And Lips
Professional studio lights and cameras tend to wash out the makeup by at least 50%. Hence, you’d want to add more colour to your cheeks and lips than usual. Use bright colours for your lips, as natural hues and nude tones are hard to capture on camera. You may also add some lip gloss to achieve fuller or plumper lips.
Apart from that, you can use a similar coloured lip pencil to define the shape of your lips. If you don’t have one in hand, grab a thin brush, coat it with the lip colour and draw the outline of your lips to enhance their shape. Try following the natural shape, especially for the cupid’s bow.
Similarly, use pink, red, or orange tones for the blush (on the cheeks of the apple) and blend it well to eliminate any harsh lines.
Tip 8: Do Your Makeup In Natural Light
Just like the type of light under which you take photographs affects the outcome, so does the kind of light under which you apply the makeup.
That’s why it’s always recommended to do your makeup in a room that has plenty of natural light. Find a window that allows the natural light to illuminate your face completely and face towards while applying makeup. This will give you the best view of everything happening on your face so that you know that all the blemishes are covered properly and if certain areas require more blending.
If you use only an overhead or table lamp, it will invariably cast shadows on certain parts of the face, making it difficult to apply makeup uniformly.
Tip 9: Practice, Practice And Practice!
If you have a photoshoot planned well in advance, use the time to practice creating the desired look on your face. This is especially important for first-timers or for those who don’t wear makeup frequently.
After all, the last thing you’d want is to hate the final makeup look moments before the photoshoot! Besides, the “test runs” will help you figure out any improvisations.
What Are Some Essential Makeup Tools To Have?
In case you’re wondering the right makeup tools to have for applying makeup, here’s a list that might help you out:
Types Of Brushes:
- Flat-head concealer brush
- Tiny concealer brush (for precise application)
- Full eyeshadow brush
- Small eyeshadow brush (for precision)
- Big powder brush
- Blush brush
- Eyebrow brush
- Fan or highlighter brush
Some optional brushes include:
- Angled-blush brush
- Foundation brush
- Sponge-tipped applicator
- Eyeliner brush
- Lash brush
- Lip brush
While buying any of the above-mentioned brushes, make sure that the bristles are firm but don’t scratch your face or eyes. Besides, they should not absorb much product; otherwise, you’ll essentially end up with blank brush strokes!
Types Of Sponges:
- Triangle sponges (for concealer and powder)
- Beauty blender sponge
Beauty blender sponges are commonly used for blending the foundation and liquid products with brisk tapping motions, as they offer a more seamless and natural finish.
For intense coverage, drop the sponge in a water-filled container until it doubles in size. Then take it out and gently squeeze the extra water to ensure that the sponge is damp but not wet. A dry sponge (unless being used for powder) will soak up the majority of the product.
Additional Tools:
- Tweezers (for instant eyebrow removal)
- Sharp-tipped scissors (for trimming eyebrows or false lashes)
- Eyelash curler
- Eyelash separator
- Extra eyelash glue
Some Other Tips

1. Avoid Breakouts
If you’re concerned about having breakouts after wearing makeup, look for products that are “non-comedogenic”, so that they don’t clog the pores. Likewise, “non-acnegenic” and oil-free formulas are beneficial to prevent acne.
2. Mattify Your Lips
If you want fully mattified lips, here’s a small tip that will come in handy. Once you have applied the lip colour, place a tissue on the lips, take some loose powder on a brush and blot the tissue. This will take off the extra shine while making the colour last longer.
3. Substitute Your Highlighter With An Eyeshadow
Did you forget to pack up your highlighter? The solution is in your eyeshadow palette! Pick up a subtle shade like white, gold or silver and use it to get that “natural glow”. If it’s too shiny, apply some loose powder to eliminate the excess shine.
That’s Our Makeup Tips
On that note, it’s time for us to finish our guide.
Although it may look like a lot of work initially, the process becomes easier and fun once you get the hang of things. As the last step before stepping up in front of the camera, use a fixing spray and allow it to settle to keep the makeup “locked in.” You may also need some touch-ups as the light may melt the makeup faster.
We will see you next time!

