Key Takeaways
- The right photo studio lighting kit depends on your space, shooting style and realistic budget — there is no universal answer.
- Strobes deliver superior power and motion-stopping precision for portraits; continuous LED lights are ideal for video and subjects who are sensitive to flash.
- Modifiers, hair lights and background lights are just as critical as the main light source for images with genuine professional depth.
Choosing a photo studio lighting kit is one of the most consequential decisions you'll make for your photography. Get it right, and every session flows with confidence — light behaves predictably, colours render accurately, and clients leave with images that genuinely excite them. Get it wrong, and you're chasing shadows, bumping ISO into noisy territory, and wondering why your results never quite match your vision. Here at Faithful Photography — with studios in Glen Alpine and Gledswood Hills, serving families and businesses across the Macarthur region — we've run more lighting set-ups through their paces than we care to count. This guide distils what actually matters when you're building your kit from scratch or upgrading what you've already got.
Continuous Lights vs Strobes: Choosing Your Studio Lighting Type
The first fork in the road when selecting a photo studio lighting kit is the choice between continuous lights and strobes. Each has a legitimate place in a working studio, and understanding the trade-offs is non-negotiable before you spend a cent.
Continuous Lights (LED)
Continuous lights stay on permanently, so you see the exact effect of your light — shadows, highlights and all — before you press the shutter. Modern LED panels like the Aputure 120D II push 1,800 lumens with a CRI above 95, meaning colours reproduce faithfully rather than drifting into sickly greens or muddy warm casts.
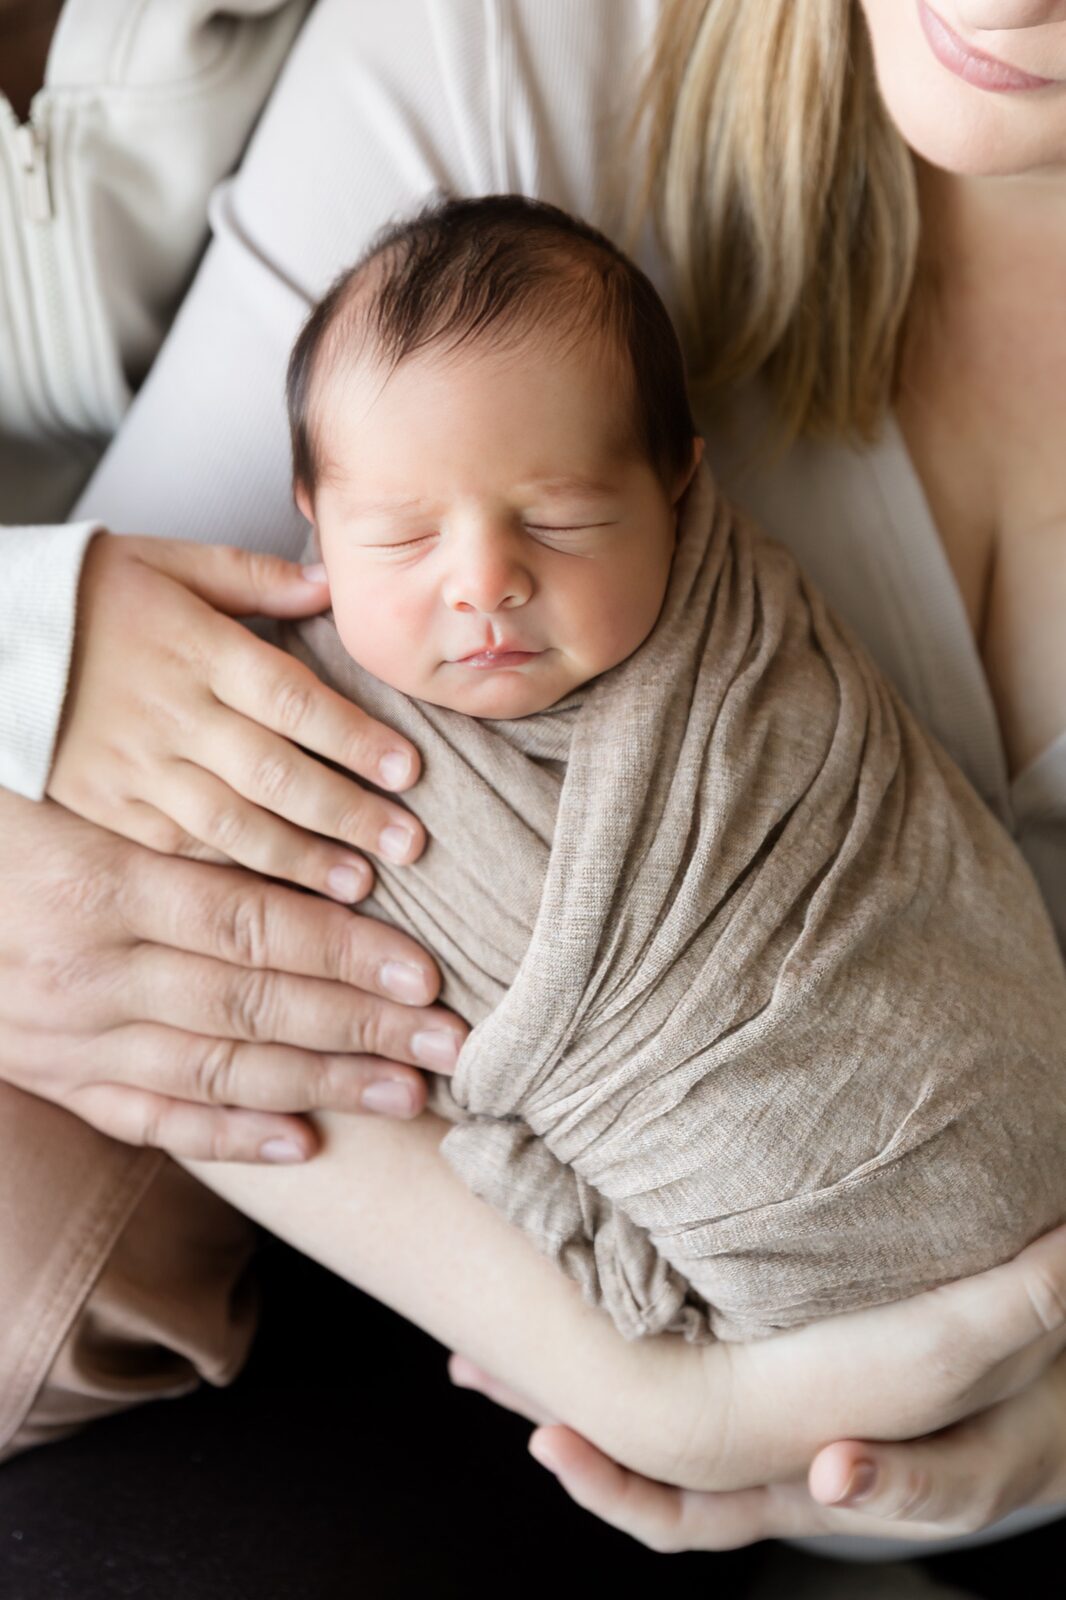
The core advantage of continuous lights is what you see is what you get. For newborn photography in Sydney, this is especially valuable — repeated flash bursts can startle sleeping babies, and a warm, steady LED panel lets you work gently within a calm, safe environment.
Strobes
Strobes fire brief, intense bursts of light — powerful enough to overpower ambient room light and freeze even fast-moving subjects stone cold. A professional unit like the Profoto B1 delivers 500 watt-seconds of power and recharges in under two seconds between shots.
For portrait and headshot work, strobes are the professional standard. They give you crisp, grain-free files at ISO 100–200 rather than forcing you into ISO 800–1600 territory where noise and reduced dynamic range become real problems.
Power and Performance: How Much Light Do You Actually Need?
Raw power matters far more than most beginners expect. A 400-watt strobe produces roughly ten times the output of a 100-watt LED panel — and that difference is visible in your images as sharper focus, cleaner files and much greater control over depth of field.
The ISO Equation
- Strobes: Shoot comfortably at ISO 100–200, keeping noise to a minimum and dynamic range at its peak.
- Mid-range continuous LED: Often require ISO 400–800 in a typical studio — workable, but not ideal for large-format print work.
- Budget LED panels: May push you to ISO 1600 or higher, introducing grain and reducing shadow detail noticeably.
Fast shutter speeds up to 1/200th of a second, paired with strobes, produce portraits sharp enough to reveal individual lashes — the clinical clarity clients expect from a polished corporate photography session or executive headshot.
When Continuous Lights Win
If you produce video alongside stills, continuous lights are essential — strobes simply don't work with video. Budget-friendly continuous panels like the Neewer CN-160 (under $50) are excellent fill lights for hair and background work in smaller studios. For family photoshoots in Sydney with energetic toddlers, continuous lights let you monitor your scene in real time and avoid the distraction of repeated flash bursts mid-laugh.
"The best lighting kit isn't the most expensive one — it's the kit calibrated to your space, your subjects and the way you actually shoot."
Light Modifiers That Transform Your Results
No light source performs at its best straight out of the box. Light modifiers shape, soften and direct your output — and they can have a bigger impact on your final image than the light unit itself.
Softboxes
Softboxes are the go-to modifier for portrait work. They spread light across a large surface area, wrapping it around the subject and softening shadows under the eyes, nose and chin. The Westcott Apollo series is particularly popular for portable, professional-quality results both in studio and on location across South-West Sydney.
Umbrellas
Umbrellas are the economical entry point into light modification. They're quick to set up but scatter light in multiple directions, making precise control more difficult.
- Silver umbrellas increase contrast and punch — effective for dramatic, high-impact portraits.
- White umbrellas produce softer, more diffused light with gentler shadow transitions — ideal for families and children.
- Shoot-through umbrellas create very broad, wrapping light that flatters a wide range of subjects.
Beauty Dishes and Grids
Beauty dishes produce a characteristic mid-way light — softer than bare strobe but more contrasty than a large softbox. Add a grid to any modifier to prevent spill and keep your light exactly where you intend it.
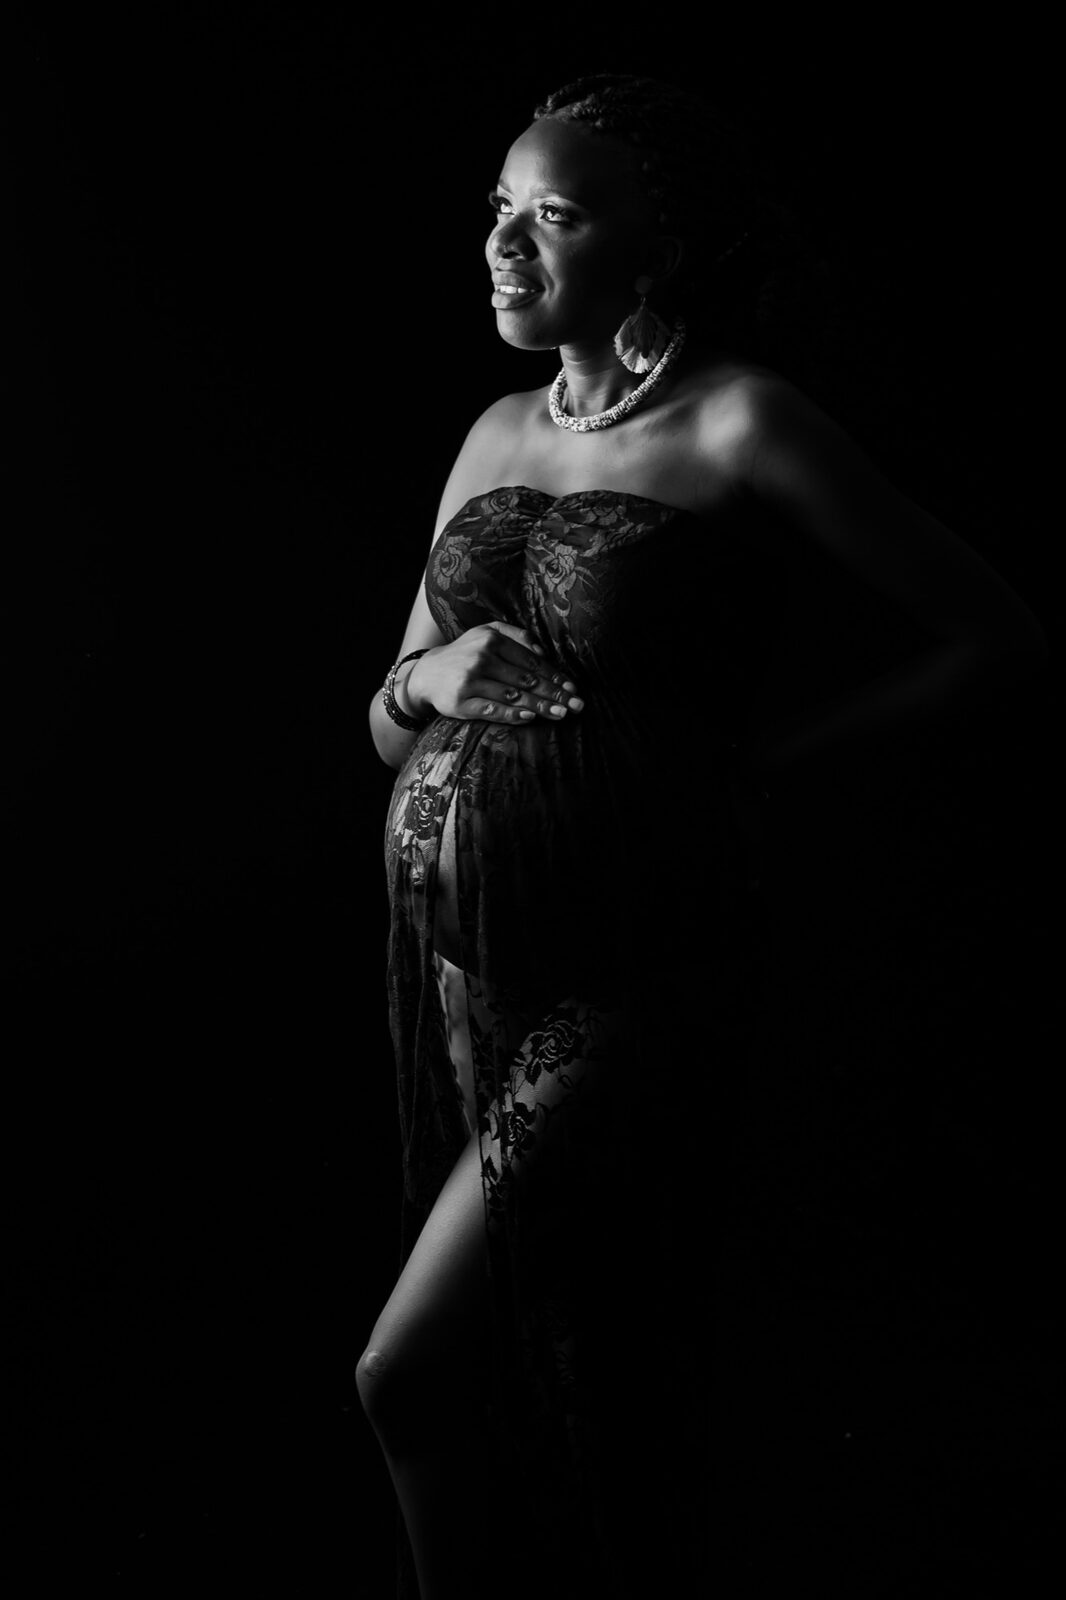
For our maternity photography in Sydney sessions, we often combine a large octabox as the key light with a reflector below — the result is flattering, luminous skin tones without harsh shadows. For a deeper look at building out a complete professional space, our guide to lighting equipment studio essentials covers every element in detail.
Background and Hair Lights: The Unsung Heroes of Depth
Background lights and hair lights are what separate a truly professional studio portrait from a well-lit snapshot. Many photographers work with a single key light and wonder why their images look flat — this is almost always the culprit.
Hair Lights
A hair light is positioned above and behind the subject, creating a subtle rim of light that separates them cleanly from the background. It adds a three-dimensional quality that no amount of post-processing can convincingly replicate after the fact.
Background Lights
Background lights illuminate your backdrop evenly, eliminating hot spots and dark patches that make even an expensive studio look amateurish. A simple two-light set-up — one key light and one background light — will produce images dramatically superior to a single-light approach.
- Use a snoot on your hair light for a precise halo effect with zero spill.
- Gel your background light for colour variation without swapping physical backdrops.
- Position background lights at 45 degrees to the backdrop for even edge-to-edge illumination.
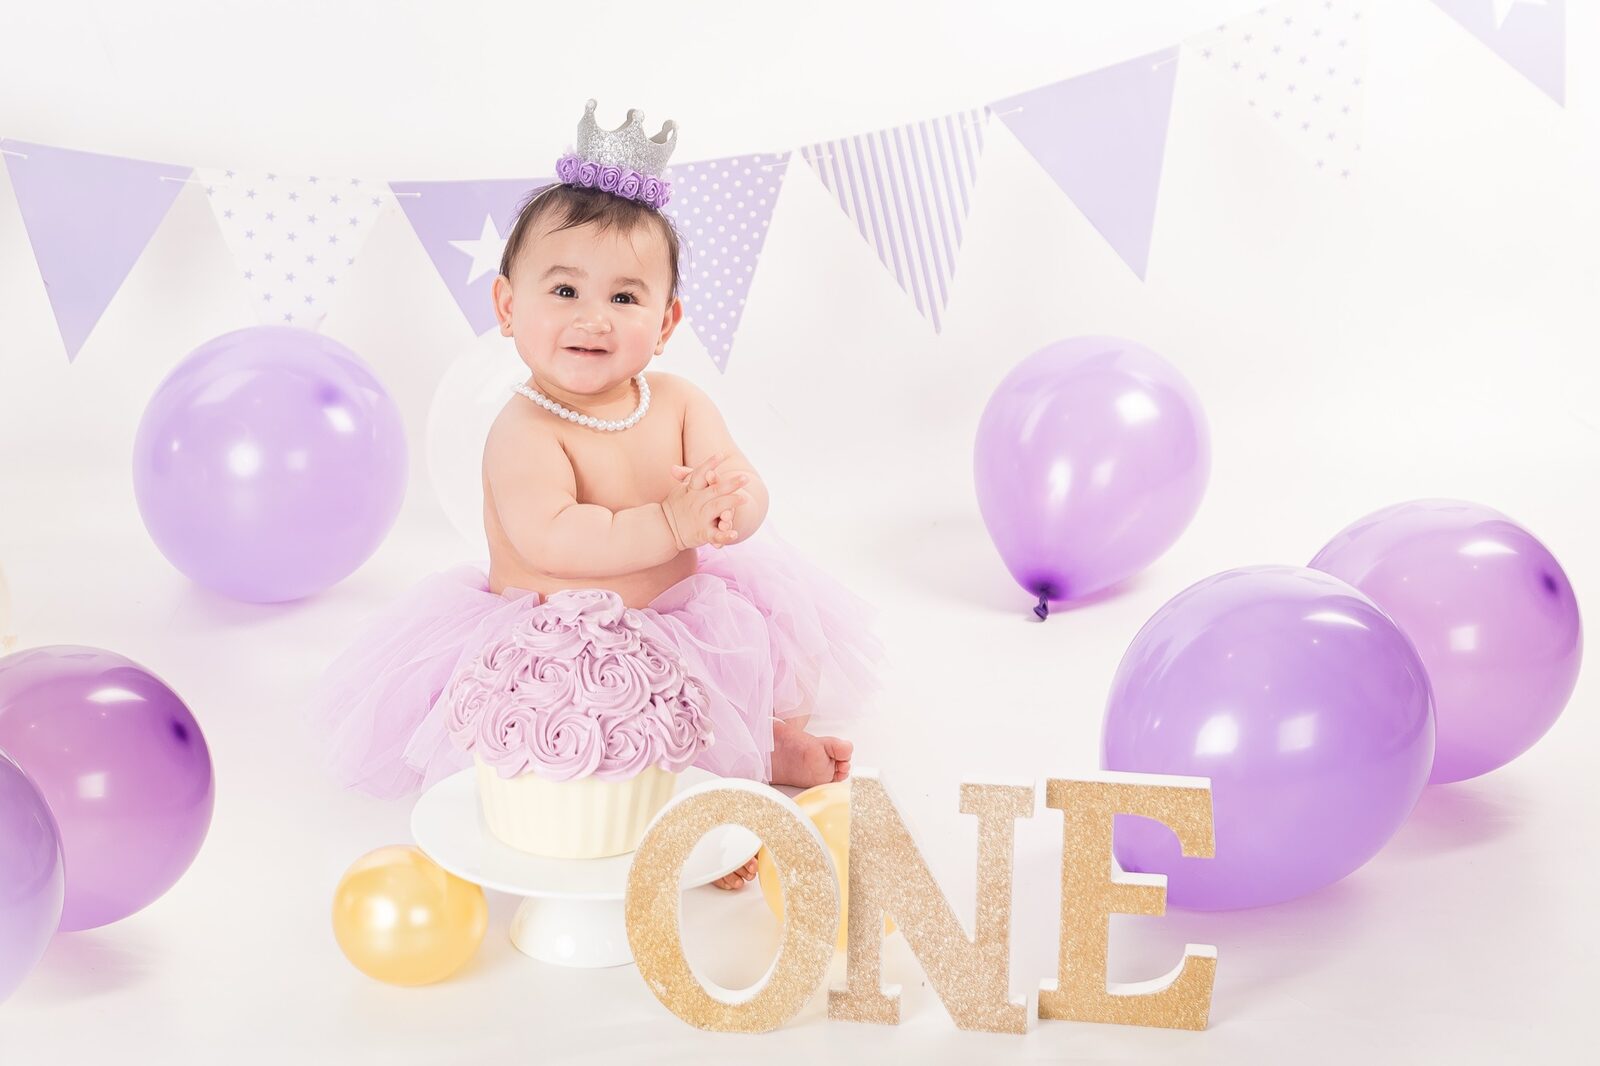
These techniques are central to how we approach our cake smash photography in Sydney sessions — layered, intentional lighting that makes every colourful backdrop genuinely pop.
Ready to experience professional studio lighting firsthand?
At Faithful Photography, our Glen Alpine and Gledswood Hills studios are fitted with professional-grade lighting designed to make every subject look their absolute best — from sleepy newborns to polished corporate headshots.
Matching Your Kit to Your Studio Space
Space dictates everything. The most powerful strobe in the world is useless if your studio ceiling is too low to position it correctly, or your room is too small to achieve proper subject-to-background separation.
Small Studios (Under 3 × 3 Metres)
Compact LED panels like the Aputure MC RGBWW are practical choices — portable, low-heat and easy to reposition in tight quarters. In smaller studios, be selective about modifier size; a 150-cm octabox will dominate the room and drastically limit your shooting angles.
Medium to Large Studios (6 × 9 Metres and Beyond)
Larger spaces can accommodate the full power of professional strobes without constraints. You'll have room to maintain the recommended minimum of 2.5 metres between subject and background for genuine depth, plus nearly 2 metres between the key light and your subject for natural fall-off.
Ceiling Height
This is the variable most photographers overlook. Anything under 3 metres creates real problems with boom arms and steep overhead angles. Units like the Elinchrom ELC Pro need at least 3.6 metres of ceiling clearance for umbrella set-ups to work as intended. If you're shooting in a standard residential room, continuous LED panels on low stands will often be your most practical option.
Photography Style and Subject — the Lighting Match
Your shooting style and the subjects you photograph should drive your kit selection as much as any technical specification or brand name.
Portrait and Corporate Headshots
Consistency is the priority. A colour temperature locked at 5500K with a CRI rating above 95 keeps skin tones accurate across an entire session. The Godox SL-60W delivers reliable output at an accessible price point and is a popular choice for photographers building out a corporate headshot offering in Campbelltown and Narellan.
Product Photography
Products demand a multi-light approach to eliminate reflections and shadow interference. A four-light Westcott Spiderlite TD6 package gives product photographers precise control over every shadow edge. Budget for at least $1,200 AUD if product work is part of your service mix.
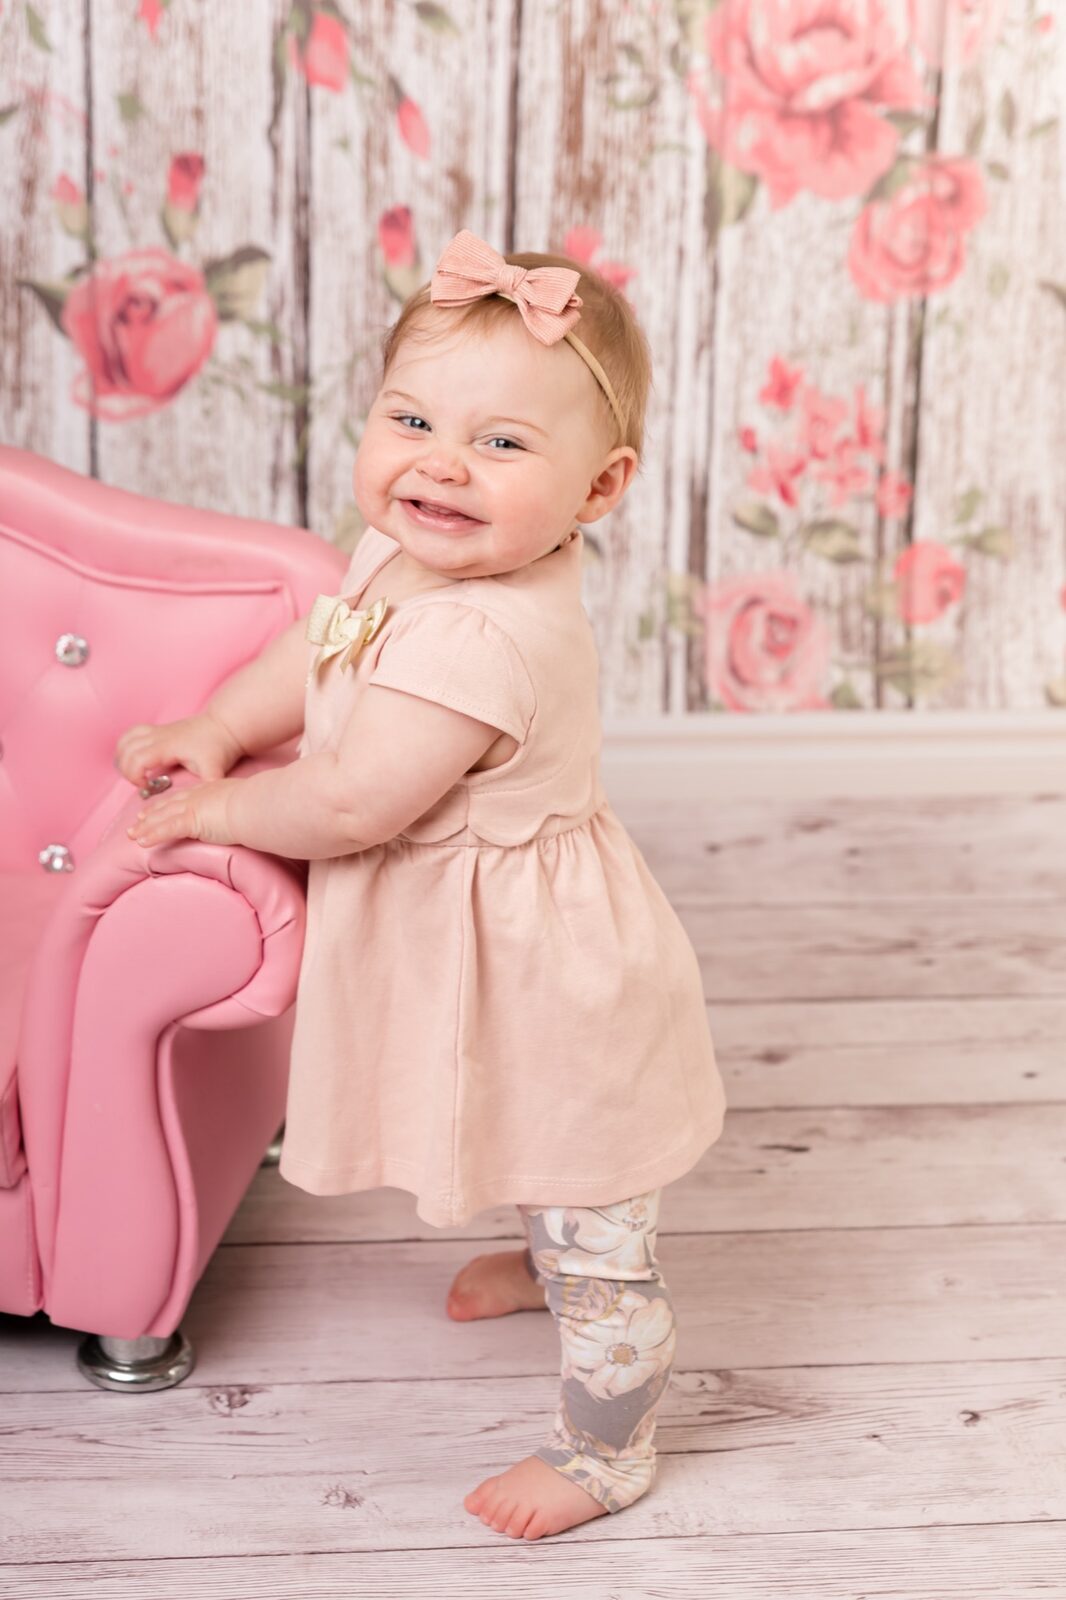
Family and Children's Photography
- Continuous lights let you monitor your scene in real time — no test shots needed before a fleeting moment disappears.
- Avoid high-powered strobes with very short recycle times when photographing young children who may be unsettled by repeated flashes.
- A warm LED key light paired with a large reflector creates an inviting, natural look perfectly suited to family sessions.
Wedding and Location Photographers
Portability and reliability outrank raw power. Battery-powered speedlights and compact monolights that fit within a rolling case are essential for photographers moving between venues across South-West Sydney and the Macarthur region.
Budget Reality: What to Expect at Every Price Point
Honest budget expectations save you from costly gear regret. Here is what each bracket actually delivers in practice.
Entry Level (Under $500 AUD)
Starter kits from brands like ESDDI — typically two LED panels, two softboxes and two stands — are genuinely useful for learning fundamentals and building confidence. Colour accuracy and power output are limited, but they are a legitimate starting point.
- Expect CRI ratings in the 85–90 range — workable, but not ideal for critical colour work.
- Power output will require higher ISO settings in most shooting scenarios.
- Build quality is modest; focus on learning rather than perfecting at this stage.
Mid Range ($500–$2,000 AUD)
This is where the meaningful quality step-change happens. Godox, Neewer's professional line and entry-level Elinchrom units deliver CRI 95+ accuracy, consistent colour temperature and substantial power output. For most portrait photographers across the Macarthur region, this bracket covers every professional need without compromise.
Professional ($2,000 AUD and Above)
Profoto, Broncolor and high-end Elinchrom systems are the industry standard for commercial and high-volume studio work. Recycle times under two seconds, built-in wireless triggering and rock-solid consistency across thousands of activations justify the investment. Whatever your budget, prioritise one excellent light over two mediocre ones — a single professional key light with a quality softbox will outperform a four-light budget kit in almost every scenario.
Frequently Asked Questions
What is the best photo studio lighting kit for beginners?
For beginners, a two-light LED kit with softboxes — such as those from Godox or Neewer's mid-range line — is the most practical starting point. Look for CRI ratings above 90 and adjustable colour temperature. Starting with two lights (key and fill) teaches the fundamentals before adding background and hair lights to your set-up later.
Are strobes or continuous lights better for newborn photography?
Continuous LED lights are strongly preferred for newborn photography. They create a calm, warm environment without the repeated flash bursts that can startle a sleeping baby. A high-CRI LED key light with a large softbox produces the soft, wraparound light that flatters newborn skin tones beautifully. At Faithful Photography, we use gentle continuous lighting across all our newborn sessions for exactly this reason.
How much space do I need for a proper studio lighting set-up?
As a practical minimum, aim for a room at least 4 × 5 metres with a ceiling height of 3 metres or above. This allows for at least 2.5 metres of subject-to-background separation and enough overhead clearance for boom arms and angled modifiers. Larger spaces give you more creative flexibility and allow the use of more powerful strobe systems.
Which light modifiers should I buy first?
Start with a medium-large softbox (around 90 × 90 cm) as your key light modifier — it produces flattering, soft light for virtually every subject. Add a white reflector to serve as a fill before spending on a second light unit. Once you've mastered a two-element set-up, a shoot-through umbrella makes an affordable second modifier to give you creative variety.
Do I really need a hair light and background light, or can a single key light work?
A single key light can produce beautiful portraits, and many photographers start exactly this way. However, adding a hair light and a background light transforms the dimensionality of your images — subjects separate cleanly from the backdrop, depth increases, and the overall professional polish lifts significantly. Most working studios consider a three-light set-up the minimum standard for portrait sessions.
What studio lighting works best for family photography?
For family photography, prioritise continuous LED lights with a high CRI rating — they let you see your scene in real time, which is invaluable when children are involved. Look for units with adjustable colour temperature so you can match ambient light when shooting on location. A large softbox as the key light paired with a reflector fill handles the vast majority of family portrait scenarios with ease.
Visit Faithful Photography Today
Experience the difference that truly professional studio lighting makes. Our Glen Alpine and Gledswood Hills studios are built around light that flatters, engages and produces images you'll treasure — serving families and businesses across Campbelltown, Camden, Narellan and the wider Macarthur region.