Key Takeaways
- The right camera settings — fast shutter speed, wide aperture and controlled ISO — are the foundation of sharp, vibrant smash cake photos.
- Timing and preparation matter just as much as gear: scheduling around naps, choosing the right cake, and decluttering your backdrop will transform your results.
- A professional studio brings together lighting, safety, styling and experience so every frosting-covered moment becomes a keepsake — not a blurry, poorly-lit memory.
Essential Camera Gear for Smash Cake Photography
The single biggest factor separating a memorable smash cake photo from a blurry, flat snapshot is the equipment — and how confidently you use it. You don't need the most expensive kit on the market, but you do need the right tools for the job. Start with a DSLR or mirrorless camera set to full manual mode. Auto mode might seem convenient, but it will consistently underexpose or overexpose the bright whites of a cake against a light backdrop. Manual control puts you in charge of every frame.Choosing Your Lens
A 35mm to 50mm prime lens is the sweet spot for cake smash sessions. It lets you capture tight, expressive close-ups as well as wide environmental shots showing the full glorious mess — all without crowding the baby or triggering a meltdown by hovering too close. A macro lens is a brilliant secondary option for detail shots: cake crumbs on chubby cheeks, tiny frosting-covered fingers, the whole delicious scene in miniature.Nailing Your Camera Settings
Babies move fast. A shutter speed of at least **1/500 second** is non-negotiable to freeze motion and avoid blur on those flailing arms. Pair that with an aperture between f/2.8 and f/5.6 — wide enough to beautifully separate your subject from the background while keeping the face and cake in crisp focus. Keep ISO as low as your lighting allows (typically ISO 100–400 indoors with good natural light) to preserve clean, grain-free images.Lighting Setup That Makes Frosting Glow
Good lighting is the difference between a smash cake photo that looks warm and joyful and one that looks flat and clinical. Natural light from large windows remains the gold standard — it's soft, flattering and wraps beautifully around a baby's rounded features. Position your subject perpendicular to the light source, not directly in front of it. This creates gentle dimension and avoids harsh, flat frontal lighting. If sunlight is streaming in too strongly, hang sheer white curtains or diffusion fabric to soften it down to something workable.Working With Artificial Light
When natural light isn't available or sufficient, a softbox or diffused studio strobe is your best friend. Keep flash power modest — you're not trying to illuminate a warehouse, just fill a small set. Kill any overhead fluorescent lights, which cast unflattering greenish shadows, and rely entirely on your controlled light sources. At Faithful Photography's studios in Glen Alpine and Gledswood Hills, lighting is purpose-built for these sessions, which is a significant part of why results look so consistent. Read more about what goes into a proper setup in our guide to lighting equipment studio essentials.Backdrop and Prop Styling — Less Is Always More
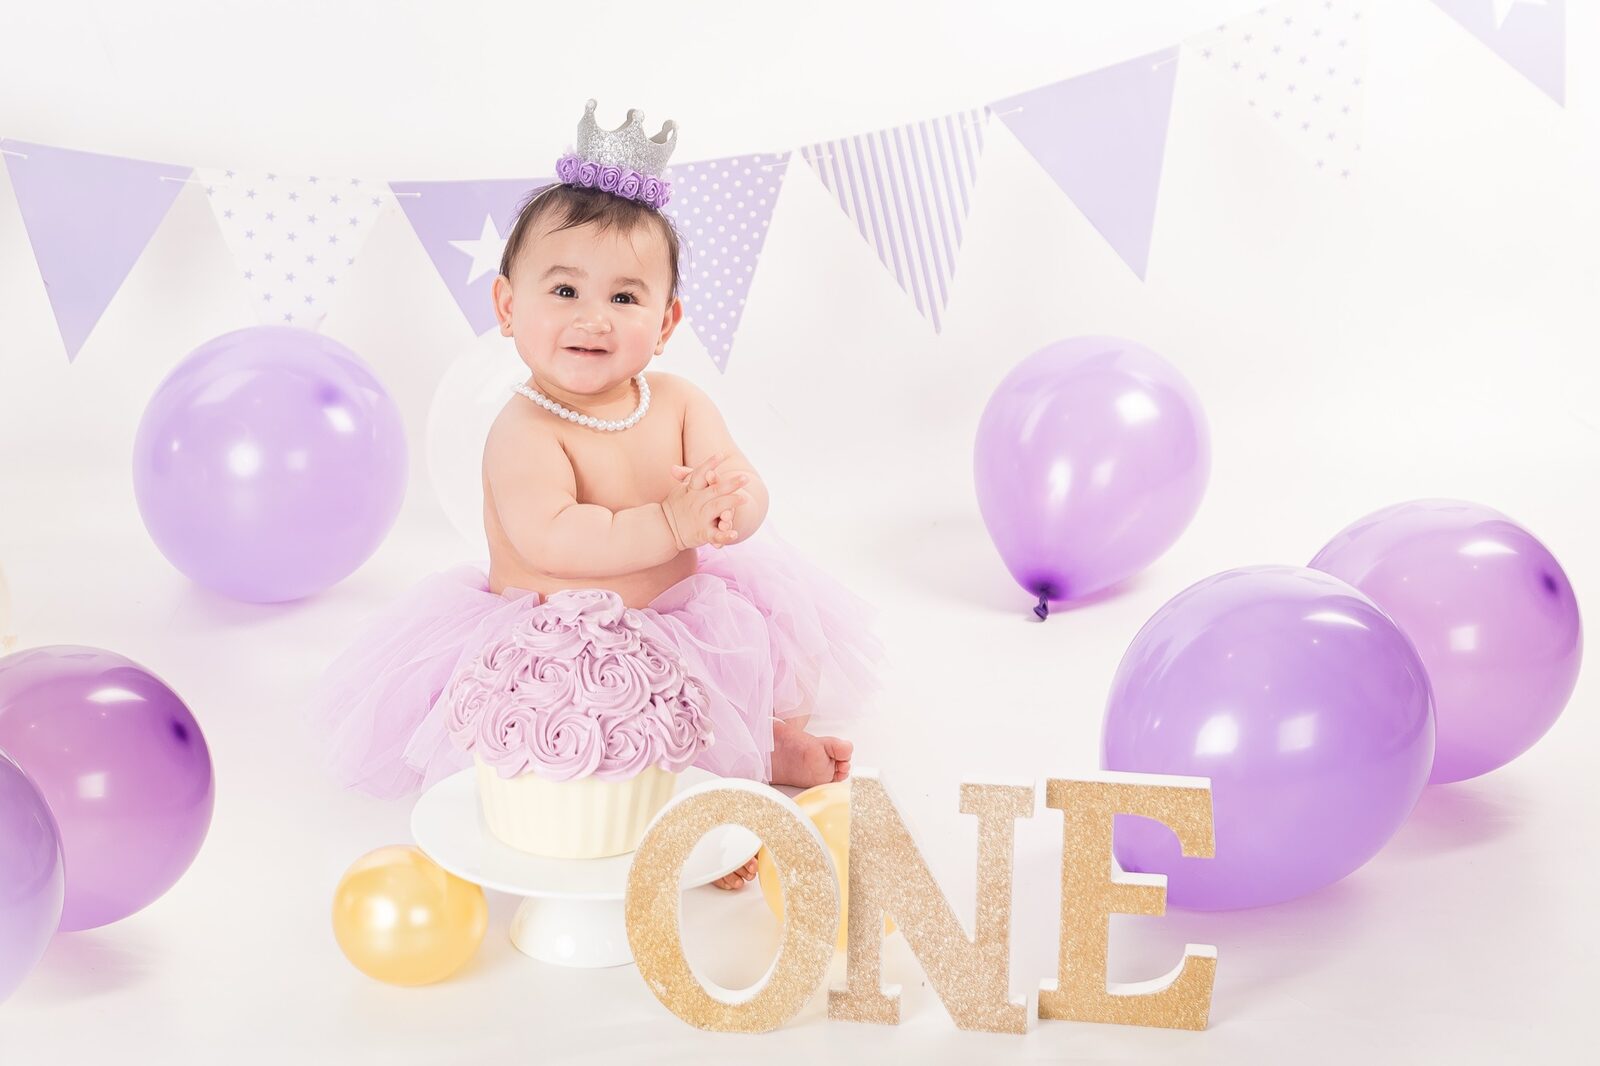
One of the most common mistakes in smash cake photography — professional or otherwise — is overcrowding the frame. When there's too much going on, the eye doesn't know where to rest. The baby gets lost in the noise. Choose a clean, minimal backdrop: a blank painted wall in a neutral or pastel tone, a seamless paper roll, or a quality vinyl backdrop. For flooring, tiles or smooth floorboards are far easier to clean than carpet and create a polished, studio-quality look. Our detailed breakdown of cake smash studio setup walks through exactly how to design a visually cohesive set from scratch.Props and Outfits
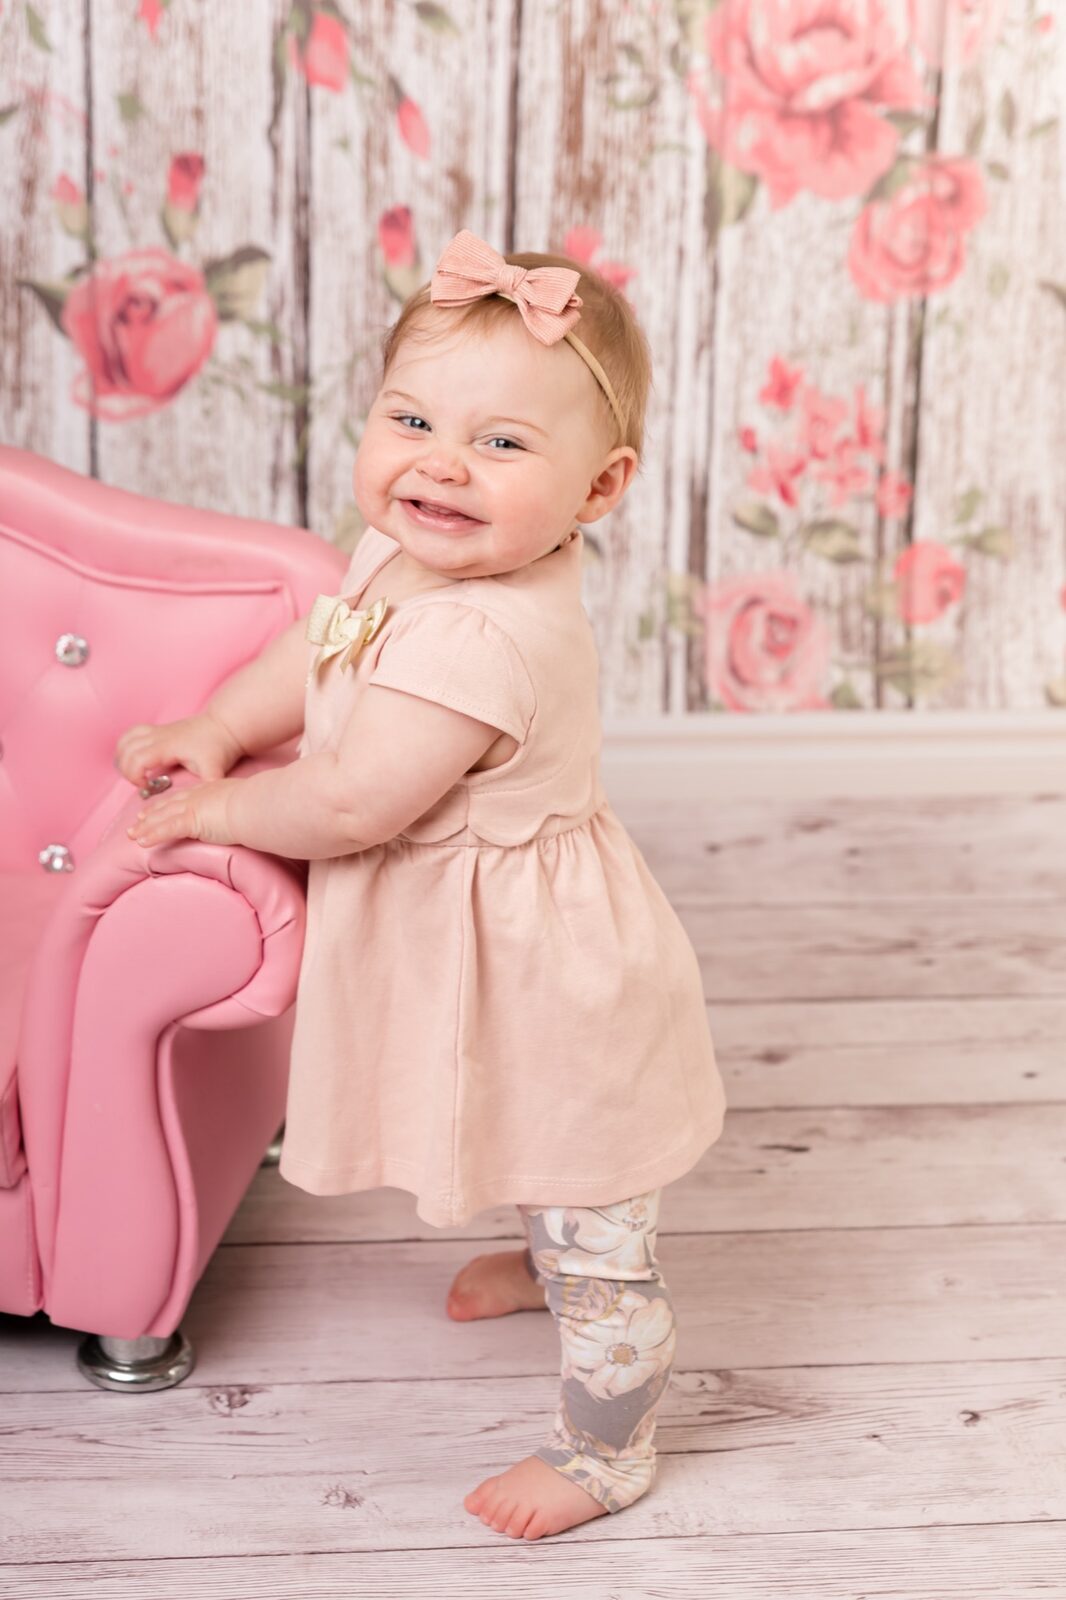
Limit props to two or three items maximum — a banner, a small balloon bunch, and perhaps a matching bow or outfit accessory. Analogous colour palettes (colours sitting next to each other on the colour wheel) create visual harmony without competing with the cake itself. For clothing, a simple white bodysuit, a birthday tutu, or a plain romper almost always photographs better than something busy with patterns. And always — always — bring a backup outfit. Some little ones truly embrace the mess in a way that makes a change of clothes essential. For more styling inspiration, see our post on cake smash outfit ideas.The Cake: Getting It Right Before the Session Begins
The cake itself is a critical variable that's often overlooked until the last minute. Buttercream frosting is the professional standard for smash cake photography — it photographs beautifully, shows finger marks and swipes in a visually engaging way, and cleans up from skin and surfaces far more easily than fondant. Avoid chocolate frosting and any deeply saturated red or purple dyes entirely. These can stain pale skin and light backdrops, and they tend to photograph murkily under studio lighting. Pastel colours — soft pinks, lilacs, mint greens, buttery yellows — are the reliable favourites for a reason.Cake Size and Temperature
A 6-inch single-tier cake or an oversized cupcake hits the Goldilocks zone: big enough to photograph well and create satisfying destruction, small enough that a one-year-old can actually engage with it. Bring the cake to room temperature before the session begins. A cold, firm cake straight from the fridge is difficult for small hands to dig into, which stalls the action and can frustrate an already uncertain baby. It's also worth having parents bring their own cake rather than purchasing one on the day — this lets them accommodate any dietary requirements or allergies, and avoids any last-minute stress if a bakery order is delayed."A cake smash session isn't just about the mess — it's about reading the baby's mood, building their confidence with the set, and waiting for that exact moment when pure joy takes over. That patience is what separates a snapshot from a portrait."
Timing and Scheduling Your Session Like a Pro
Session timing has an outsized impact on the quality of your results, and it's the variable that parents most often underestimate. A tired, overstimulated, or hungry baby will rarely perform well in front of a camera — no matter how perfect the lighting or how beautiful the cake. Schedule smash cake sessions in the morning where possible. Most babies are at their brightest, most cooperative best after a full night's sleep and a small early feed. Aim to begin the session roughly 30–45 minutes after a nap ends, when the baby is alert but not yet hitting the next tired window.A Practical Session Flow
- Arrival and settling: Let the baby explore the set and warm up to the environment at their own pace. Rushing this step causes anxiety and tears.
- Clean portraits first: Capture those pristine, outfit-perfect shots before the cake appears. Parents always appreciate having both sets of images.
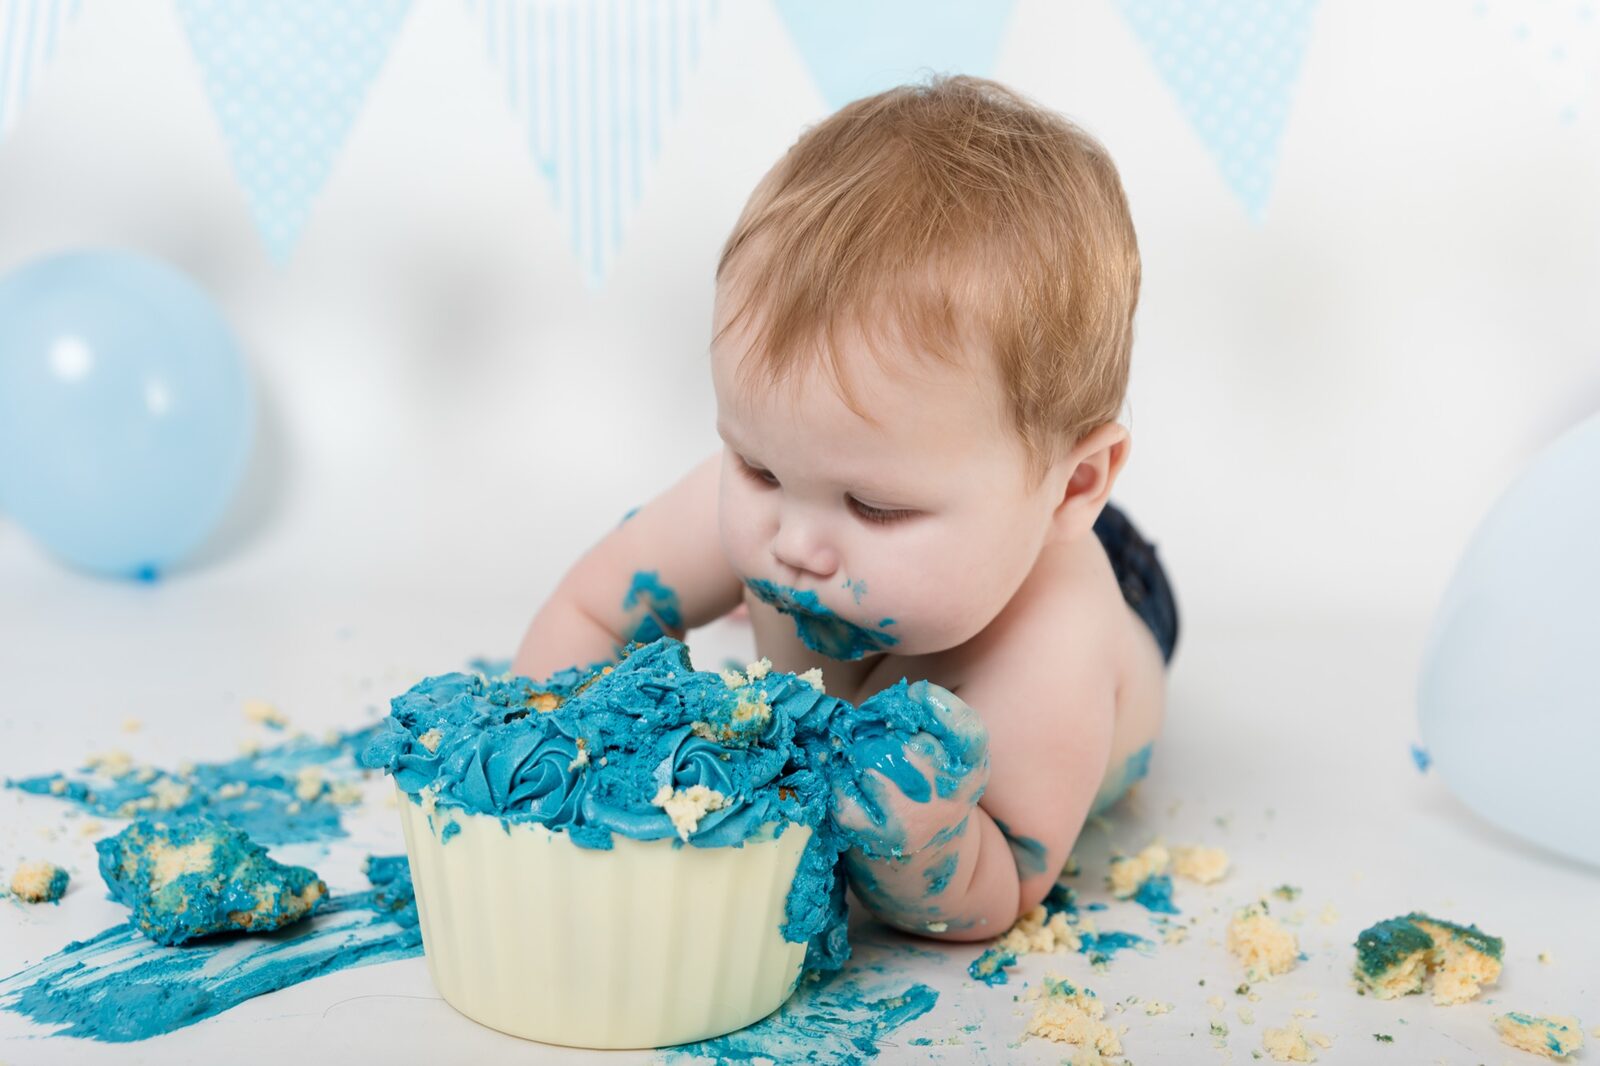
- Introduce the cake: Place the cake in front of the baby and step back. Let curiosity do the work — don't force it.
- The smash: This typically lasts 15–25 minutes. Let the baby lead entirely.
- Bath or wipe-down: A warm post-session clean-up is a lovely, natural way to round out the experience.
Safety, Hygiene and In-Session Management
A safe set is a good set. Every surface the baby can reach should be stable and non-slip — no teetering cake stands, no props with sharp edges, and no elevated surfaces without a parent immediately within arm's reach. Test a small amount of the cake at home in the days before the session. This serves two purposes: it confirms there are no allergic reactions, and it means the flavour is already familiar and appealing when the baby encounters it on the day. A baby who recognises something as tasty is far more likely to dig in enthusiastically.Managing the Set
- Silence all mobile phones in the room — unexpected notification sounds can startle a baby mid-expression and collapse the mood instantly.
- Have a second adult — a partner, grandparent or studio assistant — present to help hold attention and encourage direct eye contact with the camera.
- Keep a wooden spoon or small soft toy nearby for babies who are initially reluctant to touch the cake directly.
- Lay down a vinyl floor mat or waterproof sheet for easy cleanup without damaging studio flooring.
- Have two or three backup outfits on hand — some babies surprise everyone with the scale of their enthusiasm.
Ready to Book Your Baby's First Birthday Shoot?
Faithful Photography's Glen Alpine and Gledswood Hills studios are purpose-built for cake smash sessions — professional lighting, easy-clean sets, and an experienced team who knows exactly how to bring out the best in little ones.
Capturing Authentic Expressions: In-Session Techniques
The technical settings get you a sharp, well-exposed image. But the magic — the genuine belly laugh, the look of total bewilderment, the two-fisted frosting grab — comes from how you manage the session on the floor. Get low. Shooting from the baby's eye level creates connection and intimacy. Images shot from standing height looking down tend to feel detached and documentary. Get on the ground, work from your elbows if you need to, and stay at that level throughout.Working With the Baby's Pace
Follow the baby's lead entirely. If they're interested in the candle on top of the cake rather than the frosting, shoot that. If they want to hand-feed cake to a parent off to the side, capture that exchange. The most memorable smash cake photos are rarely the ones where the photographer tried to engineer a specific moment — they're the ones where something completely unplanned happened and the photographer was ready.- Use continuous burst mode during peak activity moments — you can edit down later, but you can't recreate a fleeting expression.
- Keep talking softly and positively to the baby throughout — your voice is a natural attention-holder and mood-setter.
- Watch the parent — babies frequently look to their parent's face for reassurance. If the parent is visibly relaxed and smiling, the baby usually follows.
- Don't panic when the baby cries. A brief settle, a cuddle and a moment's patience usually brings them back around.
Why Families Across Macarthur Choose Faithful Photography
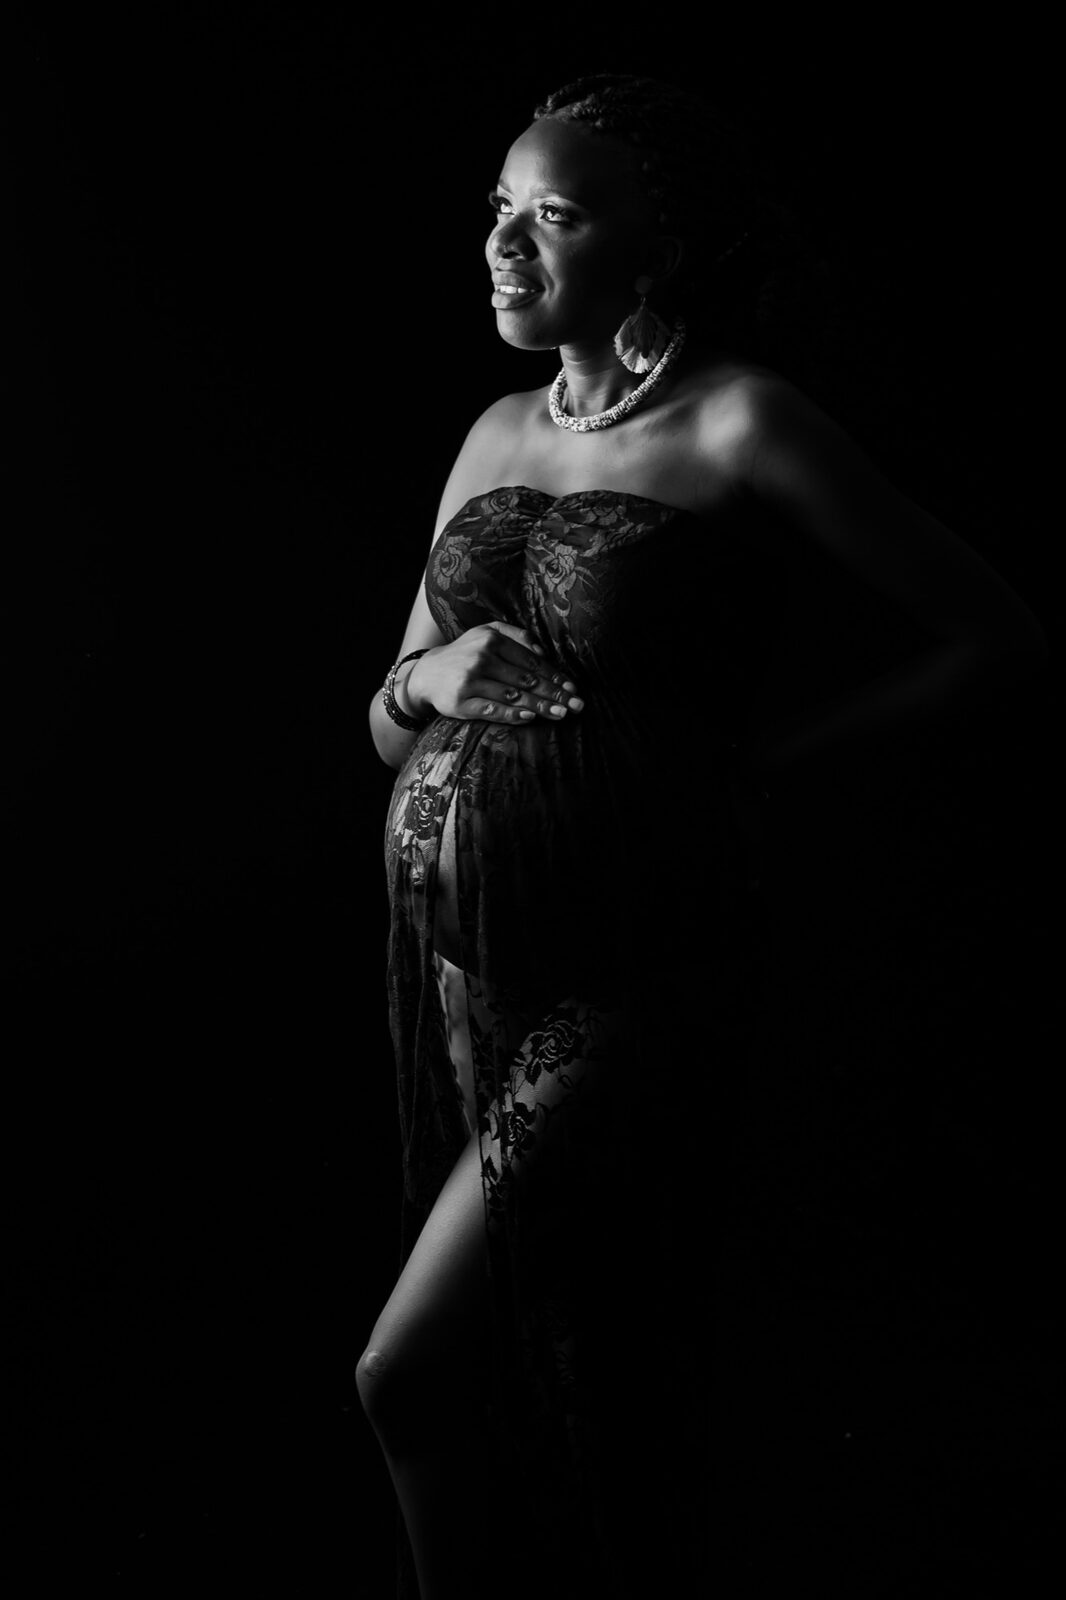
There's a meaningful difference between snapping a few photos at home and investing in a dedicated professional session. At Faithful Photography, we've spent years refining our cake smash process specifically for South-West Sydney families — from our studios in Glen Alpine and Gledswood Hills to on-location sessions across the Macarthur region. Our team handles every element: the set design, the lighting calibration, the session timing consultation, and the gentle, patient approach that puts babies (and parents) at ease. We also offer professional hair and makeup services so parents can feel confident in their own images from the session too. Curious about investment? Browse our session pricing or explore our full range of family photoshoots in Sydney to see how a cake smash fits into a broader first-year photography journey.Frequently Asked Questions
What's the best age for a smash cake session?
Most smash cake sessions are booked around the first birthday — typically anywhere from 11 to 13 months. At this age, babies are usually sitting confidently, engaged with their surroundings, and just beginning to show strong personality. If your little one has a slightly different developmental timeline, don't worry — we'll work with you to find the right moment for your child specifically.
Should I bring my own cake, or does the studio provide one?
We recommend families bring their own cake. This gives you complete control over ingredients, dietary requirements and allergens — particularly important if your baby hasn't had much exposure to sugar or dairy yet. We'll advise you on the ideal size, frosting type and colour palette during your pre-session consultation so the cake is perfectly matched to your set design.
How long does a smash cake session take?
A full cake smash session at Faithful Photography typically runs between 60 and 90 minutes. This includes arrival and settling time, clean portrait shots, the smash itself, and a post-session wipe-down. We never rush our sessions — giving your baby time to warm up to the environment is one of the most important factors in capturing genuine, relaxed expressions.
What frosting colour photographs best?
Soft pastels — blush pink, mint, lilac, butter yellow and sky blue — are the consistently reliable choices for smash cake photography. They pop beautifully against light backdrops, sit naturally against most skin tones, and clean up without staining. We recommend avoiding deeply saturated reds, purples or chocolate frosting, as these can create colour cast issues and may stain skin and props.
Do you offer cake smash sessions outside your Glen Alpine and Gledswood Hills studios?
Our primary cake smash sessions are conducted in our purpose-built studios in Glen Alpine and Gledswood Hills, NSW, where we have full control over lighting, set design and environment. These studios are conveniently located for families throughout Campbelltown, Camden, Narellan, Harrington Park, Gregory Hills, Oran Park and the broader Macarthur region. Get in touch to discuss your location and we'll help you find the best option.
Can siblings or parents be included in the smash cake photos?
Absolutely — and we love it when they are. Including a sibling or parent in part of the session creates a beautiful contrast between the clean portraits and the messy fun. We can structure your session to include individual baby shots as well as family groupings. These work particularly well as a natural extension of our broader family photoshoots.
Visit Faithful Photography Today
Your baby's first birthday only happens once. Let Faithful Photography capture every frosting-covered, wide-eyed, joyful moment in portraits your family will treasure for a lifetime. Our studios in Glen Alpine and Gledswood Hills are ready for you — serving families across Campbelltown, Camden, Narellan, and the entire Macarthur region, NSW.