Key Takeaways
- Soft, directional natural light — especially from a north-facing window or golden-hour sun — is the single biggest upgrade you can make to your kids' portraits.
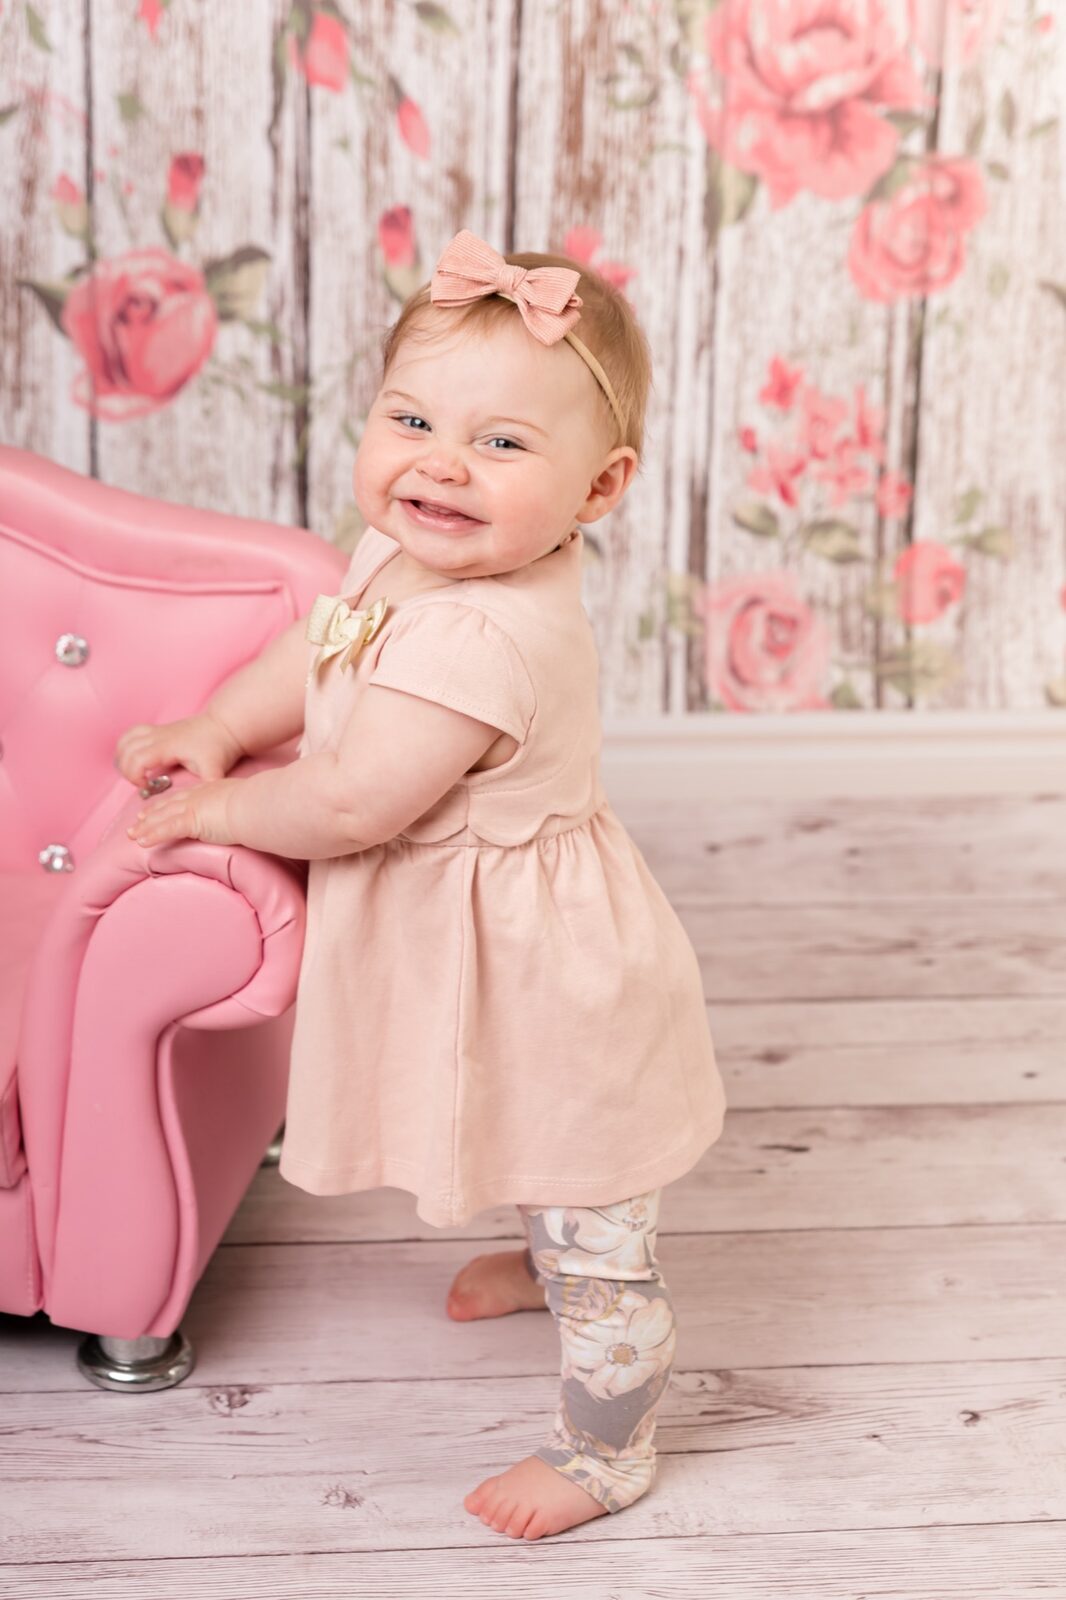
- Getting down to a child's eye level and letting them play rather than pose transforms stiff snapshots into genuine, personality-filled images.
- A fast shutter speed (1/250 s or higher) and continuous autofocus are your two most important camera settings when photographing children who never stop moving.
How to Light Kids' Faces Without Washing Them Out
Natural window light wins every time. It's soft, directional, forgiving — and free. Place a child one to two metres from a north-facing window on an overcast Sydney day and something close to magic happens: even, shadow-free illumination that flatters young skin without the glare that makes them squint like tiny conspiracy theorists. South-facing windows work well too, particularly in winter when the sun sits lower and behaves itself. The trick is distance — too close and one side blows out; too far and the light flattens everything into a postcard.Avoid Midday Sun Indoors and Out
Midday sun creates harsh shadows under the eyes and nose that make kids look tired and guarded. Squinting kills authenticity faster than anything else. If indoor light feels thin, move the child into the brightest pocket of the room rather than reaching for on-camera flash. A plain white wall or a light-coloured ceiling will often do more work than wrestling with a reflector while a small person performs full-body improv beside you.Golden Hour Is Your Best Friend Outdoors
For outdoor sessions — parks, backyards, the gorgeous green spaces throughout Camden, NSW and the broader Macarthur region — aim for golden hour: the first hour after sunrise or the last two before sunset. Low-angle light wraps skin in warm, directional tones. Photographers who shoot at these times consistently report higher keeper rates because the light is forgiving and skin tones simply read as honest.- Overcast days are underrated — cloud cover acts like a giant softbox across the entire sky.
- Dappled shade under a tree removes direct sun while retaining enough ambient light for a proper exposure.
- Partially closing curtains or blinds softens incoming window light without killing it entirely.
- A light-coloured scarf or white sheet hung on one side can bounce softer fill light onto shadowed faces — costs nothing, takes seconds.
Position Light to Catch the Eyes
Eyes need light in them, not just on the cheeks. Place the child so the window or the sun sits slightly to the side and a touch above eye level — not behind them, and definitely not below. That angle produces a catchlight: the bright little sparkle in each eye that transforms a flat portrait into something electric.Finding the Sweet Spot
If the light source is to the left, have the child pivot gently toward it so the lit side faces the camera. Backlit setups can look cinematic, but only with fill flash or a reflector — otherwise the face goes dark and featureless. Indoors, walk the child slowly around the room until you see light land in the eyes first. That's your mark. Outdoors, let the sun graze the face from the side rather than hammering straight on; it creates dimension and saves otherwise lovely expressions from the washed-out, squinty fate."A portrait goes from flat to electric the moment a catchlight appears in both eyes. It's the single easiest quality upgrade — and it costs nothing except attention to where the light is coming from."
Camera Settings That Actually Keep Up With Kids
Children don't pause for your histogram. Camera settings for kids' portraits are about one thing above all else: freezing movement without sacrificing light.Shutter Speed First
Start at 1/250 s for a child walking calmly and push to 1/500 s or higher the moment running, jumping or spinning enters the picture — which it will. A blurred face is the most common reason otherwise well-composed kids' portraits end up deleted.Aperture and ISO
- Set your shutter speed first — motion is the priority.
- Choose the widest aperture your lens allows (f/1.8–f/2.8) to gather light and create a soft background. Stop down to f/4 if you're photographing two or more children side by side so both faces stay sharp.
- Let ISO rise to compensate. Modern cameras handle ISO 800–1600 cleanly; grain is far less noticeable than blur.
- Switch autofocus to continuous tracking mode (AI Servo on Canon, AF-C on Nikon and Sony) so the camera locks onto a moving subject and follows it.
- Shoot in bursts — children's expressions change in fractions of a second. The keeper is rarely the first frame.
Ready to Leave the Guesswork to Us?
Faithful Photography's studios in Glen Alpine and Gledswood Hills are purpose-built for beautiful, relaxed kids' portraits — no awkward poses, no stressed parents, just genuine moments captured with care.
How to Get Kids to Act Like Themselves in Front of the Camera
The hostage smile — that fixed, camera-aware grimace — is the enemy of every great kids portrait session. The single fastest way to banish it? Meet children at their eye level.Get Down on the Floor
Kneel, squat, sit cross-legged — do whatever it takes so your lens meets their eyes rather than shooting down on them. That one tiny reposition rewires the entire dynamic. Suddenly they're not being photographed like objects on a shelf; they're involved in something. Participation beats posed, ten times out of ten. Once you're on their plane, prompts become conversations. Three-to-eight-year-olds respond beautifully to tiny, silly games:- The smell game: ask them to pretend there's an invisible flower nearby — watch real curiosity bloom across their face.
- Peek-a-boo with a parent just behind the camera pulls genuine laughter without a single word about smiling.
- Ask them to whisper a secret — the sideways glance and suppressed grin that follows is pure gold.
- Count down from five and tell them to make the silliest face possible on zero — the relief-laughter after is when you fire the shutter.
Talk While You Shoot
Forget scripting every pose. Make eye contact, speak to them like a real person and keep the conversation going. What did they do at school? What's their dog's name? What's the best thing they've eaten this week? Children who are thinking about the answer to a genuine question stop performing for the camera entirely — and that's precisely when the best frames happen. Avoid the word "smile." It produces the worst results. Instead, ask questions that naturally produce the expression you're after.Props, Outfits and Colour Coordination
Props and wardrobe choices have an outsized effect on the final look of children's portraits. A few principles that hold across every session we run from Campbelltown down through Narellan:- Neutral and complementary tones age better than bold, branded prints — a navy, cream or sage palette reads as timeless in five years' time.
- Avoid logos, large graphics and overly busy patterns; they compete with faces for attention.
- For siblings, coordinate rather than match — slight variation in tone creates visual interest without looking like a uniform.
- Comfortable clothes produce relaxed body language. If a child is tugging at a collar or fussing with a dress, the camera will see it.
- Bring a change of outfit to longer sessions — a fresh look extends variety and gives kids a reason to re-engage after a break.
Location Choices Across South-West Sydney
Where you shoot shapes everything — light quality, background texture and how relaxed the children feel. Familiar environments (home gardens, local parks) tend to produce more natural behaviour than unfamiliar venues.Studio vs. Outdoor
A professional studio offers controlled light, purpose-built backdrops and no weather anxiety — ideal for newborns, cake smash sessions and younger children who need predictability. Our studios in Glen Alpine and Gledswood Hills are designed around exactly that: Gledswood Hills photography sessions and Glen Alpine photography sessions are available year-round regardless of Sydney's famously unpredictable skies. Outdoor sessions work beautifully for older children and families who want environmental storytelling — the sprawling parks around Camden and the leafy reserves near Campbelltown offer texture and space that no backdrop can replicate.Timing Your Outdoor Session
Book outdoor sessions for the last two hours before sunset during spring and autumn. Sydney's summer midday heat will exhaust small children in twenty minutes and the light will do you no favours. Winter golden hour is earlier — around 3:30–4:30 pm — and often spectacular.Milestone Sessions Worth Planning Ahead
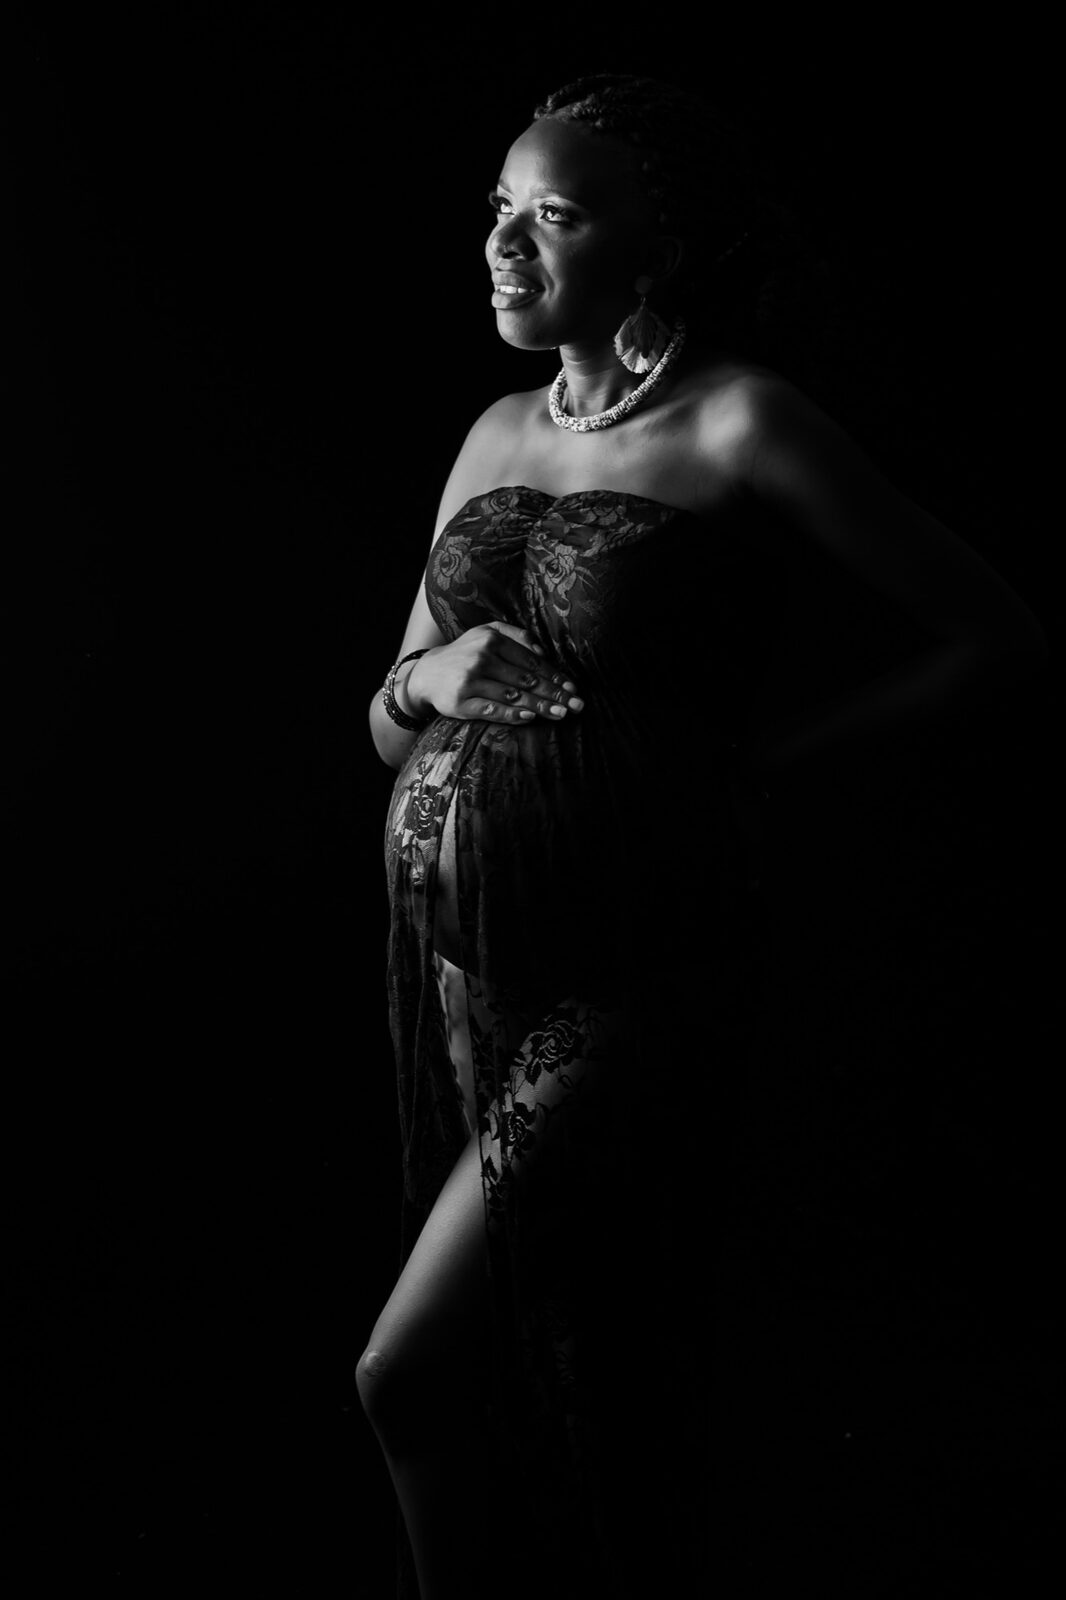
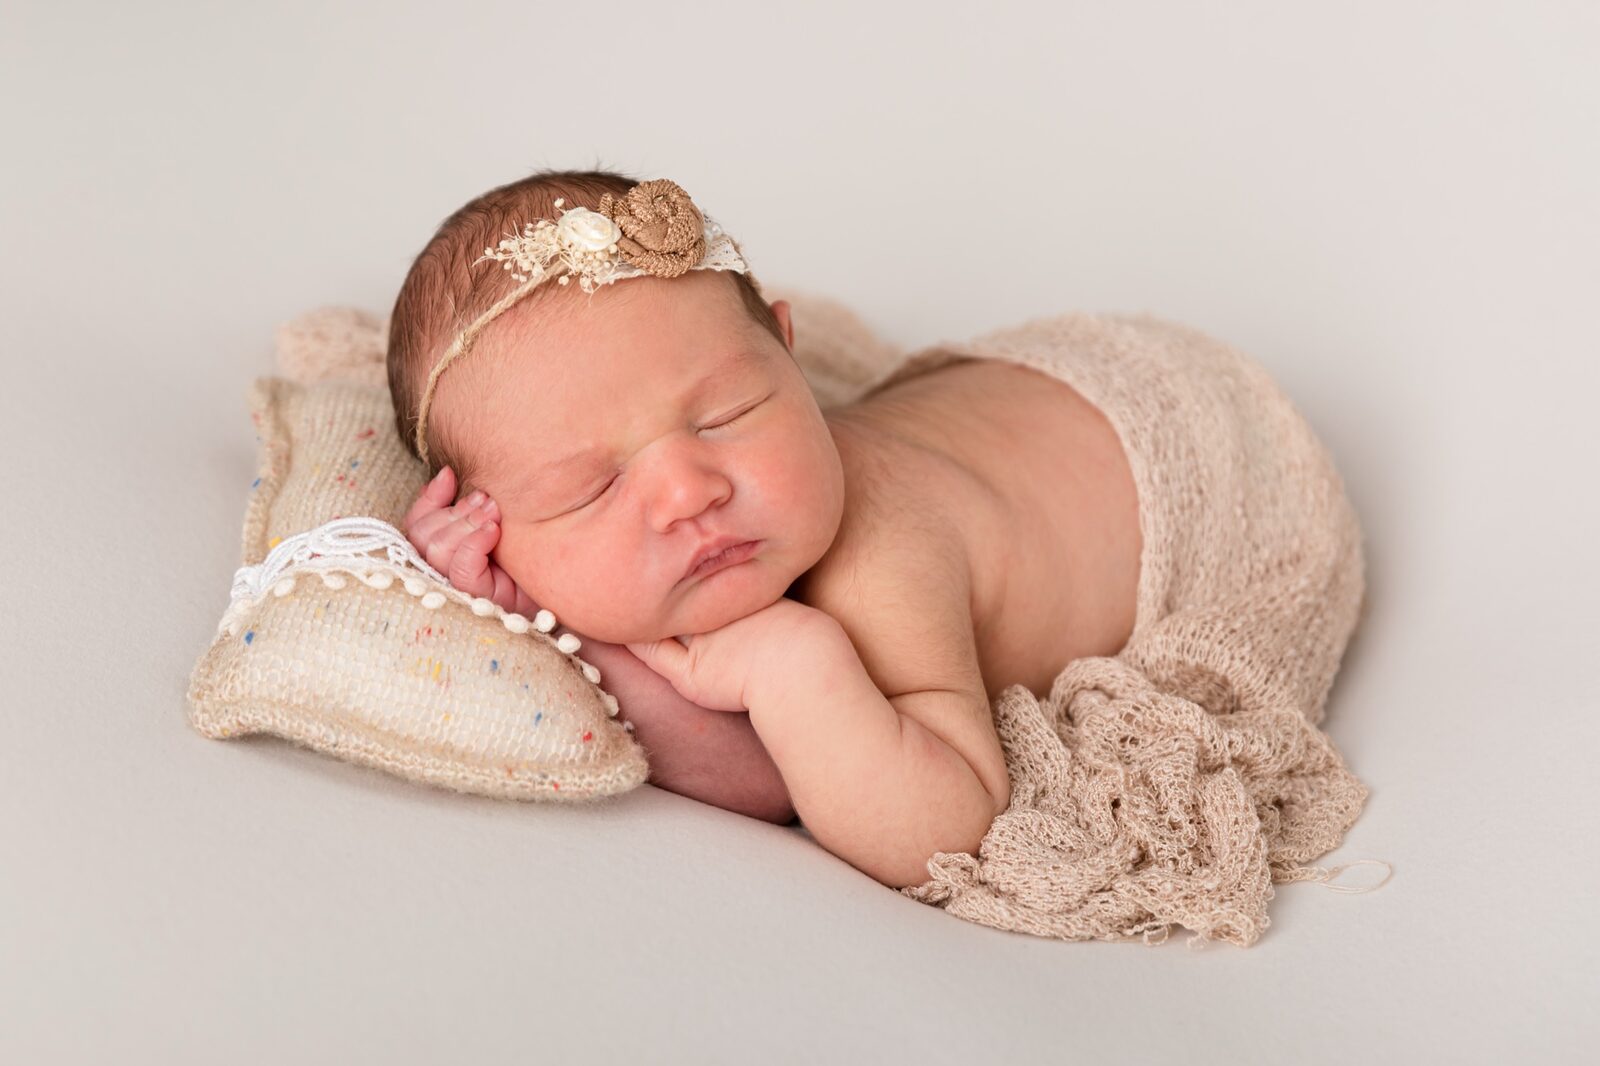
Some of the most rewarding kids' portraits aren't candid — they're milestone moments captured with intention. Planning ahead makes an enormous difference to the outcome.- Newborn photography in Sydney is best booked during pregnancy; the ideal window is within the first fourteen days after birth.
- Cake smash photography in Sydney marks the first birthday with a session that's equal parts messy and magical — see our guide on designing sweetly memorable cake smash setups for inspiration.
- Annual family portraits create a visual timeline that parents genuinely treasure. Explore our session pricing or grab a gift voucher for someone special.
Frequently Asked Questions
What's the best time of day for kids photography in Sydney?
For outdoor sessions, aim for the first hour after sunrise or the last two hours before sunset — what photographers call golden hour. The light is low, warm and directional, which flatters skin tones and reduces squinting. Overcast days are genuinely excellent too; cloud cover acts like a natural softbox across the entire sky. Avoid 10 am–3 pm on clear days when the sun is overhead and harsh.
How do I get my toddler to cooperate during a photo session?
The short answer: don't try to make them cooperate — redirect their attention instead. Games, questions and movement work far better than instructions. Bring a favourite toy or snack for a quick reset mid-session. Allow plenty of buffer time so there's no pressure. The best toddler portraits almost always happen during unstructured play rather than during posed moments.
What camera settings should I use for fast-moving kids?
Start with a shutter speed of at least 1/250 s — go higher (1/500 s or more) if they're running or jumping. Use your widest aperture to let in as much light as possible and set autofocus to continuous tracking mode so the camera follows movement rather than locking on a single point. Shoot in bursts; the keeper is rarely the first frame of a sequence.
Do I need professional lighting equipment for good kids' portraits?
Not necessarily. Natural window light from a north-facing window on an overcast day produces beautiful, soft results without any additional gear. A white reflector (or even a piece of white cardboard) can fill shadows on the darker side of the face. On-camera flash is generally the last resort for kids — it tends to flatten the image and startle small children. Good light management beats expensive equipment every time for casual portraits.
How far in advance should I book a kids' portrait session at Faithful Photography?
We recommend booking at least four to six weeks ahead for standard family or kids' sessions, and further in advance for milestone sessions like newborn or cake smash — those book out quickly, particularly in spring and around the end of the calendar year. You can check availability and book a session directly through our website, or purchase a gift voucher to lock in the experience ahead of time.
Which Sydney suburbs do you serve for photography sessions?
Our studios are located in Glen Alpine and Gledswood Hills, and we serve families across South-West Sydney and the Macarthur region — including Campbelltown, Camden, Narellan, Harrington Park, Gregory Hills, Mount Annan, Oran Park and Liverpool, NSW. Outdoor location sessions can be arranged throughout the region; contact us to discuss options closest to you.
Visit Faithful Photography Today
Whether you're after candid childhood portraits bursting with personality or a beautifully lit milestone session, our studios in Glen Alpine and Gledswood Hills are ready for your family. Let's create something you'll hang on the wall for years — not just scroll past.