Key Takeaways
- The 32–36 week window is the sweet spot for maternity photography — your bump is beautifully prominent and your energy is still strong enough for relaxed, natural posing.
- Styling choices — form-fitting fabrics, soft neutral tones, and coordinated family outfits — make a bigger difference to your final portraits than any filter or preset ever could.
- Working with an experienced photographer who understands flattering angles, sculpting light and genuine connection transforms a simple session into portraits you'll treasure for generations.
Timing Your Maternity Session for the Best Results
Why Weeks 32 to 36 Are the Sweet Spot
The 32-to-36-week window is widely regarded as the ideal time for a maternity photo shoot. Your bump is beautifully round and unmistakable in the frame, yet you haven't quite reached the heavy fatigue and physical discomfort that often comes in the final weeks. Energy levels tend to be higher, mobility is better, and both of those things translate directly into more natural poses and genuine smiles — not the forced, uncomfortable kind. If you're carrying multiples or your pregnancy has been flagged as high-risk, always check the timing with your obstetrician before locking anything in. Clinical advice takes precedence over any photo calendar.Plan Buffers Around Your Due Date
Pregnancy doesn't run on a tidy schedule, and neither should your session planning. Build a buffer of at least four to six weeks before your due date. If your doctor anticipates an early arrival in mid-July, booking your session in late May rather than late June gives you breathing room for rescheduling without panic. Weather matters too, especially for outdoor shoots across the Macarthur region. If you're dreaming of sunlit paddocks near Camden, NSW, or a golden-hour session around Gledswood Hills, make sure the season aligns with your pregnancy window. A good photographer will work the schedule around you — not the other way around.Flexibility Is a Feature, Not a Compromise
Pregnancy energy can change without warning. If week 33 arrives and you're exhausted, reschedule without guilt — it will show in the photos if you push through feeling wiped out. The best maternity portraits come from sessions where you feel calm, rested and comfortable, not rushed or obligated. ---Golden Hour and Studio Lighting: Which Is Right for You?
The Magic of Golden Hour Outdoors
Shooting during golden hour — the soft glow in the first 30 minutes after sunrise, or the last 45 minutes before sunset — is like hiring a professional lighting rig for free. Warm, directional light flatters skin tone, sculpts the bump with gentle shadow, and adds a cinematic quality that midday sun simply cannot replicate. Overcast days are worth considering too. A light cloud cover acts as nature's softbox, diffusing light evenly across the frame and eliminating harsh shadows. For outdoor maternity sessions around South-West Sydney, this kind of light can be genuinely stunning.Why Studio Sessions Offer Their Own Advantages
Studio maternity sessions give your photographer complete control over light, background and mood — which matters enormously when you have young children in tow, unpredictable weather or a schedule that simply doesn't allow for a golden-hour slot. Our Gledswood Hills and Glen Alpine studios are purpose-built for this kind of intentional, controlled work. For a deeper look at how professional lighting shapes the feel of your portraits, our guide on lighting equipment and studio essentials is worth a read before your session. ---What to Wear: Styling Tips That Let Your Bump Shine
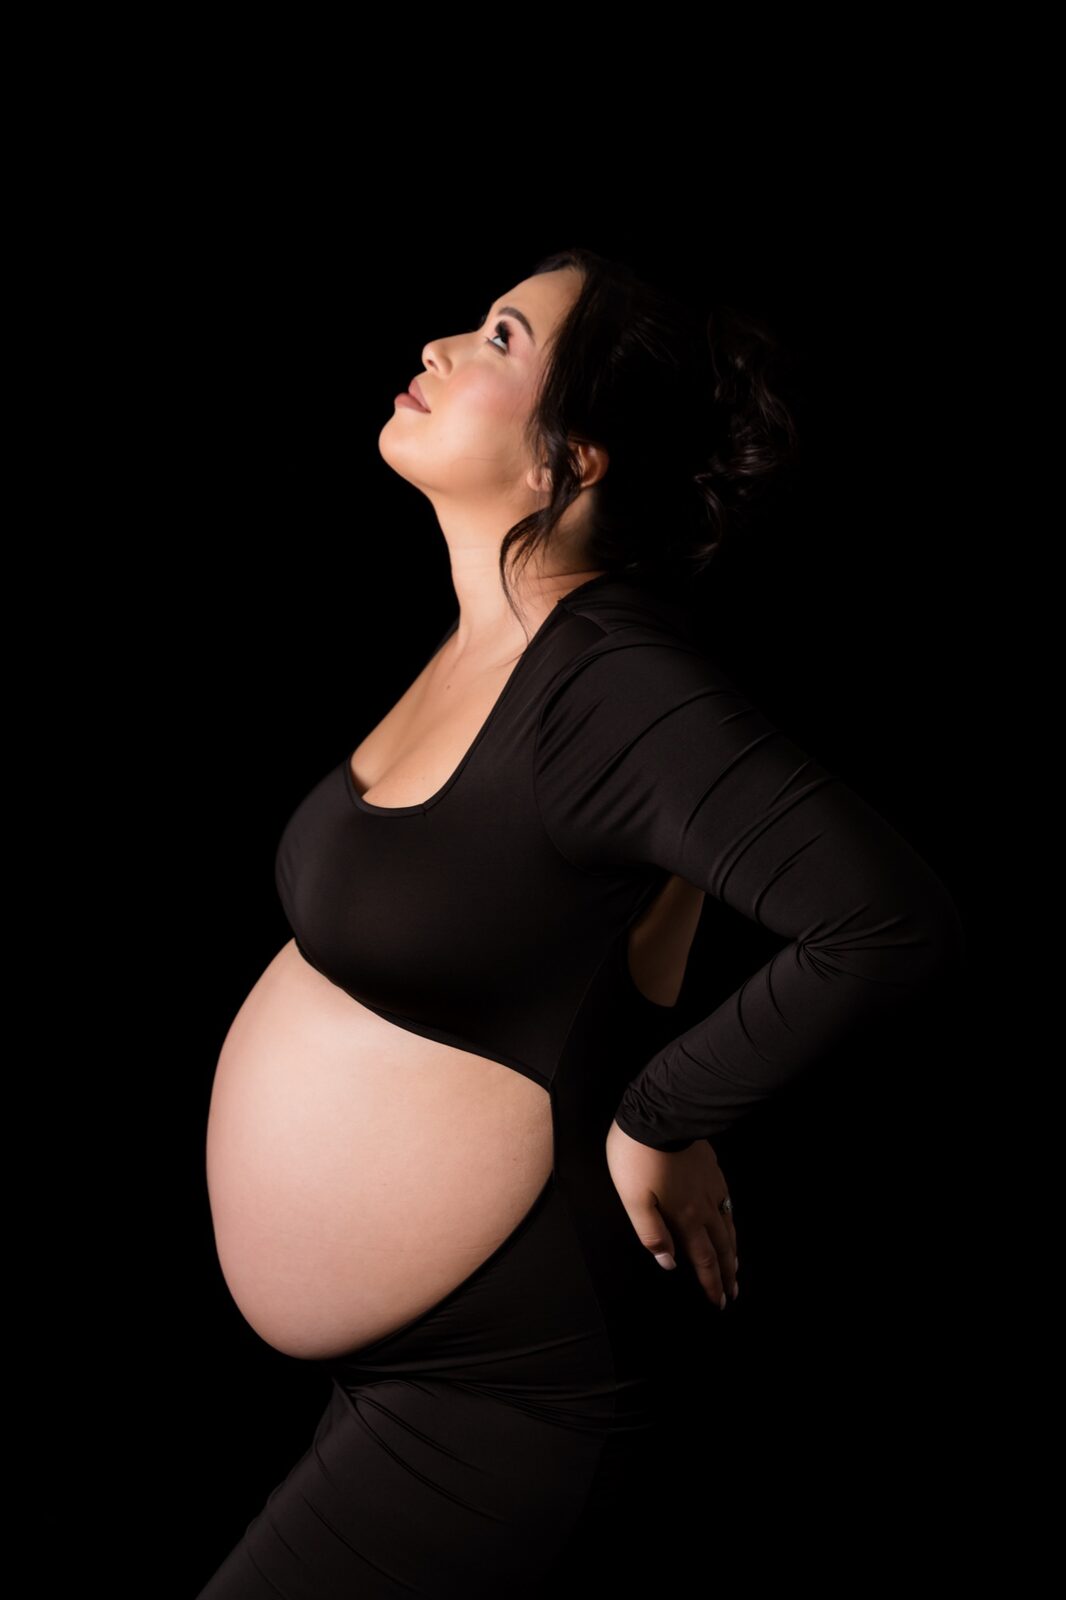
Form-Fitting Fabrics Are Non-Negotiable
Nothing flatters a pregnancy silhouette quite like a fabric that follows the body's curves. Jersey knit, stretchy cotton blends and fitted maxi dresses all work because they map to your shape — they celebrate the bump rather than hiding it under volume. Loose, billowing fabrics feel lovely in person but tend to flatten your silhouette in photos and make your bump read smaller than it actually is. A fitted tank layered with a long skirt, or a form-fitting maternity gown, gives your photographer clean, elegant lines to work with. Keep colours simple: soft neutrals, pastels and earthy tones keep the focus on you and your belly rather than a busy pattern competing for attention.Plan Two Outfit Changes Strategically
Two outfit changes is the sweet spot for most sessions. More than that and you'll exhaust yourself and your photographer; fewer and your gallery may feel one-note. Aim for one warm-toned look and one cool-toned look so your final gallery feels curated and varied. Check that everything fits comfortably before the day — visible tight lines or fabric bunching in the wrong places will draw the eye in close-up shots. Our comprehensive guide on maternity portrait session ideas has even more inspiration for building your session wardrobe.Coordinating Family Outfits Without Matching
If you're including your partner and children in the session, coordinate by palette rather than uniform. Everyone in the same T-shirt reads like a sports team, not a family portrait. Instead, choose a colour story — warm earth tones, soft blues and creams, or dusty greens and terracottas — and let each person interpret it in their own way. For your partner: a simple, well-cut button-up or a plain knit sweater works beautifully. For children: muted pastels or small, subtle prints photograph cleanly and age well. Avoid logo graphics and busy patterns that pull focus. Our family portrait wardrobe guide covers this in detail for every season.- Stick to a cohesive colour palette — three tones maximum
- Avoid logos, slogans and large graphic prints
- Choose breathable fabrics in summer; add texture (not bulk) in cooler months
- Dress children in comfortable clothes they can move freely in
- Bring a backup outfit for at least one family member — spills happen
Preparing Your Skin and Hair for Your Shoot
The Night-Before Checklist
A little preparation the evening before your session makes a significant difference. Well-hydrated skin photographs far better than dry skin under professional lighting — so moisturise your face, neck, décolletage and bump the night before and again on the morning of your shoot. Get to bed at a reasonable hour. Puffy eyes and a tired complexion are difficult to address in post-processing, but they're very easy to prevent with a decent night's sleep. Drink plenty of water the day before; proper hydration improves skin luminosity noticeably.Professional Hair and Makeup Is Worth It
Professional hair and makeup does more than make you look polished — it gives you genuine confidence on the day, and confidence reads beautifully on camera. A skilled makeup artist knows how to work with professional lighting rather than against it, ensuring your look translates in the frame the way you'd hope. Our hair and makeup services are available as an add-on to your maternity session and are a popular choice for expectant mothers across Campbelltown, Narellan and the broader Macarthur region.- Moisturise your face, neck and bump the night before
- Get a full night's rest and stay well hydrated
- Book hair and makeup for the morning of your session if possible
- Bring touch-up essentials: lip balm, face powder, hairpins
- Arrive with clean, dry hair if you're having it professionally styled
Posing for Baby Bump Portraits That Actually Flatter
Trust Your Photographer — and Communicate Honestly
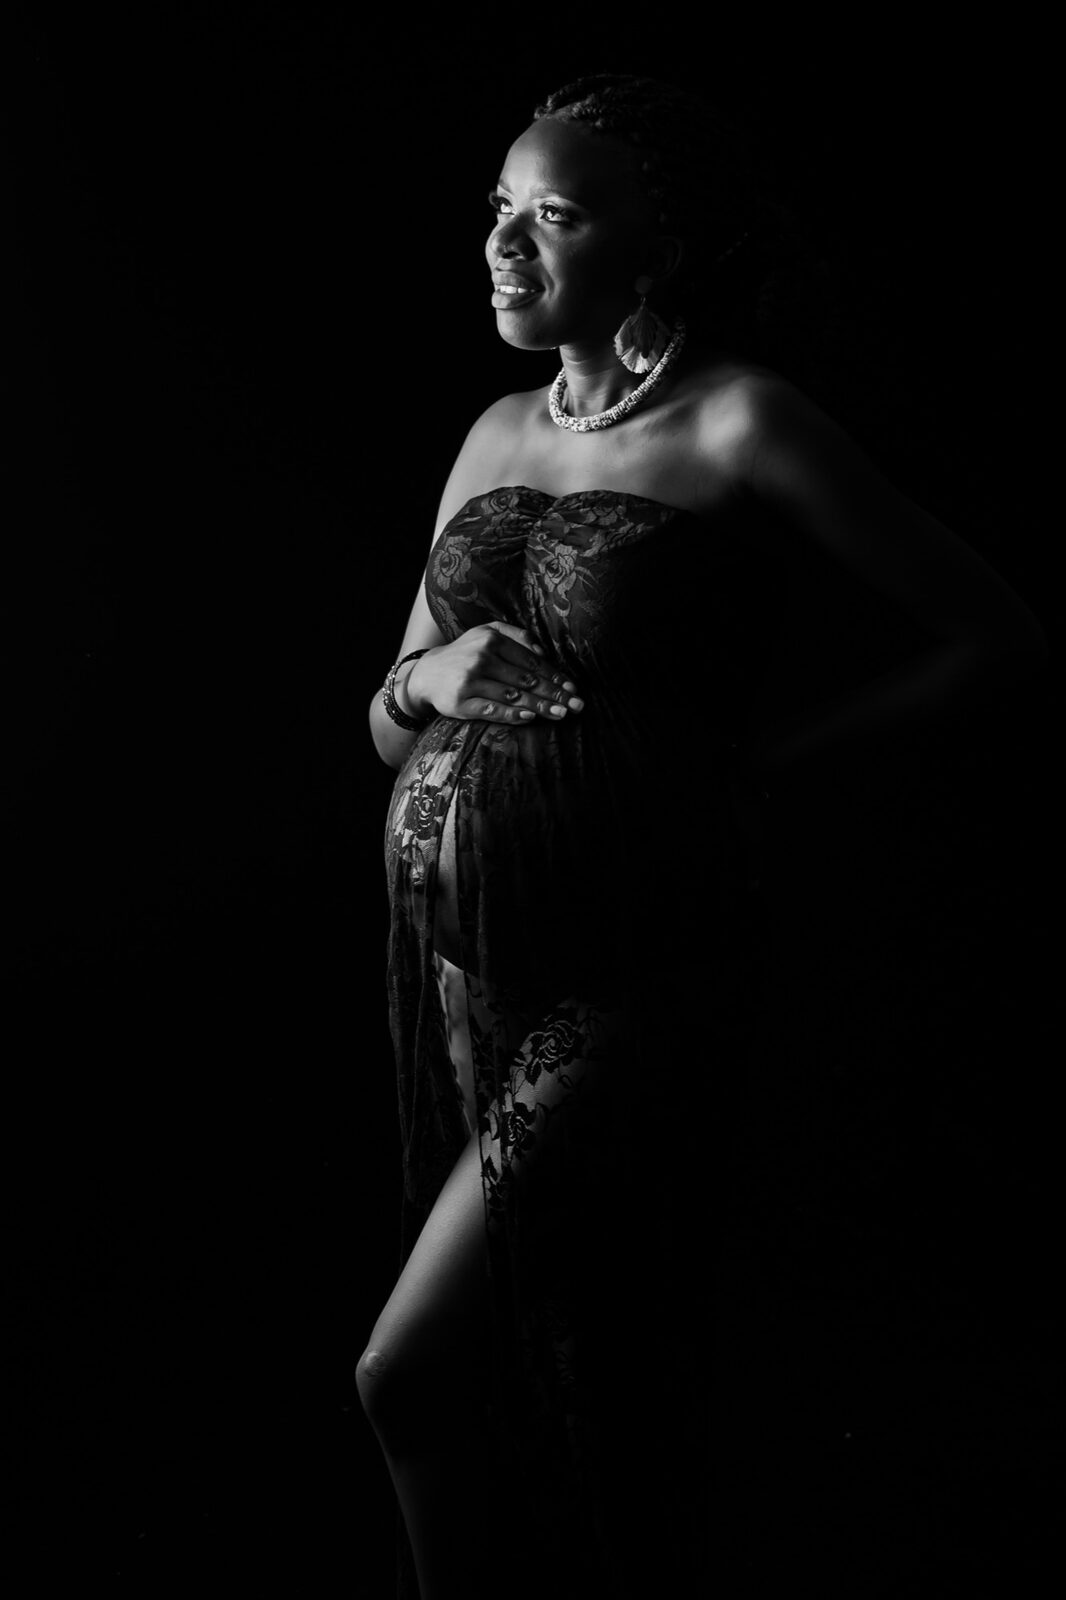
The best maternity poses don't feel like poses at all. A skilled photographer will guide you through positions that look effortless in the final image — but they can only do that effectively when you communicate openly. Tell them what you love about your body, what you feel self-conscious about, and what you're hoping the portraits will feel like. That conversation shapes everything.Angles and Light Do the Heavy Lifting
The angle of your body relative to the light source determines everything about how your bump reads in a portrait. Three-quarter angles — turned slightly side-on rather than facing the camera straight-on — are universally flattering for bump photography. They emphasise roundness, create depth and give the image a sculptural quality. Drop your shoulders, relax your hands naturally over or under your bump, and let your expression do the storytelling. Tense, posed smiles are easy to spot. A relaxed jaw, soft eyes and a breath out between shots often produce the most genuine, moving results."The portraits that move people the most aren't technically perfect — they're emotionally honest. When a mother is relaxed enough to forget the camera is there, that's when we capture something genuinely extraordinary."---
Including Your Partner and Children in Your Maternity Session
Connection Trumps Coordination Every Time
Some of the most treasured maternity portraits involve the whole family — a partner's hands resting on the bump, a toddler pressing their cheek against it, a quiet moment of shared anticipation. These images aren't about technical perfection; they're about authentic connection captured in a single frame. If you have young children, schedule the family portion of your session at the start, before anyone gets tired or restless. Let the kids be themselves — a child's spontaneous giggle or gentle curiosity about the bump is far more compelling than a rigid pose they were forced to hold for three minutes.Siblings Make Sessions Special
Including older children in your maternity session creates a beautiful bridge between your family's past and its future. For families who've already had a newborn photography session in Sydney with us, combining sibling portraits with maternity work creates a visual narrative of your family's story that's impossible to replicate later.- Schedule kids during their best time of day — usually morning
- Bring a small snack to keep energy up between setups
- Let them choose one prop or toy to bring — it gives them ownership of the session
- Don't force smiles; let your photographer create genuine moments through play
Ready to Celebrate Your Bump?
Faithful Photography specialises in maternity portraits that are honest, intentional and genuinely beautiful — created in our Glen Alpine and Gledswood Hills studios, or on location across the Macarthur region.
What Makes a Great Maternity Photographer in South-West Sydney
Experience With Pregnancy-Specific Posing and Comfort
Not every photographer who takes great portraits understands the very specific physical and emotional landscape of a maternity session. Pregnancy-specific posing requires a photographer who knows how to support and flatter a changing body — one who understands that back discomfort, swollen feet and fluctuating energy aren't complaints to work around, but realities to accommodate with considered session planning. Faithful Photography has worked with hundreds of expectant mothers across Campbelltown, Camden, Narellan and the wider South-West Sydney region. We understand what works, what flatters and — just as importantly — what makes our clients feel genuinely comfortable throughout their session.A Studio Environment Designed for Maternity Work
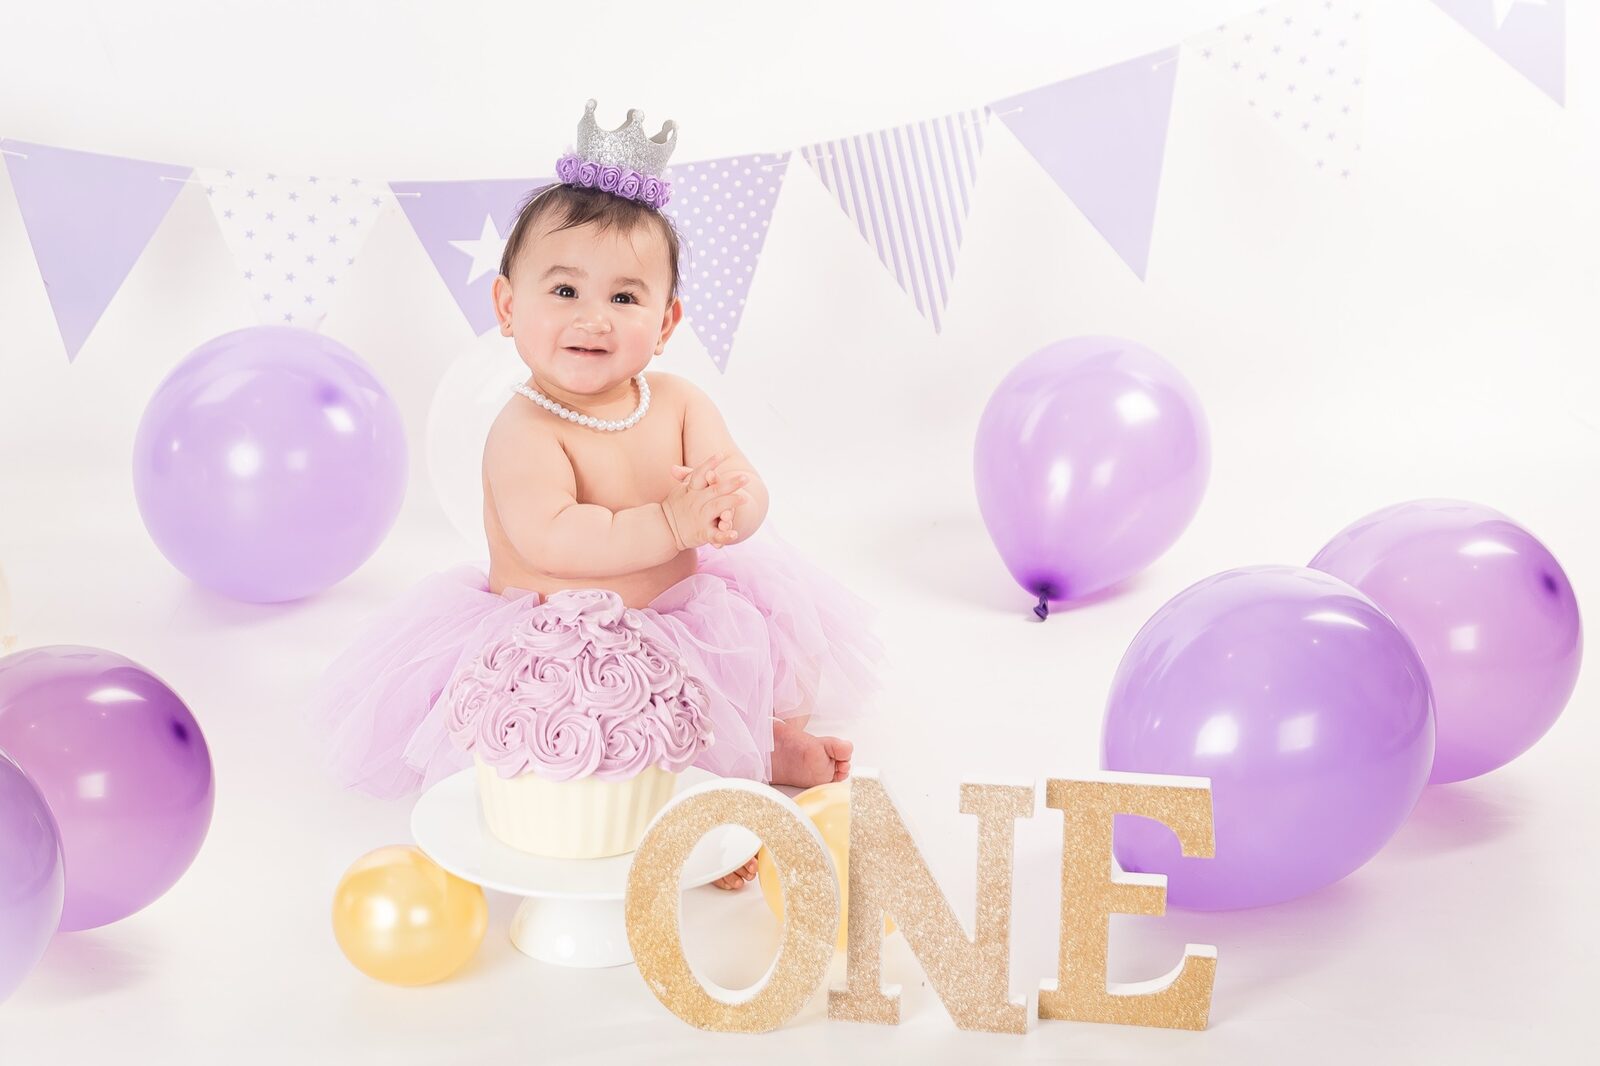
Our Gledswood Hills studio and Glen Alpine studio are equipped specifically for portraiture at every stage of life — from maternity through to cake smash photography in Sydney for those first-birthday milestones. Comfortable change facilities, temperature-controlled spaces and a relaxed, unhurried atmosphere are part of every session we offer.Transparent Pricing and Flexible Packages
We believe beautiful photography shouldn't come with hidden costs or unexpected surprises. Review our session pricing before you book so you know exactly what's included. We also offer gift vouchers — a thoughtful option if a maternity session is something a family member or friend would like to gift.- Dedicated maternity session packages for individuals and families
- Hair and makeup add-ons available for your convenience
- Flexible rescheduling policies for pregnancy-related changes
- Professional galleries delivered online for easy sharing and printing
Frequently Asked Questions
When is the best time to book a maternity photo shoot?
Book your session as early as possible — ideally between 20 and 28 weeks — even if your planned shoot date is weeks 32 to 36. Popular slots and weekend bookings fill quickly, and early booking gives you flexibility to reschedule around how you're feeling closer to the date. Don't leave it until 30 weeks or later, as your preferred time slot may no longer be available.
What should I wear to my maternity photo shoot?
Form-fitting fabrics in soft, neutral tones work best for maternity portraits. Jersey knit, stretchy maxi dresses and fitted gowns all photograph beautifully because they follow and celebrate your silhouette rather than hiding it. Avoid busy patterns, logos and anything with uncomfortable seams or tight elastic bands that may leave marks on your skin. Plan two outfit changes — one warmer tone, one cooler — for variety in your final gallery.
Can I include my partner and children in the maternity session?
Absolutely — and we encourage it. Including your partner and any existing children creates portraits that tell the full story of your growing family. We recommend scheduling the family-inclusive portion of the session at the beginning, when children are freshest and most cooperative. Let your photographer know the ages and temperaments of your children in advance so the session can be paced accordingly.
Do you offer maternity sessions for high-risk pregnancies?
Yes — we work with expectant mothers in all circumstances and will plan your session around your comfort and medical needs. We always recommend discussing your session timing with your obstetrician or midwife first. Our studios in Glen Alpine and Gledswood Hills are comfortable, fully accessible spaces designed to accommodate a range of needs. Please mention any specific requirements when you enquire so we can plan appropriately.
How long does a typical maternity photography session take?
Most maternity sessions run between 60 and 90 minutes. Sessions that include family members, multiple outfit changes or both studio and outdoor locations may extend slightly beyond that. We build rest breaks and transition time into every session — there's never any pressure to rush. Your comfort and the quality of your images always take priority over the clock.
What happens after the session — how do I receive my images?
Your edited gallery will be delivered via a private online portal within the agreed turnaround period. From there you'll be able to view, select and order prints, wall art or digital packages. We'll walk you through your gallery viewing options at the time of booking so you know exactly what to expect. Archival-quality printing and canvas products are available directly through the studio.
Visit Faithful Photography Today
Your pregnancy is one of the most remarkable chapters of your life — let us help you preserve it with portraits that are honest, beautifully crafted and genuinely yours. We'd love to welcome you to our studios in Glen Alpine or Gledswood Hills, or meet you on location anywhere across South-West Sydney and the Macarthur region.