Key Takeaways
- Natural window light is your single greatest asset — find the soft, north- or east-facing spots in your home and time your shoot around them.
- A clean background, intentional props and the right fabrics create a professional-looking result without a single piece of studio gear.
- Comfortable, bump-forward posing with expressive hands and partner connection transforms casual snapshots into portraits worth keeping forever.
Why Your Home is the Ideal Setting for Pregnancy Photography
There's a reason so many of the most celebrated maternity photography in Sydney sessions happen in private homes rather than polished studios. A studio gives you technical control. Your home gives you context — the textures, the light, the small meaningful details that no hired prop wall can replicate. The nursery cot in the corner. The partner's hand resting on the bump while you both look out the window. The soft morning light cutting across the bed you've slept in every night of this pregnancy. That's the stuff a good maternity photograph is made of.The Intimacy You Can't Manufacture
Comfort is the shortcut to emotion. When a mother-to-be is relaxed — genuinely relaxed, not performing relaxation — it shows in every frame. At home, the environment is already familiar. There's no stranger's couch to perch on, no unfamiliar backdrop to perform in front of. That ease translates directly into images that feel warm and real rather than stiff and staged.Finding the Best Natural Light in Your Home
Natural light is the most flattering, most affordable lighting tool you have — and your home almost certainly has it in at least one room. The challenge is identifying which light, and when it works.North- and East-Facing Windows
In the Southern Hemisphere, north-facing windows receive consistent, diffused light throughout the day — no harsh midday contrast, no sudden disappearing act. East-facing windows give you that gorgeous, cool morning glow that's especially flattering on skin tones and fabric textures. Walk your home at the time you're planning to shoot. Note where shadows fall, which corners feel warm, and where the light wraps rather than cuts.Reading the Light at Different Times of Day
- Morning (7am–10am): Cool, clean, forgiving. Skin looks fresh; neutral fabrics glow.
- Late afternoon (3pm–5pm): Warm and golden. Adds a cinematic quality and flatters deeper skin tones beautifully.
- Midday: Generally harsh and overhead — avoid direct sun through south-facing glass.
Preparing Your Rooms for a Home Maternity Shoot
A beautiful image is often won before the camera is even raised. The background you choose — or the clutter you remove — does more work than any pose.Clear the Frame First
A tidy background is not about perfection. It's about subtraction — removing anything that competes with the subject. Stash the laundry basket. Clear the bedside table. Move the dog's water bowl out of frame. If the room still feels bare after a tidy, resist the urge to fill it with props. One intentional element — a soft throw over the arm of a chair, a plant in the corner, the half-finished nursery — tells a story. Ten elements tell nothing.Backgrounds That Work Without Trying
- A plain wall in a neutral tone (white, cream, warm grey) keeps focus on the bump.
- A bed with white or linen bedding creates softness and allows for lying-down poses.
- A partially assembled nursery adds meaning without requiring any extra decoration.
- A couch near a window is often the most versatile setup in the house.
Wardrobe Choices That Flatter the Bump
What you wear to a home maternity session matters enormously — not because of fashion, but because of how fabric interacts with light, and how clothing affects the way a woman carries herself in front of a lens.Fabrics and Colours to Reach For
Natural textures warm up in window light in a way synthetics simply don't. Think:- Cream or ivory knit dresses that hug the bump without constricting
- Linen separates — wide-leg trousers with an open-front top
- Soft lace or eyelet pieces in white, nude or blush
- Loose sheer fabrics layered over a bodysuit or bra (for an ethereal, flowing look)
Planning Outfit Changes for Variety
Two outfit changes is the sweet spot. More than that and the session becomes a wardrobe exercise; fewer and the gallery can feel limited.- Choose one relaxed, casual look — something you'd genuinely wear around the house.
- Choose one softer, slightly elevated look — the lace piece, the flowing fabric, something that feels a little more considered.
- Coordinate colours so the full gallery reads as one cohesive story, not two separate shoots.
"The most beautiful pregnancy photography doesn't live in a studio — it lives in the quiet corners of the home you're already preparing for your baby."
Posing Techniques to Celebrate Your Pregnancy
Posing isn't about being stiff or performative. It's about finding the shapes that make the bump the undeniable centrepiece, and then layering in enough natural movement that the images feel lived-in.Camera Angles That Flatter
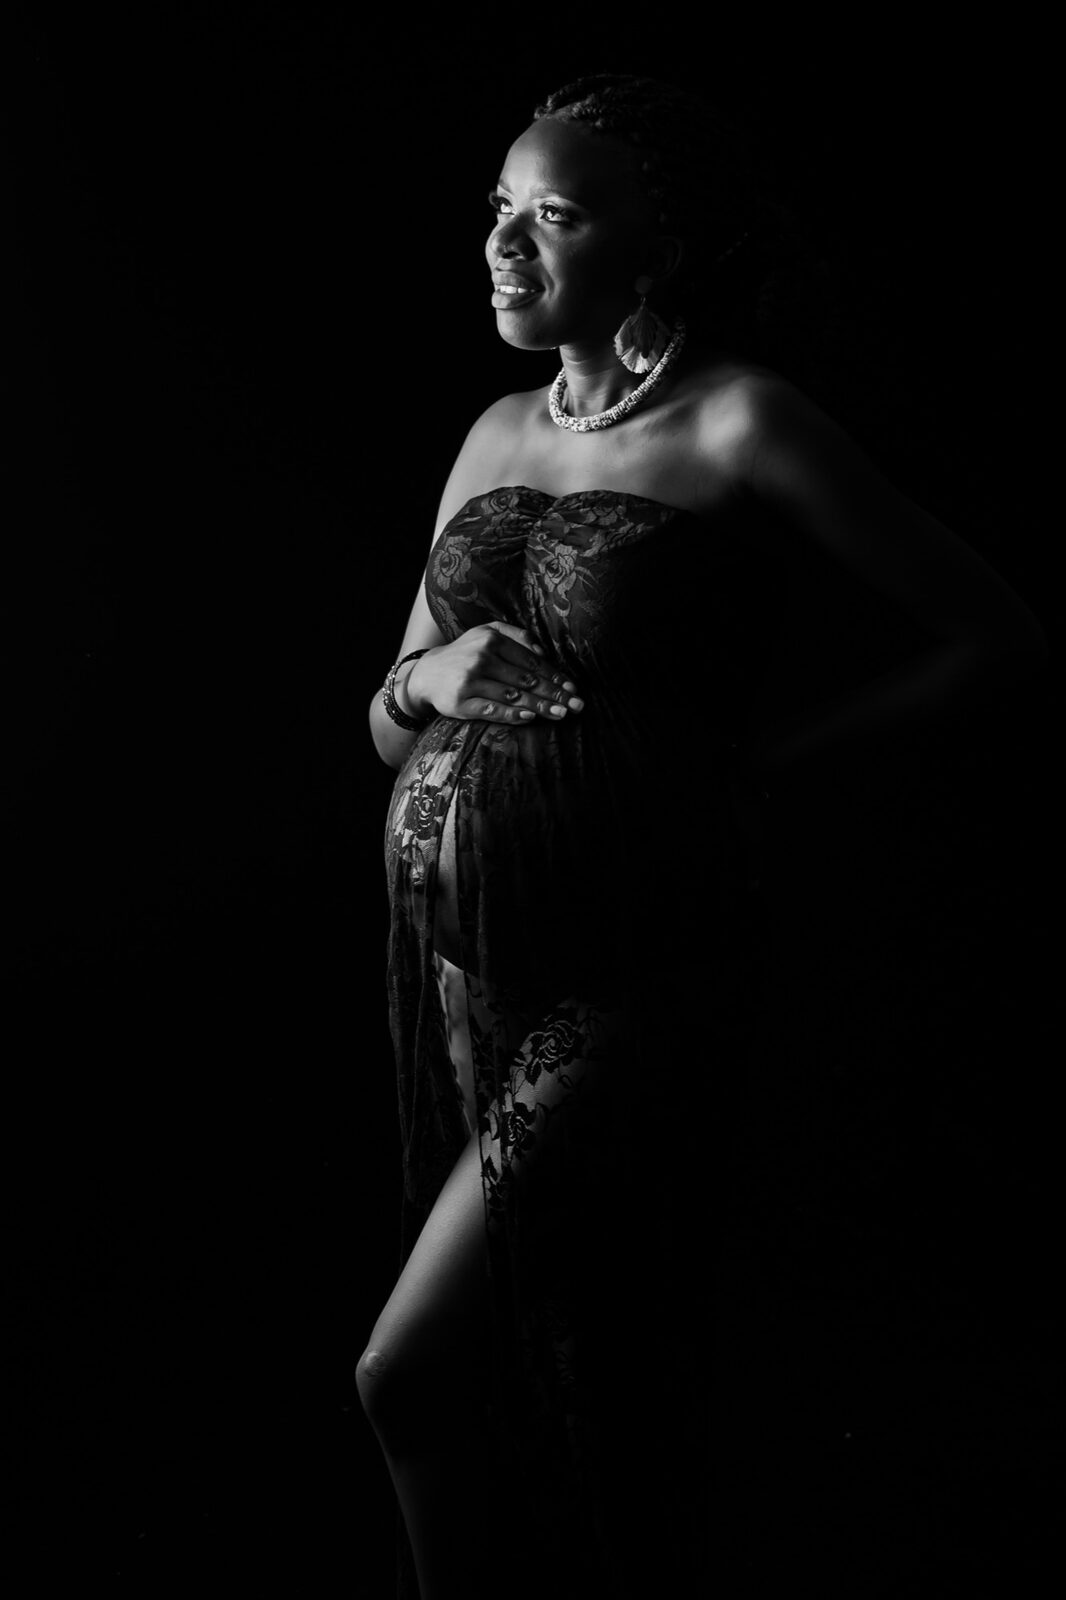
Shooting from slightly below the bump — rather than above it — emphasises the roundness and gives the image a sense of strength. A three-quarter turn (body angled away from the camera, face glancing back) adds dimension and removes the flat, passport-photo quality that a dead-straight frontal can produce. Back-to-camera with a glance over the shoulder is a classic for good reason: instant depth, instant intimacy, zero awkwardness.The Narrative Power of Hands
Hands are one of the most overlooked storytelling tools in maternity photography. Where they sit — and how they rest — carries enormous emotional weight.- Both hands cupped beneath the bump — classic, warm, universally flattering
- One hand on top, one below — suggests protection and tenderness
- Fingertips spread across the side of the bump — feels more candid, less posed
- A thumb tracing lightly along the curve — subtle, intimate, quietly powerful
Lying Down and Kneeling Poses
Side-lying on a bed or couch elongates the silhouette and gives the bump a beautiful profile. Kneeling with both hands supporting the bump creates a sense of vulnerability that reads as honesty — not performance. Shift weight to the back foot when standing to soften the pelvis and loosen posture. A locked stance reads as tension; a relaxed, weighted stance reads as ease. The camera will tell the difference every single time.Ready to have your maternity portraits professionally captured?
Our award-winning team at Faithful Photography works across Campbelltown, Camden, Narellan and the broader Macarthur region — creating maternity images that are warm, timeless and entirely yours.
Including Your Partner and Little Ones in the Session
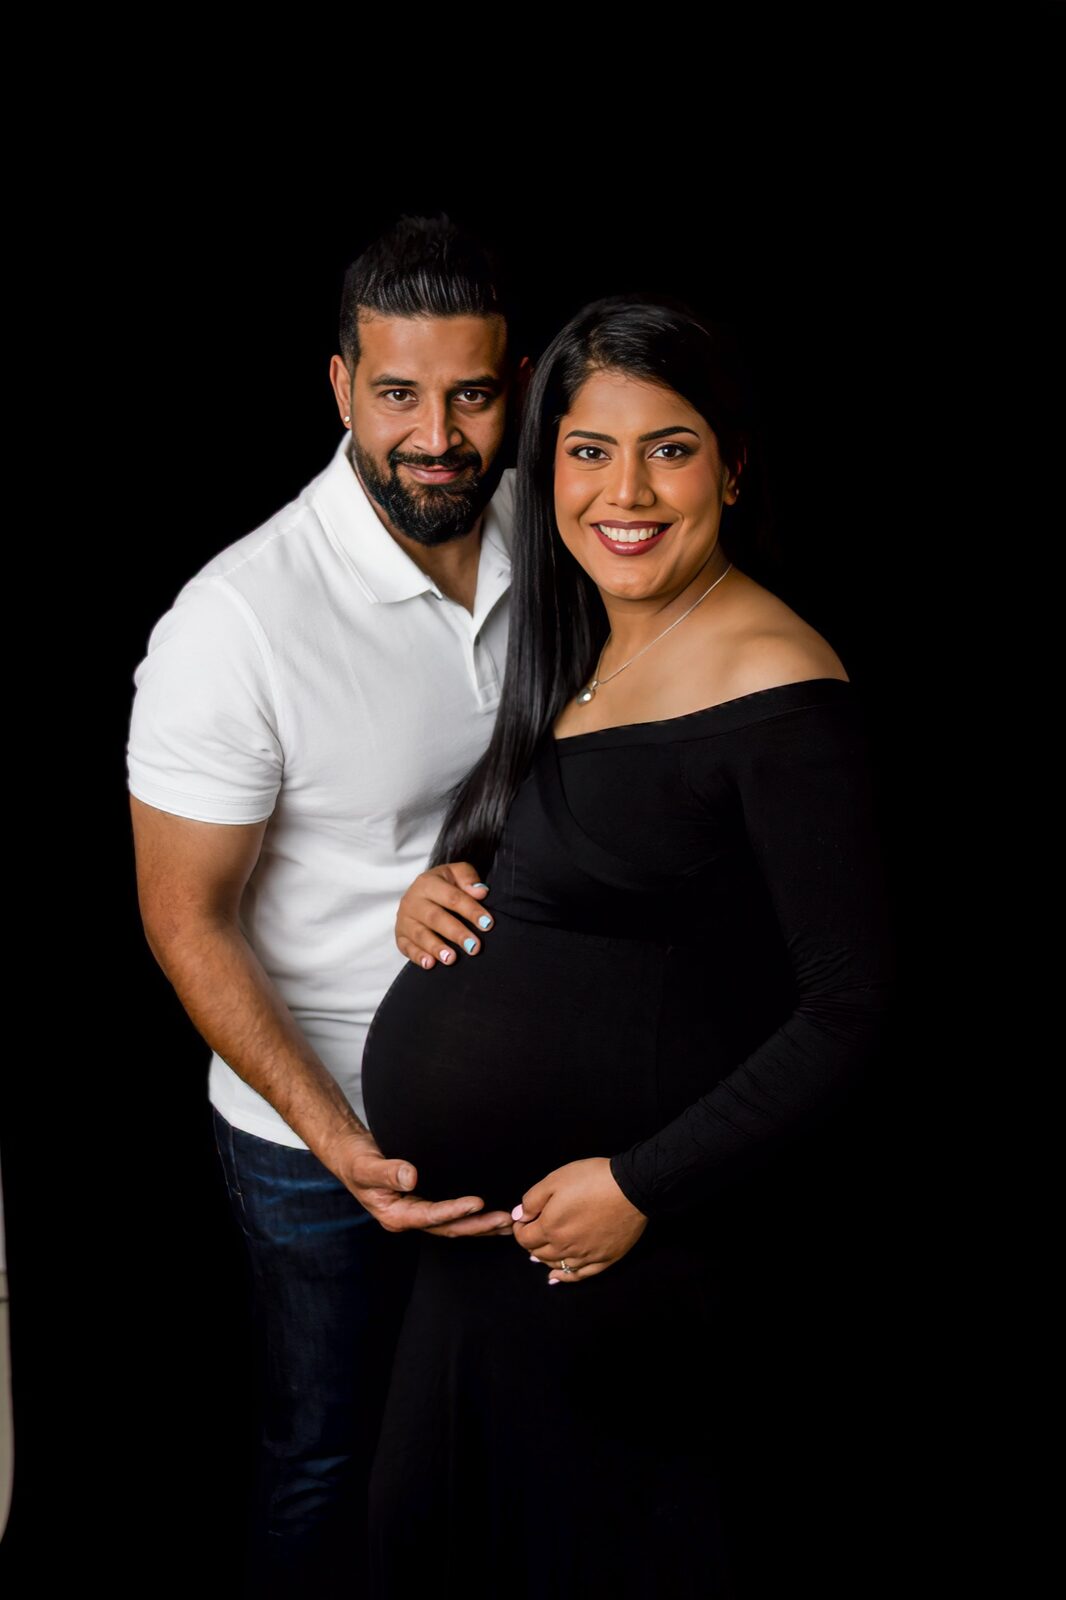
A maternity session is rarely just about one person. The story expanding in that bump belongs to the whole family — and capturing that together, in your own home, creates a visual record that no one in it will ever forget.Partner Involvement That Feels Natural
The most powerful partner shots are never the ones where both people look directly at the camera. They're the ones where the partner is looking at her. Have your partner stand behind, wrapping arms around the bump from behind. Or side by side, foreheads touching, both looking down. A hand resting gently on the bump while she looks out the window. These are the frames that make people cry at gallery reveals — not the posed, symmetrical shots.Bringing Existing Children In
If there are existing children, include them — but budget extra time and manage expectations. A three-year-old has a thirty-minute attention span for photographs on a good day. Let them lead. A toddler kissing the bump, or resting an ear against it, or simply sitting next to mum on the bed — those are the images that will mean the most in twenty years. For more ideas on coordinating the whole family, our family photoshoots in Sydney page covers what works across every age group.How to Pace the Session for the Best Results
Budget sixty to ninety minutes minimum for a home maternity shoot. Rushing produces pictures. Lingering produces a narrative.- Start in the best-lit room first, while energy is fresh and the light is at its peak.
- Move through outfit changes with intention — don't rush, but keep momentum.
- Allow unscripted moments to breathe — a laugh mid-pose, a partner whispering something, a genuine glance down at the bump. These are often the best frames in the entire gallery.
- Return to favourite spots at the end if the light has shifted to something even better.
When a Professional Maternity Photographer Makes All the Difference
A home shoot is entirely achievable with the right preparation — but there are moments in a pregnancy that deserve more than a phone camera and crossed fingers. If you're in the Macarthur region, whether you're in Campbelltown, Camden, Narellan, or any of the surrounding suburbs, Faithful Photography has a studio presence close to you. Our Campbelltown photographers and Camden photographers bring professional lighting, expert posing direction and years of experience capturing the bump in its most beautiful light — whether that's in our Glen Alpine or Gledswood Hills studio, or in the comfort of your own home. If you're planning to document this season of life properly — not just with phone snaps but with heirloom images — now is the time. The bump doesn't wait.Frequently Asked Questions
How do I capture beautiful pregnancy photography at home without professional gear?
Start with your best natural light — a north- or east-facing window in the morning or late afternoon. Clear the background of clutter, choose soft neutral fabrics, and use simple bump-forward poses with expressive hand placement. A smartphone on portrait mode in good natural light produces results that can genuinely surprise you. The most important ingredient is comfort — when the mother feels at ease, the images show it immediately.
What week of pregnancy is best for a maternity photoshoot?
The sweet spot is typically between 28 and 36 weeks. The bump is beautifully round and prominent, but the body hasn't yet reached the discomfort of the final few weeks. If you're carrying multiples, aim a little earlier — around 26 to 30 weeks. Always check with your midwife or obstetrician if you have any concerns about timing.
What should I wear for an at-home pregnancy photography session?
Opt for natural fabrics — cream knits, linen, lace or soft eyelet — in neutral or muted tones. Avoid bold prints, logos and anything synthetic, which can look flat in window light. Two outfit changes work well: one relaxed everyday look and one softer, slightly more elevated option. Avoid anything tight around the waist for a day or two before the shoot to prevent fabric crease lines.
How long should a home maternity shoot take?
Allow sixty to ninety minutes at minimum. This gives you enough time for two outfit changes, a range of rooms and poses, and — most importantly — those unscripted moments that make a gallery feel genuine rather than manufactured. Rushing produces stiff results. Pace it generously and leave room for the candid in-between moments.
Should I include my partner or children in the maternity session?
Absolutely — if it feels right for your family. Partner shots work best when the attention is on her, not both of you staring at the camera. For existing children, keep expectations flexible and let them lead — a toddler kissing the bump or resting against mum tells a story that no staged pose ever could. Budget extra time if children are involved, and plan the session when they're well-rested and fed.
Is a professional maternity photographer worth it compared to a DIY home shoot?
A DIY session is a lovely way to capture candid moments throughout your pregnancy. But a professional session — with expert lighting, posing guidance, and post-processing — produces gallery-quality images that are genuinely heirloom standard. Many families in the Macarthur region choose to do both: casual home snaps throughout the pregnancy, and one professional session to mark the occasion properly. If you're weighing up options, our session pricing page has full details on what's included.
Visit Faithful Photography Today
Whether you're preparing for a professional maternity session or simply want expert guidance to make your home shoot shine, our team is here to help. Faithful Photography serves families across Campbelltown, Camden, Narellan, and the entire South-West Sydney region — with studios in Glen Alpine and Gledswood Hills ready to welcome you.