Key Takeaways
- DIY backdrops for a creative cake photoshoot don't require a big budget — fabric, paper, dried botanicals and upcycled timber all deliver stunning, professional-looking results.
- The backdrop's role is to complement, never compete — neutral tones, subtle textures and coordinated colours keep the cake and your subject front and centre.
- A few simple tools — a backdrop stand or bare wall, good natural light, and a glue gun — are all you need to build something genuinely impressive at home.
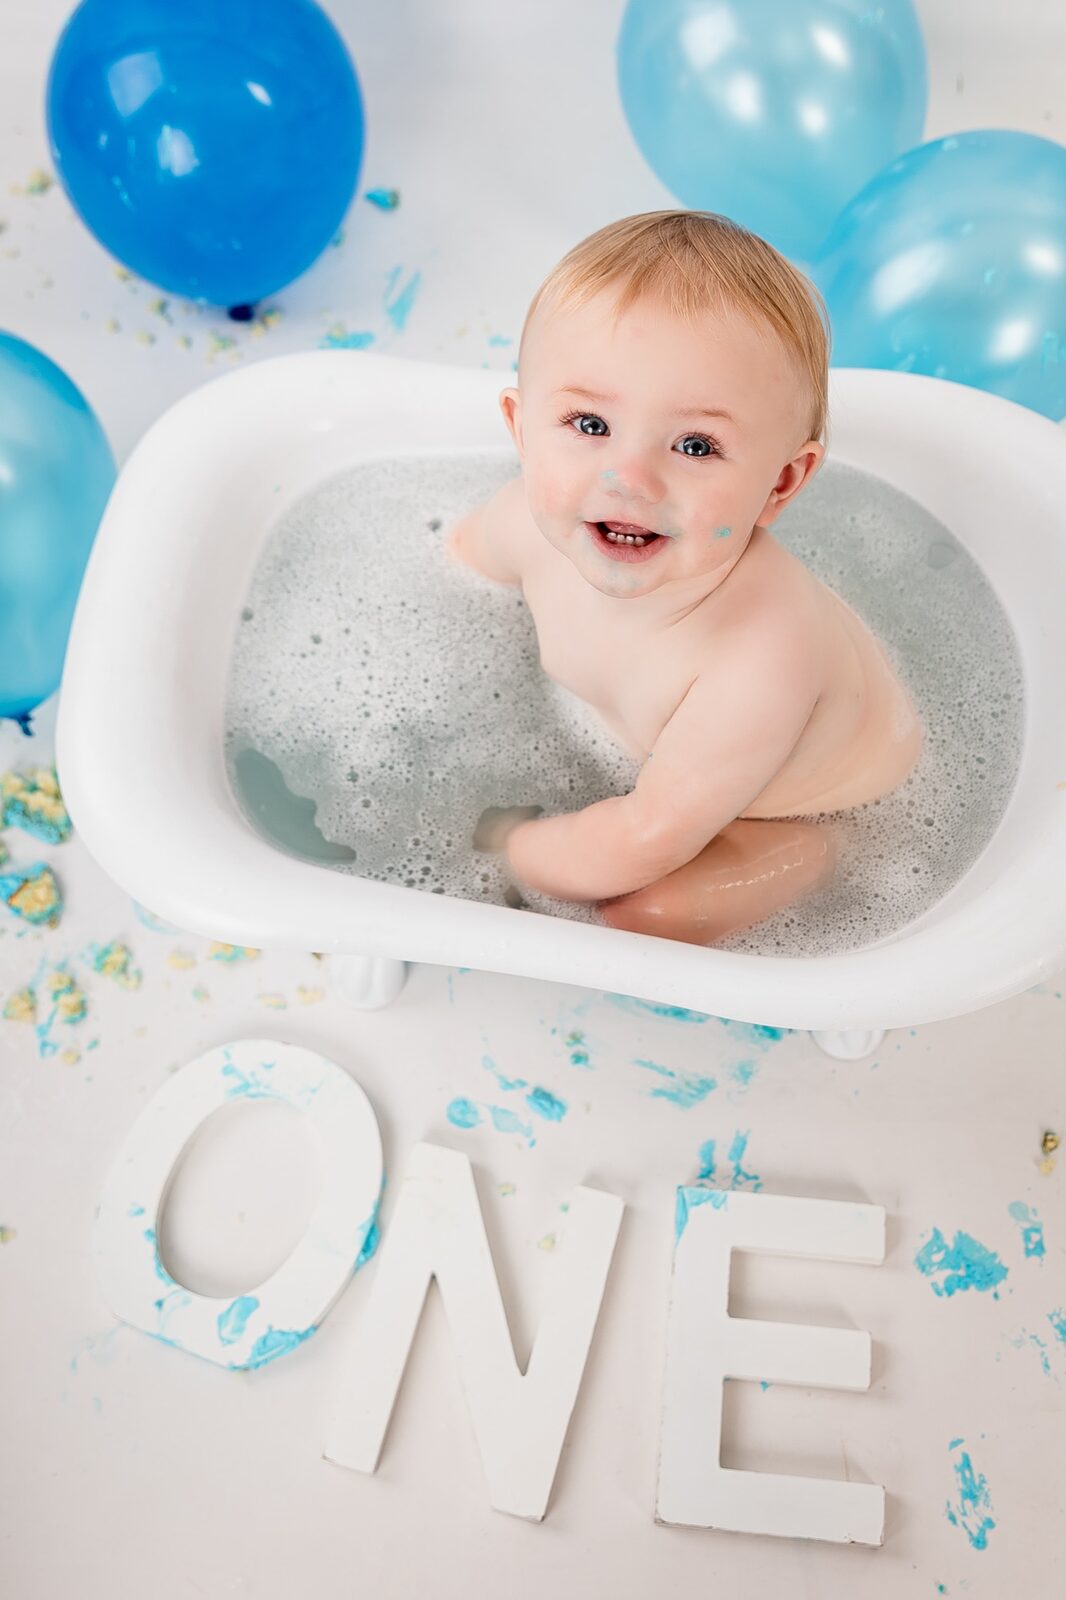
There's a reason so many families across South-West Sydney get excited about cake smash photography in Sydney — that magical first-birthday milestone deserves a setting that feels intentional, creative and full of personality. And while Faithful Photography's studios in Glen Alpine and Gledswood Hills are kitted out with professional gear, the truth is that DIY backdrops for a creative cake photoshoot can deliver genuinely gorgeous results at home or in a hired space. Whether you're planning a styled shoot before your little one's big studio session, or you simply love hands-on creativity, this guide walks you through every material, method and must-have tool you need to pull it off beautifully.
Why the Right Backdrop Makes or Breaks a Cake Photoshoot
Ask any photographer and they'll tell you: the background does a lot of heavy lifting. A cluttered, distracting or flat backdrop pulls the viewer's eye away from the subject — in this case, your beautifully decorated cake and the tiny human about to demolish it.
What a Backdrop Actually Does in Food and Baby Photography
A backdrop serves several critical functions at once. It creates visual separation between the subject and the surrounding environment. It sets the mood — rustic and warm, clean and modern, or soft and dreamy. And it subtly reflects light, affecting the colour temperature of your entire shot.
- A neutral or muted backdrop lets a brightly decorated cake take centre stage
- A textured surface adds visual interest without competing with the subject
- A colour-coordinated backdrop ties the cake, outfit and props into a cohesive story
- A natural or organic backdrop softens the overall feel and adds genuine warmth
For a deeper look at how professional studios approach layout and styling, our guide on cake smash studio setup and designing memorable moments covers composition, prop placement and spatial arrangement in detail.
Fabric Backdrops — Soft, Textured and Totally Customisable
Fabric is arguably the most versatile backdrop material available, and it's almost always the first choice for photographers working with babies and toddlers. The soft, yielding quality of cloth complements the softness of your subject in a way that hard surfaces simply can't replicate.
Choosing the Right Fabric for Your Shoot
Not all fabrics behave the same way in front of a lens. Your choice should match both the aesthetic you're after and the practical demands of the shoot.
- Muslin cotton — the industry standard. Lightweight, available in a vast range of colours and textures, and easy to hand-dye for custom tones
- Vinyl — ideal for mess-heavy sessions. It wipes down in seconds after a cake smash and holds its shape beautifully on the floor
- Velvet or chenille — adds rich texture and depth, especially under studio or window lighting
- Linen or hessian — perfect for a natural, earthy or boho-inspired look
- Repurposed bed sheets or curtains — a genuinely viable budget option when kept wrinkle-free
Always iron or steam fabric thoroughly before shooting — even small creases become distracting when magnified through a lens. For shoots taking place outdoors or in breezy locations around Campbelltown and the Macarthur region, a heavier fabric or weighted hem clips will prevent wind interference ruining your frame.
DIY Fabric Dyeing for Custom Colours
Want a specific dusty rose, sage green or warm terracotta that you simply cannot find ready-made? Fabric dye from your local craft store makes it entirely possible. Use cold-water dye on muslin, follow the packet instructions carefully, and rinse until the water runs clear. The result is a completely bespoke backdrop that coordinates perfectly with your cake design and your little one's outfit — see our cake smash outfit ideas guide for colour pairing inspiration.
Paper, Wallpaper and Pattern Backdrops for Creative Flat Lays
Paper-based backdrops are underrated. They're lightweight, inexpensive and highly portable, and they come in a staggering array of colours, textures and patterns. For smaller cakes, cupcake arrangements or overhead flat-lay compositions, paper is often the ideal choice.
Scrapbooking Paper and Poster Board
For mini cakes or overhead shots, A3 and A2 scrapbooking sheets offer a remarkable range of options — geometric patterns, florals, marble effects, solid pastels, kraft textures. Tape several sheets together on the back for a seamless larger surface, or use a single sheet as an accent layer over a plain board.
Wallpaper Samples — a Free Resource Most People Miss
Home improvement stores across Sydney frequently carry sample books of discontinued wallpaper. Ask at the counter — many stores give these away for free. A single wallpaper sample can create a stunning textured or patterned backdrop for tabletop cake photography, and the variety is genuinely impressive: exposed brick prints, herringbone timber, soft linen weaves and vintage florals are all commonly available at no cost whatsoever.
"The backdrop's job is to complete the story — not steal the spotlight. When the background disappears and all eyes fall on that smashed cake and that beaming face, you know you've got it exactly right."
Nature-Inspired Backdrops: Bringing the Outdoors In
There's something deeply appealing about organic, natural backdrops — and they're far easier to assemble than you'd expect. Dried botanicals, fresh foliage and natural timber bring a warmth and authenticity to cake photography that manufactured surfaces can struggle to replicate.
How to Build a Botanical Backdrop at Home
You don't need a florist or a large budget. Here's what works beautifully in practice:
- Pin or hot-glue dried pampas grass, eucalyptus, gypsophila or native wildflowers onto a piece of foam board or stretched canvas
- Lay dried leaves and petals flat on a clean surface for overhead flat-lay shots — completely free if you have access to a garden
- Small branches from native Australian shrubs add texture and an authentically local character
- Seasonal elements — spring blossoms, autumn leaves, winter berry branches — add a sense of time and place that feels genuinely considered
Scatter elements loosely rather than packing them tightly — negative space is your friend. Breathing room around the cake keeps the composition feeling intentional rather than cluttered.
Upcycled and Rustic Backdrops with Real Character
This is where budget creativity truly shines. Upcycled materials — old window frames, vintage doors, weathered timber pallets, reclaimed floorboards — bring instant character to a cake photoshoot and create a warmth that money genuinely cannot buy.
Where to Source Upcycled Pieces Around South-West Sydney
- Facebook Marketplace and Gumtree regularly list free or cheap reclaimed timber and interesting vintage furniture
- Op-shops and salvage yards across the Camden and Macarthur area carry surprising gems
- Your own garage or shed — an old picture frame, a length of weathered board or a vintage wooden crate all do the job beautifully
Painting and Finishing Upcycled Pieces
A coat of chalk paint or a light sand-back can completely transform a piece of reclaimed timber. Coordinate the finish with your cake design. A soft white-washed palette suits pastel cakes; a deep forest green or charcoal finish suits a dramatic, moody setup. Less is almost always more — a subtly treated backdrop lets the cake and your subject breathe, rather than fighting for attention.
Ready to Celebrate That First Birthday in Style?
Let the Faithful Photography team handle every backdrop, lighting setup and styling detail — at our Glen Alpine or Gledswood Hills studios, serving families across Campbelltown, Camden, Narellan and the wider Macarthur region.
Essential Tools and Materials for Your DIY Cake Backdrop Setup
Knowing what to make is only half the battle — having the right tools on hand makes the build smooth and the finished result polished. Most of these items are already somewhere in your home.
The Core DIY Backdrop Kit
- Backdrop stand or sturdy clothing rack — essential for hanging fabric or paper vertically. A bare wall and strong Command hooks work just as well in a pinch
- Glue gun with clear-drying adhesive — for attaching botanicals, layering fabric textures or fixing paper panels together seamlessly
- Scissors and a craft knife with cutting mat — for clean, precise cuts on paper, vinyl and thin fabric
- Foam board or canvas board — a stable, lightweight base for botanical and paper backdrops
- Binder clips and bulldog clips — for securing fabric to a stand without causing damage or leaving marks
- A steamer or iron — absolutely non-negotiable for any fabric backdrop
Lighting: Natural vs Artificial for Home Cake Shoots
For home setups, natural light is your most powerful tool. Position your backdrop near a large north-facing window for soft, even illumination throughout the day. Avoid direct sunlight, which creates harsh shadows and blows out frosting highlights. A simple white foam board on the opposite side of your subject acts as a free reflector, bouncing soft fill light back onto the shadow side.
If you need more consistent control over your environment, our guide on lighting equipment and studio essentials walks through affordable softbox setups that work genuinely well in domestic spaces.
Step-by-Step: Building Your First DIY Cake Backdrop
Ready to build something genuinely impressive? Here's a practical, repeatable process you can follow for virtually any backdrop style — fabric, paper, botanical or upcycled.
- Choose your style and colour palette first. Start with the cake design and work backwards — the backdrop should harmonise with, not overpower, the cake's colours and decoration.
- Gather all your materials before you begin. Lay everything out: fabric or paper, decorative elements, tools, clips and any props you plan to include.
- Prepare the primary surface. Iron fabrics thoroughly. Cut paper panels to size and tape seams on the reverse side for a seamless front face.
- Build any layered texture or detail. Hot-glue botanicals, attach secondary fabric layers, or affix wallpaper panels to your foam board base — work from the back layer forward.
- Mount the backdrop securely. Use your stand, hooks or a clean wall. Check the composition from the camera angle, not just head-on — this is the view that matters.
- Test your lighting before the subject arrives. Set the scene, position your reflector, and take a few test shots of the empty setup. Adjust until the light looks even and flattering.
- Style and shoot from multiple angles. Straight on, overhead and at 45 degrees each tell a slightly different story — capture all three and choose the strongest in post.
Storing and Reusing Your DIY Backdrops
A well-made DIY backdrop is a genuine asset, even if it only cost a few dollars to build. With proper care, fabric and paper backdrops can be reused across many sessions, making your initial effort well worth it.
- Roll fabric backdrops around a cardboard tube (a wide postal tube works perfectly) to prevent creasing between uses
- Store paper backdrops flat inside a large art portfolio case, or sandwiched between two sheets of firm cardboard
- Keep botanical backdrops in a cool, dry environment — a sealed bag with a silica gel sachet significantly extends their life
- Label each backdrop with its dimensions, colourway and the sessions it's been used for, so future planning is faster and easier
Frequently Asked Questions
What's the best material for a DIY backdrop for a cake smash at home?
Vinyl and cotton muslin are both excellent choices. Vinyl wipes down quickly after the inevitable frosting mess, while muslin provides a softer, more photogenic texture that flatters a baby's skin tones. For tabletop flat-lay shots of smaller cakes, a large sheet of scrapbooking paper or a wallpaper sample works beautifully and costs very little to source.
How do I prevent wrinkles in a fabric backdrop?
Iron or steam the fabric thoroughly before hanging it. For cotton muslin, a light misting of water followed by a pass with a hot iron removes virtually all creasing. Store fabric rolled rather than folded to minimise future wrinkles. If you're shooting on location, a compact handheld travel steamer is a genuinely worthwhile investment — it fits in any camera bag and solves the problem in minutes.
What colours work best as cake photoshoot backdrops?
Neutral tones — white, cream, warm taupe, soft grey — are the safest and most versatile choice, as they allow the cake and subject to stand out clearly. Coordinating pastels (blush for a pink cake, sage for a white-and-green floral design) add warmth and cohesion. Avoid busy, high-contrast patterns unless they're very subtle, and steer well clear of any colour that clashes with the cake's frosting or decoration palette.
How large should a DIY backdrop be for a full cake smash setup?
For a full-body cake smash setup — baby seated in front of the cake — you'll want a backdrop at least 2.4 metres wide and 2 metres tall to cover both the wall and the floor area. For tabletop-only cake shots, a surface of roughly 60 x 90 cm is usually sufficient. If you're building a floor drop that curves from wall to floor, add an extra metre of material to your height measurement to account for the sweep.
Do DIY backdrops work for professional-quality cake smash photography?
A well-made DIY backdrop can absolutely produce beautiful results, particularly for home setups or informal styled shoots. However, for a milestone like a first birthday — something you'll want framed on the wall for decades — a professional cake smash photography session in Sydney at Faithful Photography ensures every element works in harmony: backdrop, lighting, styling, posing and post-production editing, all handled by an experienced team.
Where can families in South-West Sydney book a professional cake smash session?
Faithful Photography operates from studios in Glen Alpine and Gledswood Hills, serving families across Campbelltown, Camden, Narellan, Gregory Hills and the wider Macarthur region. View session inclusions and pricing on our session pricing page, or book your session directly online. We'd genuinely love to help you celebrate this milestone the right way.
Visit Faithful Photography Today
Whether you're inspired to craft your own DIY backdrops at home or you're ready to leave every last detail in professional hands, Faithful Photography's Glen Alpine and Gledswood Hills studios are here for every milestone — cake smash, newborn, maternity, family and beyond. Proudly serving families across Campbelltown, Camden, Narellan and the entire Macarthur region of South-West Sydney.