Key Takeaways
- The right combination of camera, lenses and lighting transforms almost any spare room into a capable home photo studio — without a professional budget.
- Room dimensions, ceiling height and window orientation matter just as much as your gear when setting up a home studio space.
- Understanding professional studio principles is a shortcut to better results — and knowing when to call in an expert saves time, money and heartache.
Essential Equipment for a Home Photo Studio
Getting the gear right from the start saves you a lot of frustration later. You don't need to spend a fortune, but you do need to make smart choices.Camera Bodies Worth the Investment
Mirrorless cameras have become the go-to choice for home studio work. Their compact footprint, real-time exposure previews and fast autofocus make them particularly well-suited to controlled indoor environments. Options like the Sony A7 III and Canon R6 Mark II sit in a sweet spot — capable 24+ megapixel sensors that handle portrait and product work beautifully without the cost of medium-format systems. For most portrait sessions — think families, newborns and milestone shoots — a solid full-frame mirrorless body will produce results that are genuinely indistinguishable from medium-format at typical print sizes. Don't get drawn into upgrading your camera body when your lenses and lighting are holding you back.Lenses That Actually Separate the Results
Prime lenses are the right call for studio work. In a controlled environment where you're not chasing moving subjects across a field, there's little need for the versatility of a zoom.- 85mm f/1.8 — ideal for tight head-and-shoulder portraits with beautifully blurred backgrounds, even in modest spaces.
- 50mm f/1.4 — a workhorse for group shots and environmental portraits without the distortion of wider focal lengths.
- 35mm f/1.8 — useful when your studio space is genuinely compact and you need to fit more into frame.
Lighting Your Home Studio — Getting It Right
Lighting is where home studio setups most often go wrong. The good news is that the fundamentals aren't complicated once you understand them.Continuous LED vs Strobe Lighting
For photographers who are newer to studio lighting setups, continuous LED lights have a significant advantage: what you see is what you get. There's no guesswork about how the light will fall when the shutter fires. Units like the Godox SL-60W offer a clean 5600K daylight-balanced output, variable dimming from 100% down to 10%, and a manageable weight that won't tax cheap light stands. Strobe lighting produces more power and a shorter flash duration — useful for freezing movement — but it adds complexity that most home studio operators don't need straight away. Start with continuous LEDs and graduate to strobes once you understand the principles.Modifiers That Flatter Your Subjects
Light modifiers shape and soften your light source, and they matter enormously for portrait work.- Softboxes (up to 65cm in compact spaces) produce soft, flattering light with a natural spread.
- Octaboxes and round modifiers create those distinctive circular catchlights in the eyes that are a hallmark of polished portrait work.
- Reflectors bounce light back to fill shadows on the opposite side of the face — a free or near-free way to improve your portraits.
"The single biggest mistake home studio photographers make is buying a better camera when better light would have transformed their images for a fraction of the cost."
Choosing the Right Space to Set Up Your Home Studio
The physical space you choose to set up your home studio will shape every creative decision that follows. Not all rooms are created equal.Room Size and Dimensions
A spare bedroom measuring roughly 3 metres by 3.5 metres (approximately 10x12 feet) is considered the minimum comfortable working size for portrait work. It gives you enough room to position your camera at least 1.8 metres from your backdrop, place a main light to the side, and still have space to move around your subject. Rooms smaller than roughly 2.4 metres by 2.4 metres (8x8 feet) start to create real problems — particularly forced wide-angle shooting distances that introduce unflattering distortion on portraits.Ceiling Height and Window Placement
Ceiling height is often overlooked but genuinely critical. Ceilings under 2.4 metres (8 feet) make it difficult to position lights above your subject's eye line, which leads to unflattering downward shadows. Ideally, aim for 2.5 metres or higher. Window orientation matters almost as much. North-facing windows in the southern hemisphere — including here in South-West Sydney — provide consistent, even natural light throughout the day without the harsh, directional quality of east or west-facing light. If you have the choice of rooms, prioritise the one with northern exposure.Backdrop Solutions That Work in Real Spaces
White walls can work for simple, clean portraits, but they reflect light unpredictably and limit your creative options. Proper backdrops open up a much wider range of looks.Paper vs Fabric Backdrops
Seamless paper rolls are the standard in professional portrait and product photography for good reason. Their matte surface eliminates the hotspots and reflections you get on painted walls, making post-processing significantly easier. A full-width 2.7-metre paper roll mounted on a simple crossbar system can be rolled down for use and rolled back up to protect it between sessions. Fabric backdrops — muslin, canvas and printed options — are more durable and easier to store flat. They're better suited to portrait work than product photography, where surface texture can become distracting in macro shots.Mounting Without Destroying Your Walls
Traditional backdrop stands on C-stands are the most flexible option and can be repositioned as your shooting needs change. For a more permanent solution in a dedicated room, a simple wall-mounted crossbar system keeps the floor clear and holds paper rolls or fabric evenly.- Measure the width of your widest backdrop roll (typically 2.7m for a full-size paper roll).
- Mount two wall brackets at the desired height, checking they're level.
- Slide a steel or aluminium tube through the roll core and rest it across both brackets.
- Secure the tube ends so the roll can't shift during sessions.
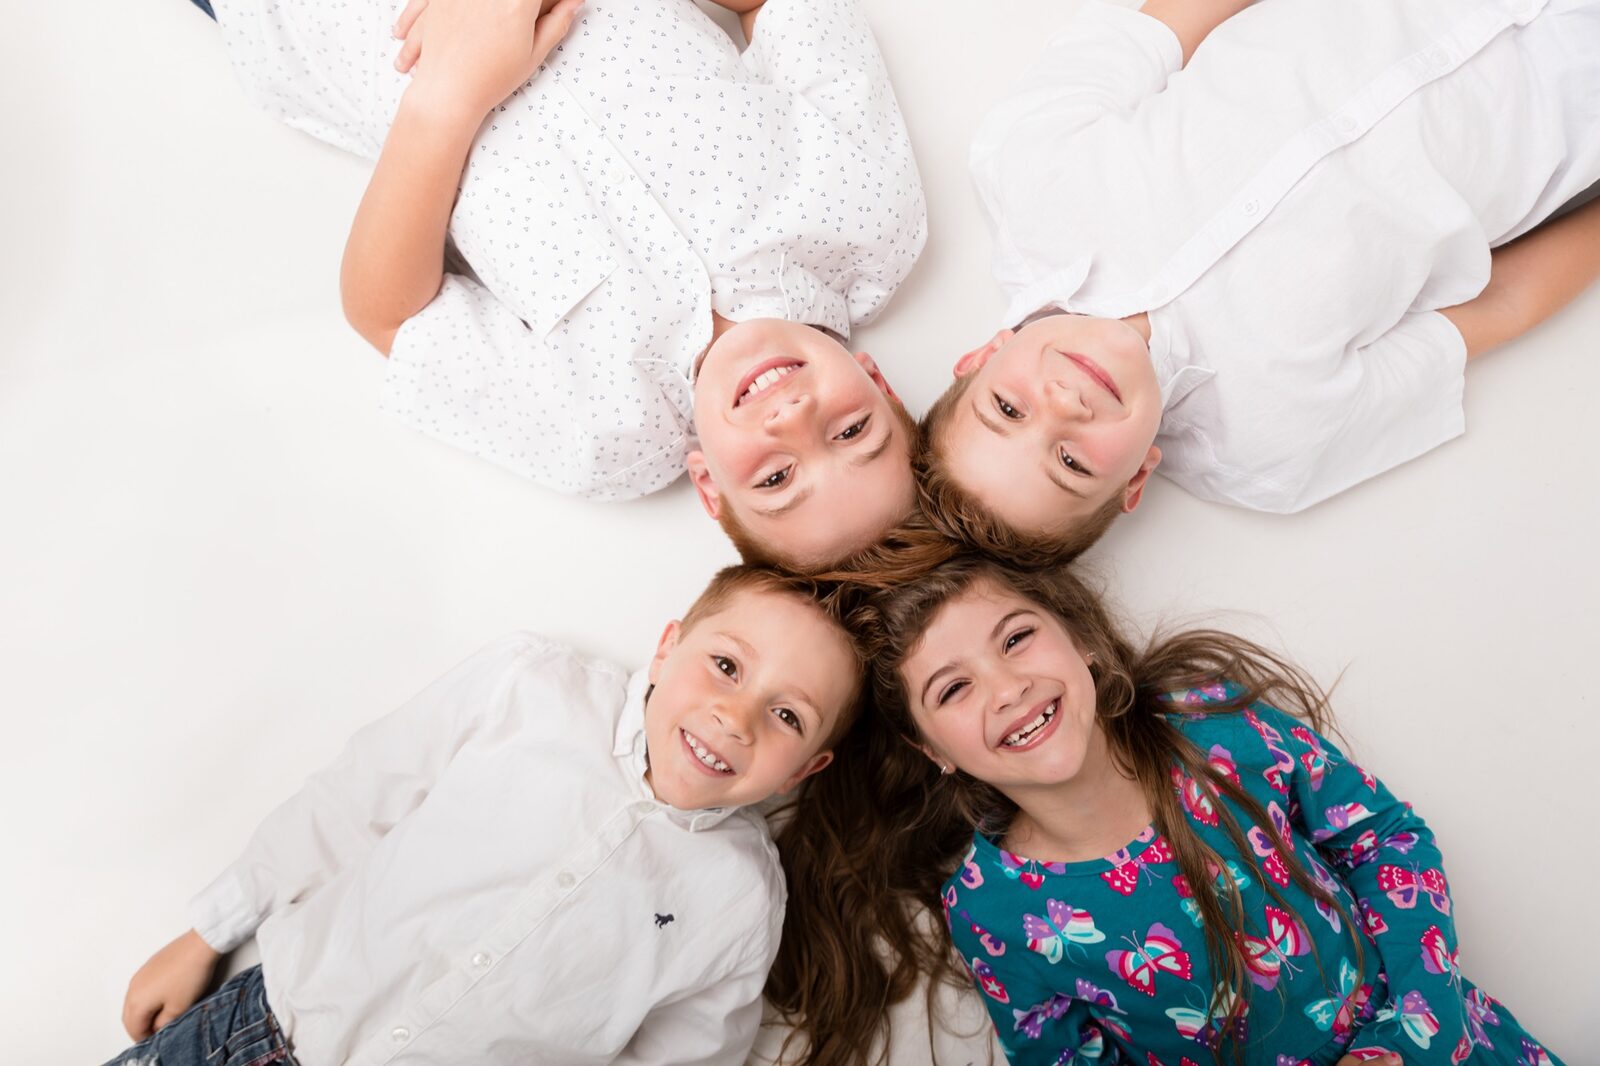
Ready to See a Professional Studio in Action?
Sometimes the best way to understand what a great studio setup looks like is to experience one. Visit our Glen Alpine or Gledswood Hills studio and see how professional light, space and backdrops come together to create images your family will treasure for generations.
Room Layout and Camera Placement
Even the best gear in the wrong configuration produces mediocre results. Thoughtful layout is what makes the difference.Distance, Angles and Flow
Your camera should be positioned at least 1.8 metres from your backdrop — ideally 2 metres or more. This distance prevents shadows from falling across the backdrop and gives you enough working room with your chosen focal length. Your main light source should strike your subject from roughly 45 degrees — both horizontally and vertically — relative to your camera position. This creates the dimensional shadows that give portrait subjects shape and form. Flat, front-facing light is a common beginner mistake and produces the kind of passport-photo look nobody wants.Cable Management and Power Access
- Plan your power outlet positions before committing to a layout — floor outlets are ideal but wall outlets work well if cables are run along skirting boards rather than across the floor.
- Use gaffer tape to secure cables to the floor wherever subjects or photographers will be moving around.
- Keep a dedicated power board with surge protection for your lighting equipment — voltage spikes can damage sensitive electronics.
Support Gear That Prevents Costly Mistakes
Tripods and tethering cables are the unglamorous but genuinely important side of studio photography. A quality tripod — carbon fibre for portability, aluminium for maximum stability on a fixed setup — prevents camera shake during long exposures and keeps your framing consistent across a set of images. This matters enormously when you're shooting a sequence of family portraits and want everyone positioned consistently in frame. Tethering your camera to a laptop or tablet lets you review images on a large screen in real time. Focus issues, background wrinkles and expression problems that are invisible on a camera's rear LCD screen become immediately obvious on a 13-inch monitor. Catching these during the session — rather than in post-processing at midnight — is one of the clearest practical advantages a tethered workflow offers. Remote shutter releases are inexpensive and eliminate the risk of camera shake caused by pressing the shutter button, particularly with longer focal lengths or slow shutter speeds.When a Home Studio Setup Reaches Its Limits
A well-configured home studio is genuinely capable of producing beautiful results for personal projects, social media content and small commercial work. But there are moments when the gap between a home setup and a purpose-built professional studio becomes significant. Newborn photography is a prime example. Safe posing for very young babies requires not just technical skill but purpose-built props, heated rooms, the right assistant workflow, and years of experience reading infant cues. Our team provides exactly this for families across South-West Sydney — from newborn photography sessions in Sydney to milestone shoots and beyond. Similarly, family photoshoots in Sydney benefit from the controlled environment and professional-grade lighting of a dedicated studio space — particularly for larger groups where managing light fall-off across multiple subjects requires more power and precision than most home setups can provide. If you're building your own wardrobe planning checklist for when you do book with us, our family portrait wardrobe tips are a helpful starting point.Frequently Asked Questions
How much space do I actually need to set up a home photo studio?
A minimum of roughly 3 metres by 3.5 metres gives you comfortable working room for solo portrait subjects. You need enough distance between camera and backdrop (at least 1.8 metres), space for a light to the side, and room to move around the subject. Anything significantly smaller will constrain your focal length choices and create distortion issues.
Is continuous LED lighting or strobe lighting better for a home photo studio setup?
For beginners, continuous LED lighting is the better starting point. You can see the effect of the light in real time before you take a single shot, which makes the learning curve far gentler. Strobe lighting offers more power and is better for freezing fast movement, but it adds complexity that isn't necessary until you have the fundamentals well established.
Do I need a dedicated room, or can I use a multi-purpose living space?
A dedicated room is strongly preferred. Shared living spaces require you to set up and pack down for every session, which adds significant time and increases the risk of damage to equipment. A dedicated room also allows you to leave your lights and backdrop in their configured positions, making each session faster to start and more consistent in its results.
What's the best backdrop for a home studio?
Seamless paper rolls on a crossbar mount are the professional standard for portrait and product work. Their matte finish eliminates reflections and makes post-processing simpler. For versatility, start with white, mid-grey and a warm neutral tone — those three will cover the vast majority of portrait and product scenarios without requiring constant swaps.
Can I use my home studio setup for newborn or maternity photography?
Technically yes, but with significant caveats. Newborn photography in particular requires specialised safety training, purpose-built props, carefully managed room temperature, and years of experience reading infant behaviour. For professional-quality newborn or maternity photography in Sydney, working with an experienced specialist is strongly recommended over attempting these sessions in a home environment without proper training.
How do I learn from a professional studio if I'm setting up my own home studio?
Booking a session at a professional studio — such as our Gledswood Hills studio or Glen Alpine studio — gives you a first-hand look at how light, space, backdrops and posing work together at a professional level. Observing what great studio photography looks like in practice is one of the fastest ways to calibrate your own home setup.
Visit Faithful Photography Today
Whether you're building inspiration for your own home studio or you're ready to book a professional session in South-West Sydney, the Faithful Photography team is here to help. Our Glen Alpine and Gledswood Hills studios serve families across Campbelltown, Camden, Narellan and the wider Macarthur region — and we'd love to create something beautiful with you.