Key Takeaways
- Natural light — especially golden-hour and open shade — is the single biggest upgrade you can make to your family photography without touching a single setting.
- Thoughtful composition (diagonals, off-centre placement, varied crops) transforms a stiff group lineup into an image worth framing.
- Genuine expression beats perfect posing every time — the best family photos feel lived-in, not performed.
Why Lighting Is the Foundation of Beautiful Family Photography
Every stunning family photo starts with great light. Not great cameras, not great outfits — light. Get it wrong and no amount of post-processing will save you. Get it right and even a basic camera phone can produce something genuinely moving.Natural Light Outperforms Artificial Strobes for Families
For most family situations, natural light wins decisively. Strobes are brilliant for fashion and commercial work, but when you're managing wriggling toddlers, mismatched socks, and a parent who won't stop blinking, more gear means more things to go wrong. Sunlight is free, directional, and mercifully forgiving when you position your subjects correctly. The midday sun is your enemy — harsh shadows under the eyes, blinding squints, contrast that flatters no one. The fix is simple: move to the shade. Open shade under a tree canopy, a building overhang, or a covered patio delivers even, flattering diffusion while preserving the warmth that makes family photos feel alive rather than clinical.Camera Settings That Preserve Every Detail
Manual controls give you a decisive edge. Start with ISO 100 for maximum detail — the lowest noise floor means the biggest, cleanest prints. Bump to ISO 200 only when deep shade demands it; there's no reason to invite grain when you don't need to. Use around **1/250s** as your baseline shutter speed. It stops motion for most family moments without demanding more light than you have available. Then tweak up or down depending on your conditions.- ISO 100–200 — clean shadows, sharp detail, large-print ready.
- 1/250s shutter — freezes typical child movement without blur.
- f/5.6 for groups — keeps everyone acceptably sharp while softening the background enough to feel professional.
- f/4 or wider — risky for rows; the back row often goes soft.
Golden Hour: The Cheat Code for Gorgeous Family Photography
Golden hour — that 30 to 60 minutes before sunset — is the single most reliable upgrade available to any family photographer. The sun sits low, warm, and wraps faces in flattering colour without blasting the scene into harsh contrast.How to Position Your Group in Golden Light
Placement matters enormously. Put your group with the sun behind or slightly to the side of them — never blasting directly into their faces. Squinting kills personality instantly. Backlit subjects gain natural separation from the background, creating real depth rather than flat, postcard-style imagery. If you want to push the mood further, a warm CTO gel on a small off-camera fill light can coax out that curated sunset glow and make the image feel intentional rather than accidental.When Golden Hour Isn't an Option
Not every family session can be timed around sunset. When golden hour isn't on the cards, open shade with the sun behind or to the side is your second-best play. It mimics the warmth and dimensionality of golden hour without the time pressure. Always test on your LCD before the session begins. A quick exposure and focus check prevents the heartbreak of discovering, halfway through, that faces are soft or backgrounds are blown out. ---How to Frame Family Groups for Maximum Visual Impact
Composition isn't a rulebook — it's a form of direction. Where you place people controls where the eye goes and, more importantly, how the image feels.Offset Your Subjects to Create Visual Tension
The most common mistake in family group photography is centring everyone as though it's a corporate headshot. Centre equals static. Centre equals formal. Centre equals forgettable. Shift your group left or right of frame and the composition breathes; tension and purpose appear almost automatically. For groups of three to five, nudge the tallest person off-centre rather than planting them in the middle. This breaks the stiff pyramid effect and suddenly the shot looks intentional, not merely arranged.Use Diagonal Flow to Guide the Eye
When you have multiple rows — grandparents at the back, parents in the middle, kids at the front — think in diagonals, not straight lines. An arabesque arrangement creates a gentle diagonal from front to back that leads the viewer's eye naturally through the scene rather than forcing them to scan across like a spreadsheet. Head spacing is brutal in its importance:- Overlapping faces flatten expressions and make individuals disappear into the group.
- Give each face enough room that every personality reads clearly.
- Shoot a wide version (feet to heads) and a tighter crop for every arrangement — you'll thank yourself in editing.
- Vary your vantage point: shoot from slightly above for larger groups to avoid distorted foreground figures.
"The best family photos aren't taken — they're coaxed. The photographer's real job is to create conditions where genuine moments can't help but happen."---
Posing Families Without Making It Look Posed
Here's the honest truth about posing: the moment a family feels posed, the images look posed. Your job is to direct without choreographing — to set up the conditions for real interaction and then capture what unfolds.Movement-Based Direction Works Better Than Static Poses
Instead of telling everyone where to stand, give them something to do. Ask parents to whisper something silly in their child's ear. Get older kids to race to a tree. Have a toddler "show Dad something" twenty metres away. These micro-moments generate authentic expressions that no amount of "say cheese" ever will.- Give children a simple task — it redirects nervous energy into genuine engagement.
- Ask couples to walk and talk rather than stand and smile.
- Capture the in-between moments: the laugh after a joke, the adjustment of a collar, the huddle before you've called "ready."
- Work quickly with young children — their attention window is short and their authenticity is highest in the first few minutes.
The Power of Connection Over Perfection
A slightly blurred frame where everyone is genuinely laughing will always outperform a technically sharp image where everyone looks like they're waiting for a bus. Genuine connection is the variable that separates a print worth framing from a file that sits forgotten on a hard drive. Our family photoshoots in Sydney are built around this exact philosophy — we create the environment, you bring the connection. ---Ready to book your family session?
Our South-West Sydney studios in Glen Alpine and Gledswood Hills are designed to bring out the best in every family — from newborns to extended groups. Professional lighting, expert direction, and zero awkward silences.
Choosing the Right Location for Your Family Shoot
Location is the silent third collaborator in any family photo. The right setting amplifies your lighting, gives natural compositional anchors, and — perhaps most importantly — puts the family at ease.Outdoor Locations in South-West Sydney
South-West Sydney and the Macarthur region offer extraordinary variety for outdoor family sessions. Bushland reserves, heritage homesteads, and open parkland provide natural backdrops that feel authentic to the region without feeling generic. Our photographers know the best light pockets at each location and time of day — a significant advantage when you're working around school drop-offs and nap schedules. Families from Campbelltown, Camden, and the wider Narellan area regularly make use of local outdoor settings for their sessions.Studio Sessions: Control Every Variable
When you want complete creative control over light, background, and mood, a studio session eliminates the variables that make outdoor shooting unpredictable. Our Glen Alpine and Gledswood Hills studios are purpose-built for families — spacious, climate-controlled, and stocked with the kind of props and backdrops that elevate an image from snapshot to heirloom. Studio work is especially valuable for newborn photography in Sydney where safety and temperature control are non-negotiable, and for cake smash photography in Sydney where the mess is half the magic. Our detailed guide on lighting equipment studio essentials gives a behind-the-scenes look at what goes into building a professional photo space. ---Practical Preparation That Makes the Day Run Smoothly
Great technique on the day counts for very little if the logistics fall apart. A little preparation eliminates most of the friction that turns family sessions into stressful affairs.Wardrobe Coordination Without Matchy-Matchy
The goal is visual cohesion, not uniformity. Coordinated colour palettes — a selection of tones that feel related without being identical — photograph far more naturally than everyone wearing the same outfit from the same shop. Avoid busy graphics and logos, which draw the eye away from faces.- Choose two or three anchor colours and let each family member work within that range.
- Layers add visual interest — a jacket, scarf, or wrap photographs beautifully.
- Neutral tones (cream, sage, dusty blue, terracotta) age well and suit most backgrounds.
- Avoid pure white in bright outdoor light — it blows out and flattens skin tones.
Timing Around Small Children
The single best gift you can give your family photographer is a well-rested, recently fed child. Schedule sessions for the time of day when your children are typically at their best. For most toddlers, that's mid-morning after breakfast and a short play. Avoid nap time and the late-afternoon hunger window if at all possible. Bring familiar snacks, a comfort toy, and absolutely no expectations of perfection. The unexpected moments — the wobble, the giggle-fit, the toddler who decided to investigate a flower bed — are often the frames that end up on the wall. ---When to Call in a Professional Photographer
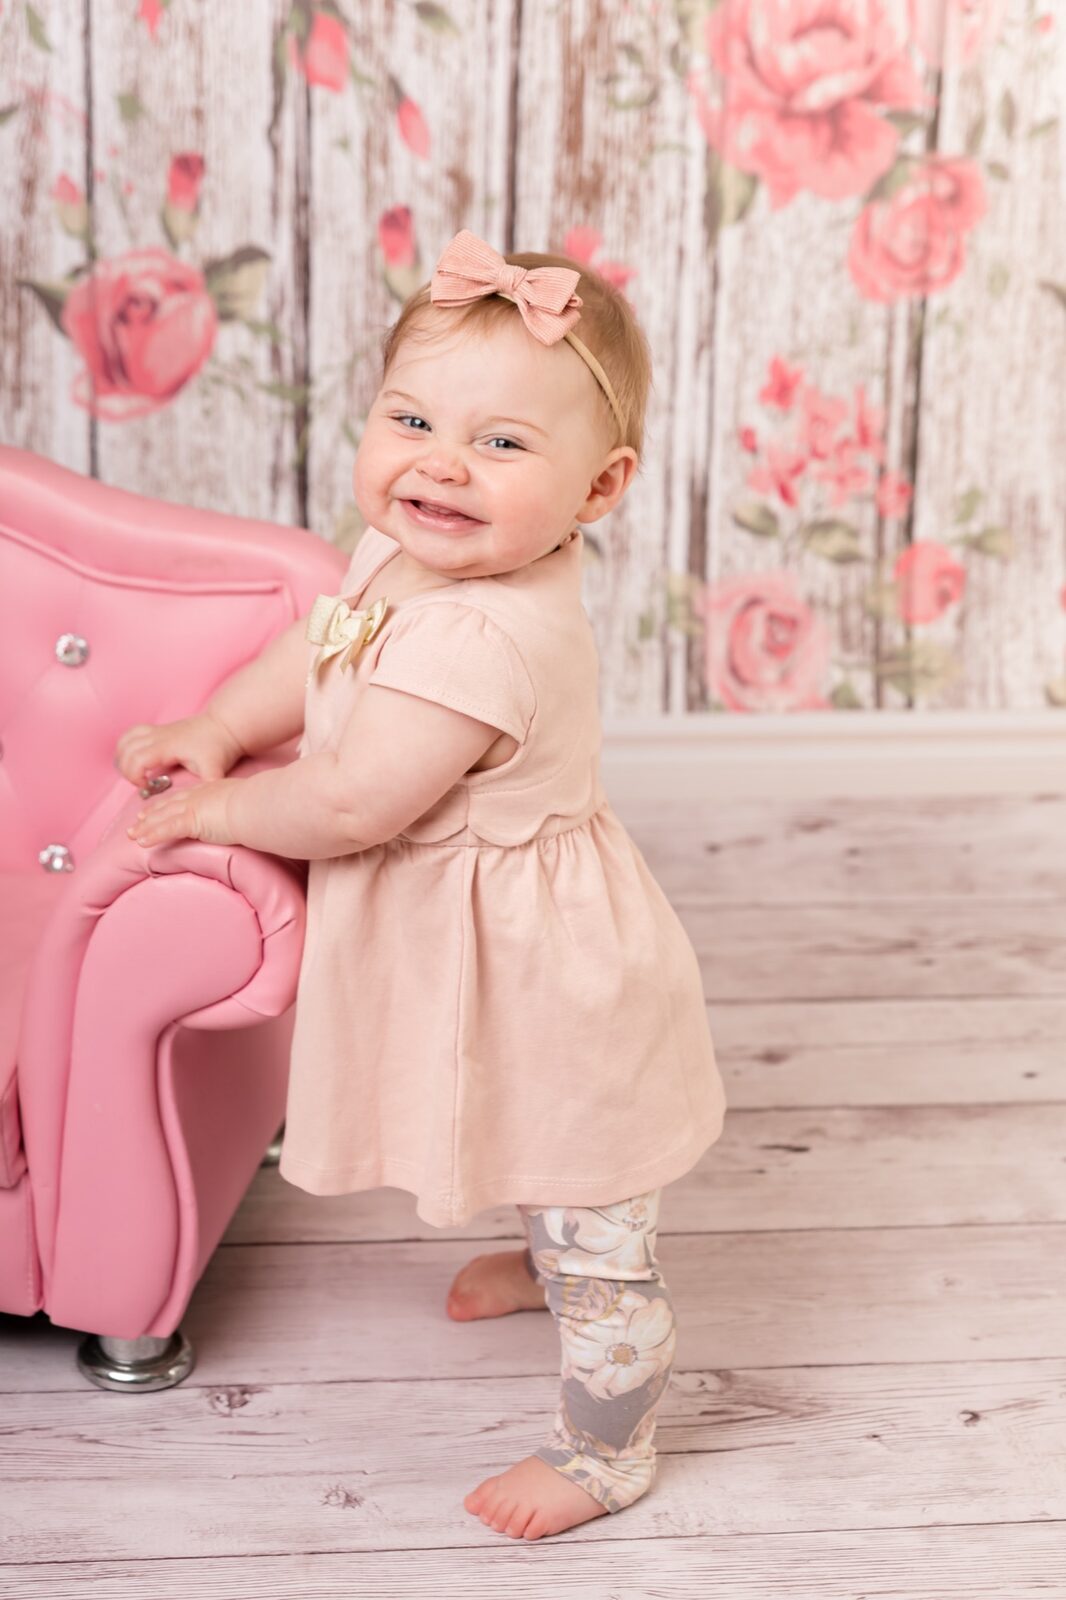
DIY family photography is genuinely rewarding and the skills above will take you a long way. But there are moments where the significance of the occasion — and the impossibility of being in the photo while also taking it — makes a professional the obvious choice. Key milestones worth investing in a professional session include:- Newborn and baby's first months — a window that closes faster than any other.
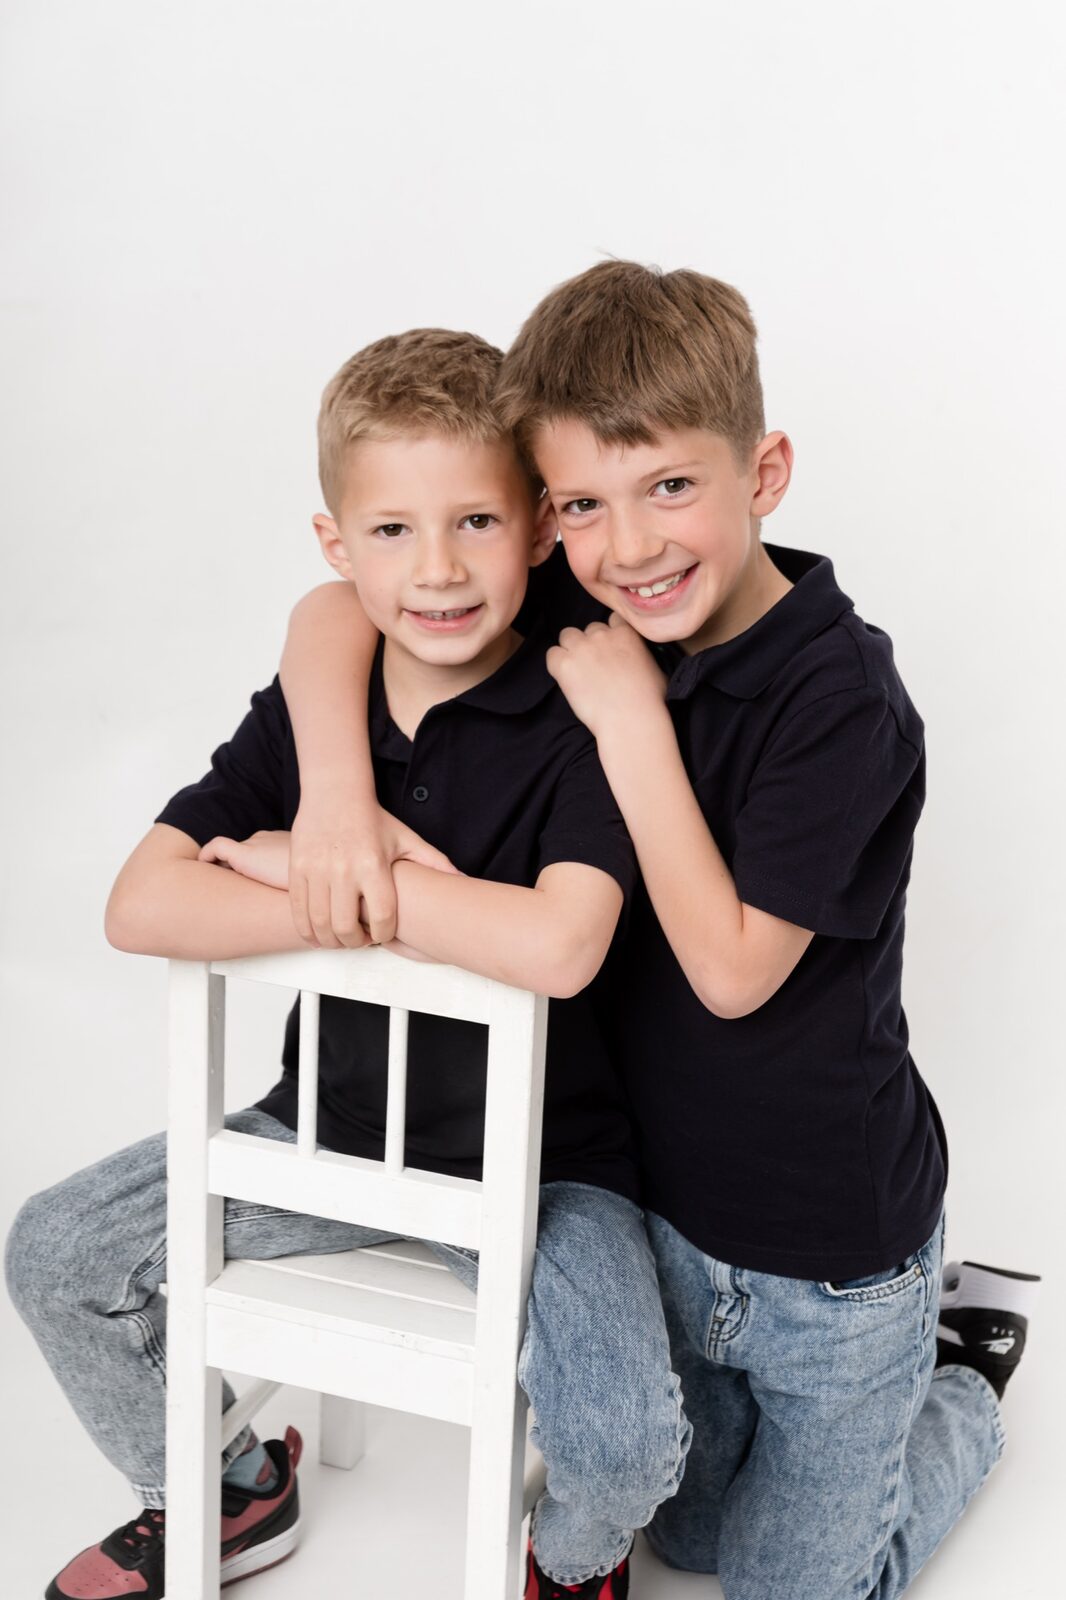
- Annual family portraits that document how children grow year by year.
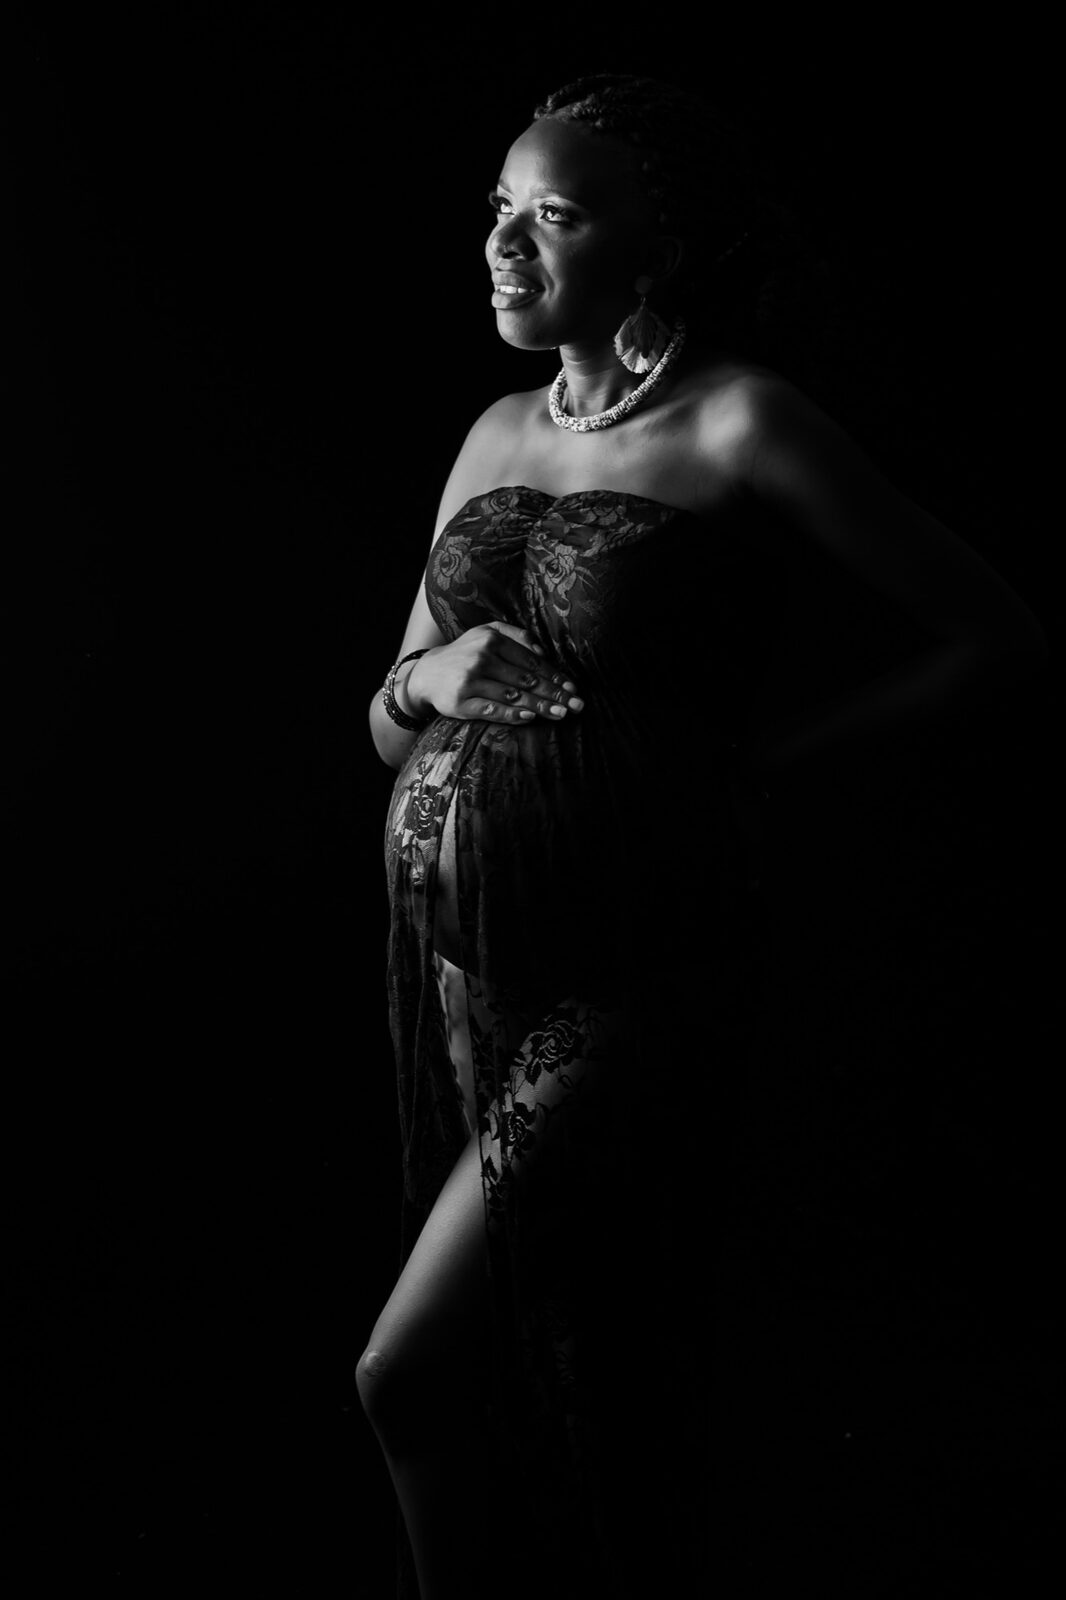
- Maternity photography in Sydney — a chapter that deserves more than a phone snap.
- Extended family gatherings — when cousins, grandparents and siblings are finally all together.
- Milestone birthdays and celebrations, including cake smash sessions.
Frequently Asked Questions
What is the best time of day to take beautiful photography for family photos outdoors?
Golden hour — the 30 to 60 minutes before sunset — consistently produces the most flattering and atmospheric results. The light is warm, low, and directional without being harsh. If sunset timing doesn't suit your family's schedule, mid-morning in open shade is an excellent alternative. Avoid midday sun, which creates unflattering shadows and causes squinting.
Do I need an expensive camera to take professional-looking family photos?
Good light and thoughtful composition matter far more than camera equipment. A modern smartphone in open shade during golden hour will outperform an expensive DSLR used poorly in harsh midday sun. That said, a camera with manual controls gives you far more flexibility — particularly for controlling depth of field and freezing movement in lower light. Start with mastering light and composition before investing in gear.
How do you keep kids relaxed and natural during a family photo session?
Give children something to do rather than simply telling them where to stand. Movement-based direction — walking together, whispering something silly, playing a simple game — generates authentic expressions that staged poses never achieve. Keep sessions short, bring favourite snacks, schedule around sleep and feed times, and let children lead you to interesting moments rather than forcing them into pre-planned poses.
What aperture should I use for group family photos?
For groups of three or more, f/5.6 is a reliable starting point. It keeps everyone in the same focal plane acceptably sharp while softening the background enough to avoid a flat, documentary look. Avoid f/4 or wider for groups of more than two — the risk of soft back-row faces is significant. If you want more background compression for a two-person shot, f/2.8 to f/4 works beautifully.
Where does Faithful Photography serve in South-West Sydney?
Our studios are based in Glen Alpine and Gledswood Hills, and we serve families across the entire Macarthur region — including Campbelltown, Camden, Narellan, Harrington Park, Gregory Hills, Mount Annan, Oran Park, and Liverpool, NSW. We also work with clients from across Greater Sydney who travel for studio sessions. Get in touch to discuss location options for your shoot.
How far in advance should I book a family photography session?
We recommend booking at least four to six weeks in advance, particularly for weekend sessions and school holiday periods. Newborn sessions should ideally be booked during your third trimester — newborn photography is most safely performed in the first ten to fourteen days after birth, and those dates fill quickly. Contact us early and we'll hold your preferred date.
Visit Faithful Photography Today
Whether you're after a relaxed outdoor family session across South-West Sydney or a studio shoot at our Glen Alpine or Gledswood Hills studios, our team is ready to create images your family will treasure for generations. Come and see what a difference professional direction, beautiful light, and genuine care makes.