Key Takeaways
- The right combination of lighting, backdrops and spatial layout transforms any room into a professional-grade studio that consistently delivers commercial-quality results.
- Proper light positioning — not expensive gear alone — is the single biggest factor separating polished studio portraits from costly reshoots.
- Avoiding common setup mistakes (overcrowded props, flat lighting ratios, insufficient ceiling height) saves photographers thousands in wasted time and lost bookings.
Essential Camera Gear for a Professional Studio Environment
Full-Frame Sensor Bodies Worth the Investment
A studio photography setup demands a camera that can handle the controlled yet technically demanding conditions of artificial light. Full-frame sensors give you the dynamic range to retain highlight detail in bright backgrounds and shadow detail in darker subject areas simultaneously — a balance that is genuinely difficult to achieve in post-production once it is lost. The Sony A7R V offers approximately 15 stops of dynamic range, making it a formidable choice for portrait and commercial work. Canon's EOS R5 delivers colour accuracy so consistent that many photographers report reducing their post-processing time by around 30 per cent. Nikon's Z9 handles tethered shooting with near-zero lag, which is invaluable when clients are watching a preview screen during the session.Lenses That Complement Studio Light
Lens selection inside a studio is just as critical as it is on location. Fast prime lenses interact with studio strobes differently from zooms, and the results show.- Canon RF 85mm f/1.2 — exceptional subject separation and buttery background rendering
- Nikon Z 105mm f/2.8 Macro — precision focus for detail-rich product and portrait work
- Sony FE 90mm f/2.8 Macro G — clinical sharpness with beautiful bokeh at wider apertures
Professional Lighting Systems That Deliver Consistent Results
Studio Strobes vs Budget LED Panels
Budget LED panels have their place, but inside a dedicated studio space they often fall short of the output, colour consistency, and freeze-motion capability that professional studio strobes provide. The Profoto B10X delivers fast flash durations that freeze movement cleanly — critical for expressions and any action within the frame. The Godox AD600Pro offers comparable performance at roughly half the price, making it a sensible entry point for photographers establishing their first proper studio. A foundational two-light configuration positions the key light at 45 degrees to the subject, approximately 1.8 metres away, with the fill light on the opposite side at half the power output. This eliminates harsh shadows without flattening the image.Softboxes and Modifiers That Shape the Light
The modifier you attach to a strobe changes the character of the light more than the strobe itself. Light modifiers are where nuance lives.- 36-inch octagonal softbox — produces those sought-after round catchlights in subject eyes
- 24x36-inch rectangular softbox — ideal for product photography and half-length portraits
- Beauty dish — adds a punchy, slightly dramatic quality suited to fashion and commercial work
- Reflector panels — bounce and fill without drawing additional power
Backdrop Materials and Support Systems
Choosing the Right Backdrop Material
Seamless paper rolls remain the industry standard for a reason. Brands like Savage Infinity offer reliable surface consistency across an entire roll, making colour matching between sessions straightforward. A single roll costs around $45 and typically lasts more than 50 shoots with careful handling. White muslin backdrops are a washable, long-term investment that recover their look after laundering — a practical choice for busy studios. White walls, where available, reflect approximately 18 per cent more light than coloured surfaces, increasing ambient fill without requiring an additional light source. Coloured gels placed over white backgrounds can introduce vibrant tones on demand, keeping a single backdrop versatile across wildly different session aesthetics.Support Rigs That Hold Up Under Pressure
Floor stands are perfectly functional, but in a studio where space is at a premium, overhead support systems change everything. The Manfrotto Autopole system suspends background rolls from ceiling to floor without a single stand on the ground, spanning 2.4 to 3.7 metres — enough for most portrait and family configurations. That recovered floor space translates directly into more comfortable sessions and more flexible lighting angles. Never use lightweight or consumer-grade tripods as background supports. A collapsed stand mid-session is not just inconvenient — it is a safety issue. For a deeper look at how backdrop choices interact with your overall lighting approach, our guide on lighting equipment studio essentials covers the full picture. ---How to Set Up Your Photo Studio Box Space
Room Dimensions and Ceiling Height
Space is the most underrated variable in any studio setup discussion. A minimum ceiling height of four metres gives you the vertical clearance to position lights above subject eye level without forcing extreme angles. Rooms shorter than this create light spillage that muddies backgrounds and generates unflattering shadows beneath the chin and brow. Position your studio on the north side of a building where possible. North-facing rooms in Australia receive indirect natural light rather than direct sunlight, reducing the colour temperature shifts that make strobe-to-ambient mixing inconsistent throughout the day. Hard floors — polished concrete, timber, or tile — reflect light upward naturally, providing gentle underside fill that softens shadow density.Step-by-Step Light Placement Process
Getting your lights right before the client arrives is non-negotiable. Here is a reliable sequence that applies to almost any two-light portrait setup:- Place your key light at 45 degrees to the camera axis, 1.8 metres from the subject position, and raise it until it sits approximately 60 centimetres above subject eye level.
- Set the fill light on the opposite side at the same distance but reduce its power to half the key light output.
- Position the background light (if using one) behind and below the subject, aimed at the backdrop to separate subject from background.
- Test fire all lights and review the histogram — ensure highlights are not clipping on the subject's forehead or shoulders.
- Adjust light height and angle based on the test shot before the session begins.
"The most expensive lighting kit in the world cannot compensate for a poorly positioned light. Master placement first, and the gear becomes secondary."---
Arranging Backdrops and Props for Maximum Impact
Backdrop Placement and Distance
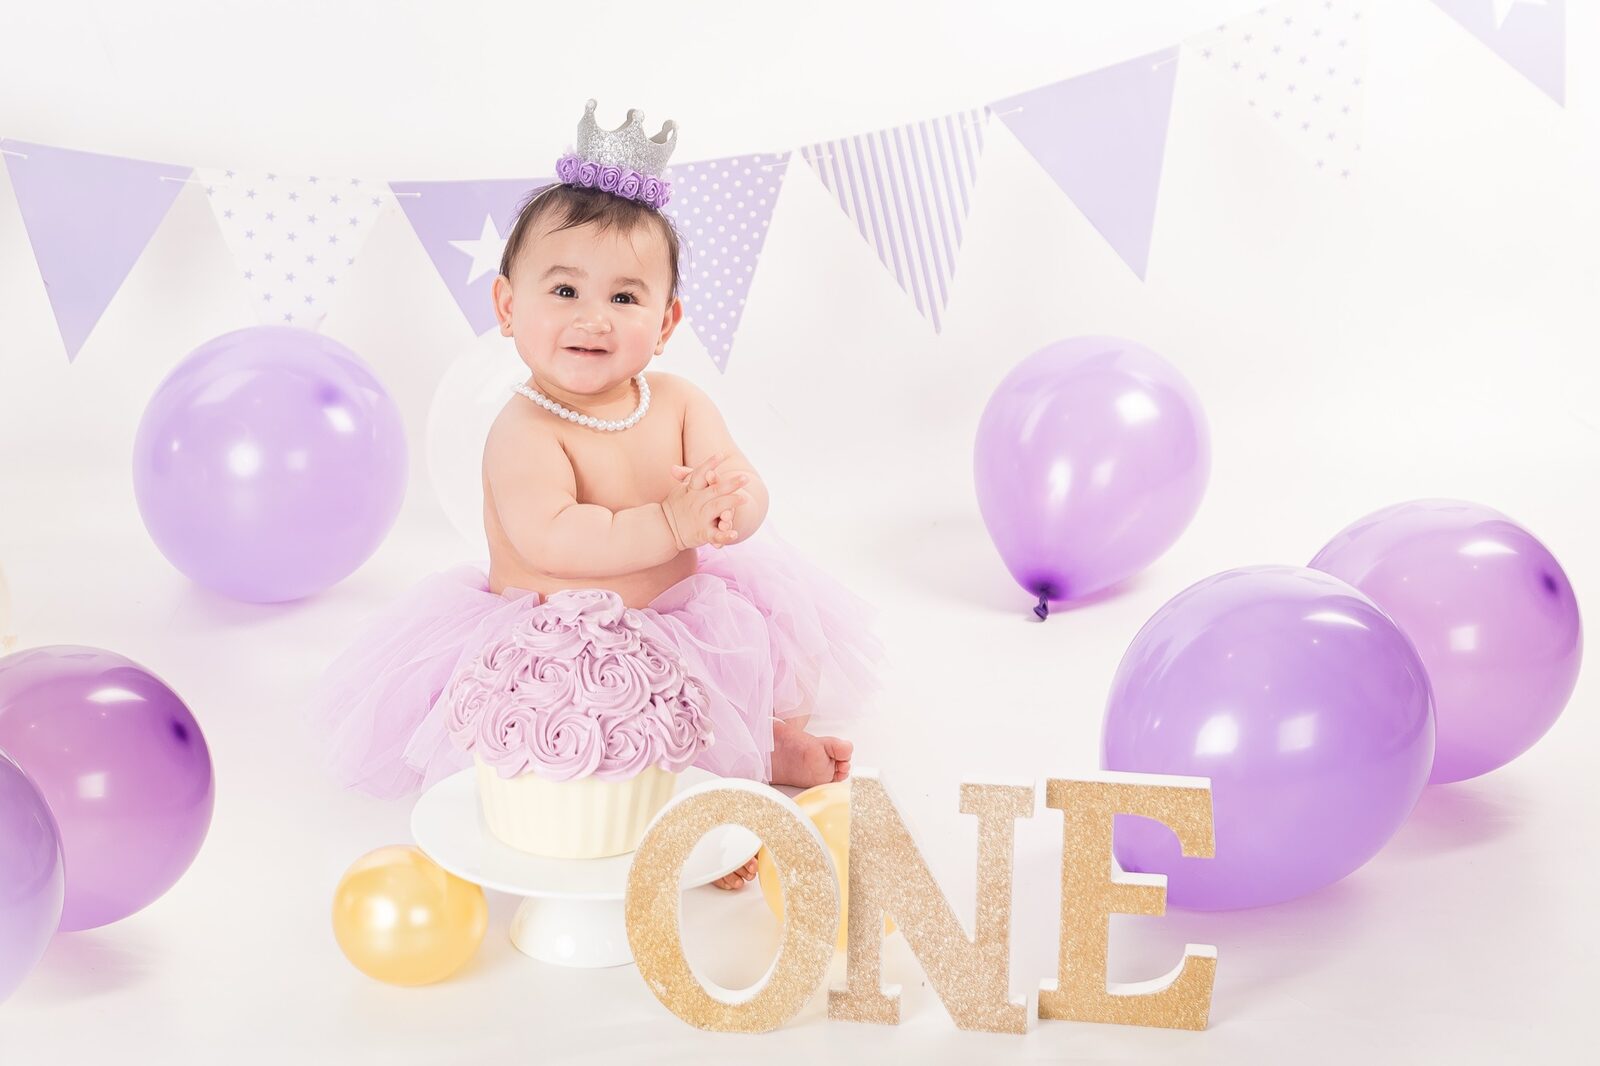
Position your seamless backdrop at least 90 centimetres behind your subject — ideally closer to 1.2 metres. This separation prevents the subject's shadow from falling on the backdrop and gives the background light room to work. Seamless paper needs a minimum of 2.4 metres to sweep along the floor without visible creases. Cut short on that sweep and wrinkles become a visible distraction that no amount of post-processing removes cleanly. For cake smash sessions and themed setups, our detailed resource on cake smash studio setup design covers how to layer props and backdrops specifically for first birthday photography.Smart Prop Organisation
Props should be immediately accessible but never visible in the frame. Cluttered backgrounds register subconsciously with viewers and undermine the polished quality clients are paying for.- Organise props on shelving units or rolling carts positioned just outside the shooting area
- Group props by session type — newborn wraps and posing beans together, family session items separate
- Rotate between backdrop rolls between sessions, not during them, to maintain session flow
- Label storage clearly so assistants can retrieve items quickly without disrupting momentum
Ready to Experience a Professionally Designed Studio?
At Faithful Photography, our Glen Alpine and Gledswood Hills studios are purpose-built so every session benefits from ideal lighting, professional backdrops, and a calm, welcoming environment — no compromises.
Common Photo Studio Box Mistakes That Cost Photographers Dearly
Poor Lighting Placement — The Most Expensive Error
Industry research consistently points to poor light placement as the leading cause of studio photography reshoots — and reshoots are expensive. When a key light sits too close to the subject, highlights on foreheads and cheekbones blow out to pure white. Once those highlights are gone, they cannot be recovered in post-production, regardless of software capability. The inverse problem — lights positioned too far back or at too low a power — produces flat, directionless illumination that makes every portrait look like a passport photo. Neither extreme serves the subject.Other Costly Setup Errors to Avoid
- Insufficient backdrop sweep: cutting the floor coverage short leaves wrinkles in frame that demand retouching time
- Ignoring colour temperature consistency: mixing tungsten practical lights with strobe creates subtle colour casts that are tedious to neutralise across an entire gallery
- Overcrowding the shooting space: too many props, stands, and equipment trolleys restrict subject movement and force compromised angles
- Skipping test shots before clients arrive: assumptions about light output from the previous session are almost always wrong
- Underestimating noise levels: loud fan-cooled monolights and creaky floors register in audio if you are filming behind-the-scenes content — a minor but avoidable irritation
Maintenance Habits That Protect Your Investment
A studio setup is a working environment and needs regular attention. Wipe softbox diffusion panels monthly — dust accumulation reduces light output by a measurable amount over time. Replace backdrop rolls before the final 20 per cent of the paper shows signs of scuffing. Keep spare sync cables and spare modelling bulbs on site; losing a shoot because of a $12 cable is a genuinely awful experience. For specialised setups like cake smash sessions, the cleanup requirements add another layer of planning. Our post on cake smash outfit ideas also touches on how session styling decisions affect the studio setup process from a practical standpoint. ---Adapting Your Studio Setup for Different Photography Genres
A well-planned photo studio box configuration should be adaptable rather than locked into a single look. The same physical space that photographs a corporate headshot on Monday should comfortably accommodate a newborn session on Tuesday with a realistic, efficient turnaround between sessions.Newborn and Family Configurations
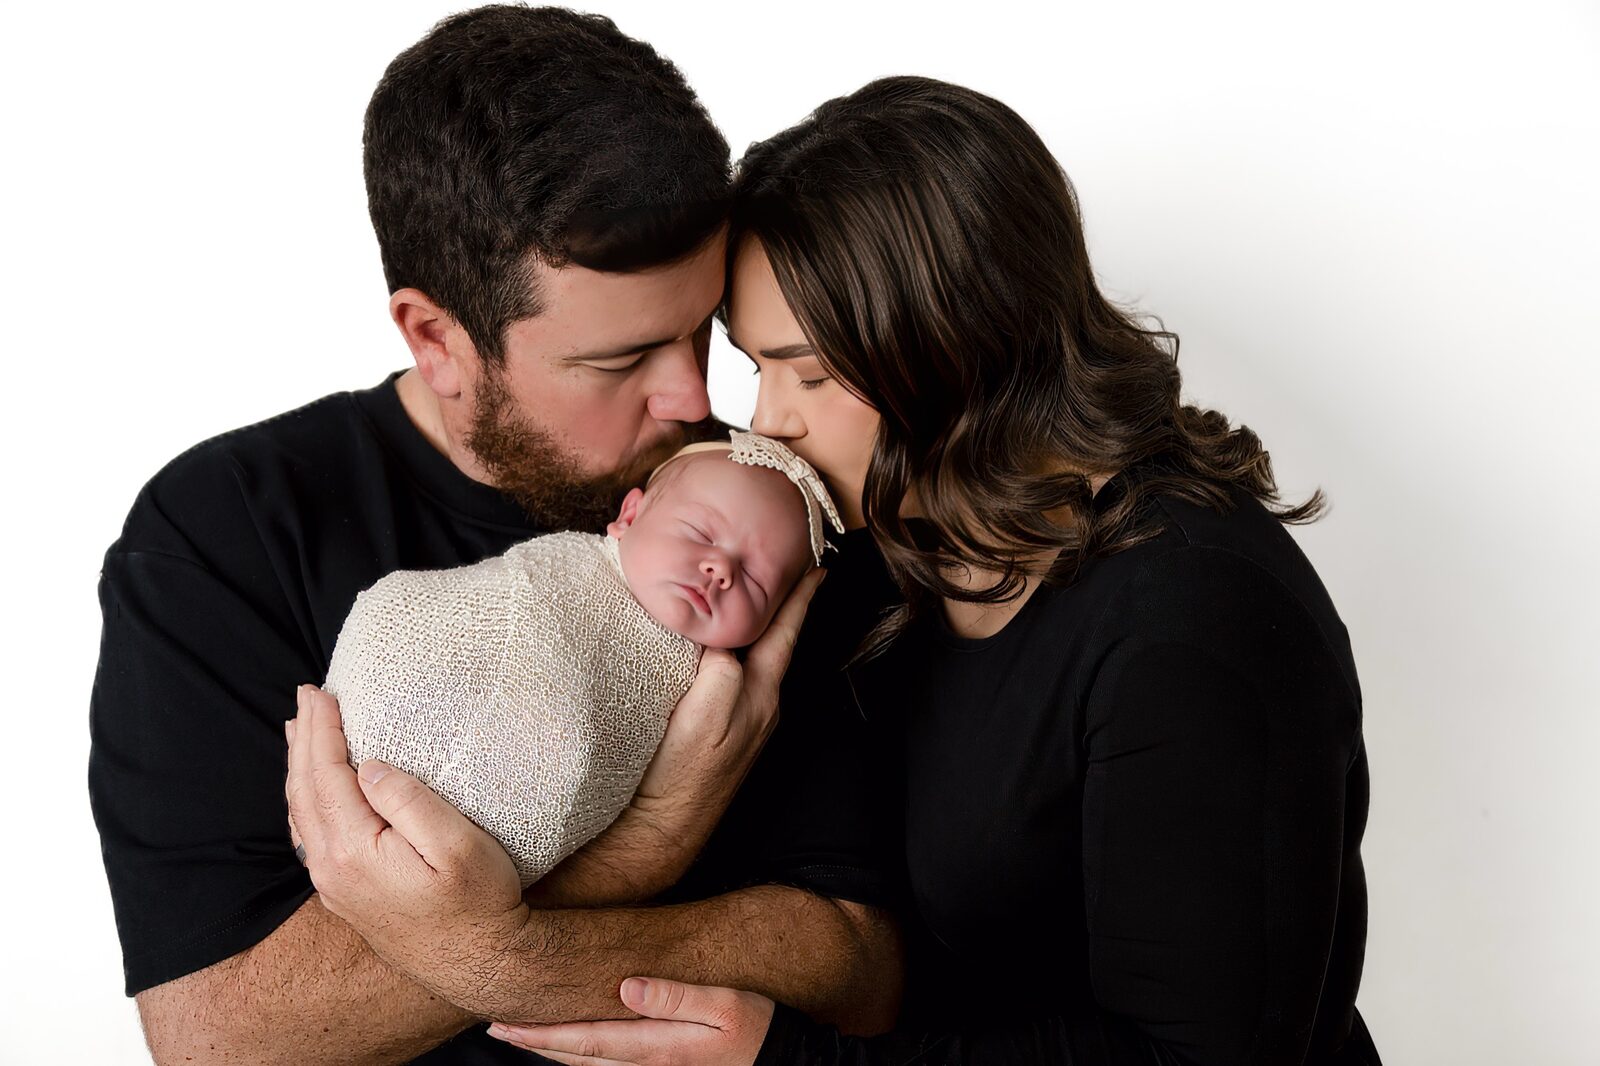
Newborn setups prioritise warmth — both literally (a room temperature of around 26°C keeps sleeping babies settled) and aesthetically. Softer lighting ratios, earthy-toned backdrops, and a minimal prop footprint keep the focus on the baby. For family group sessions, the backdrop width becomes critical: a 2.7-metre-wide seamless roll accommodates most family group configurations comfortably without edge vignetting. Our Campbelltown photographers team and the broader Macarthur region studios regularly handle multi-generational family sessions that require quickly reconfiguring the space between individual and group setups.Commercial and Corporate Setups
Corporate photography in Sydney demands a clean, consistent look across large volumes of headshots — often shot in a single extended session. Consistency is the priority here. Lock your light positions, mark the floor with gaffer tape to indicate subject standing positions, and use a grey card for white balance before every batch. Variations that seem minor on a single image become glaring inconsistencies when 40 headshots appear side by side on a company website. ---Frequently Asked Questions
What is the minimum room size for a functional photo studio box setup?
A workable portrait studio requires at minimum a 4 x 5 metre floor area with a ceiling height of at least 3.5 metres, though 4 metres is preferable. Rooms smaller than this restrict light placement angles and force compromises in backdrop distance, both of which reduce image quality. If your available space is smaller, consider a one-light setup with a large reflector panel as the fill source to reduce the equipment footprint.
How many lights do I actually need to start a professional studio?
Two lights cover the vast majority of professional portrait work. A key light and a fill light, positioned correctly, produce the dimensional, flattering results most clients associate with high-quality studio photography. A third background light adds tonal separation and is worth adding once you are consistently filling your two-light setup's potential. Buying four or five lights before mastering two is a common and expensive mistake.
What backdrop colours are most versatile for a studio setup guide approach?
White, light grey, and a warm mid-tone (cream or soft stone) cover the widest range of session types and skin tones. White is the most flexible as it can be shifted to any colour using gels. Mid-grey backgrounds photograph neutrally and complement virtually every wardrobe palette. Avoid highly saturated backdrop colours as your primary investment — they limit your flexibility and colour-cast onto subjects wearing lighter clothing.
Can I use natural light in a studio alongside studio strobes?
It is technically possible but generally inadvisable unless you have complete control over the natural light source — a northern-facing room with heavy blackout blinds you can open or close at will. The challenge is that natural light shifts in colour temperature and intensity throughout the day, making it very difficult to maintain consistency across a multi-hour session. Most professional studios fully block natural light and rely entirely on strobe and continuous artificial sources for this reason.
How do I book a professional studio session at Faithful Photography in South-West Sydney?
Faithful Photography operates studios in Glen Alpine and Gledswood Hills, serving families and clients across Campbelltown, Camden, Narellan, and the broader Macarthur region, NSW. You can view current availability and reserve your preferred session type directly through our online booking page. If you are unsure which session type suits your needs, our team is happy to help you choose before you commit.
What should I look for when reviewing studio photography pricing?
Look beyond the session fee and understand what is included in the final cost: the number of edited images delivered, print product inclusions, retouching standards, and turnaround time. A lower headline price that includes no edited images or only low-resolution digital files is rarely the bargain it appears. Our session pricing page outlines exactly what each package includes so you can compare accurately.
Visit Faithful Photography Today
Our purpose-built studios in Glen Alpine and Gledswood Hills are equipped with professional lighting systems, a curated range of backdrops, and a calm environment designed to bring out the best in every subject — from newborns to corporate teams. Serving families across Campbelltown, Camden, Narellan, and the entire Macarthur region, NSW.